
We started Nextdoor Homestead to find and share ways for home gardeners and homesteaders to meaningfully save money every month by growing food. It’s a common sentiment in gardening circles that growing your own food is more expensive than buying it - and that’s often very true - but it also doesn’t have to be the case.
Here are 13 effective tactics we use to keep gardening super cheap and still grow lots of food in a normal suburban yard.
1. Grow Plants From Seed
The longer you garden, the more likely you are to get a little addicted to seed buying. But that’s OK because growing your plants from seeds, rather than buying seedlings at the store, is the single best way to save tons of money in any garden. Especially a vegetable garden.
Take our nightshade garden for instance: we started about 140 tomatoes, peppers, eggplants and tomatillo seedlings this year and planted about 60 of them into the garden. The rest went to friends and family and a few stragglers found their way to the compost heap.
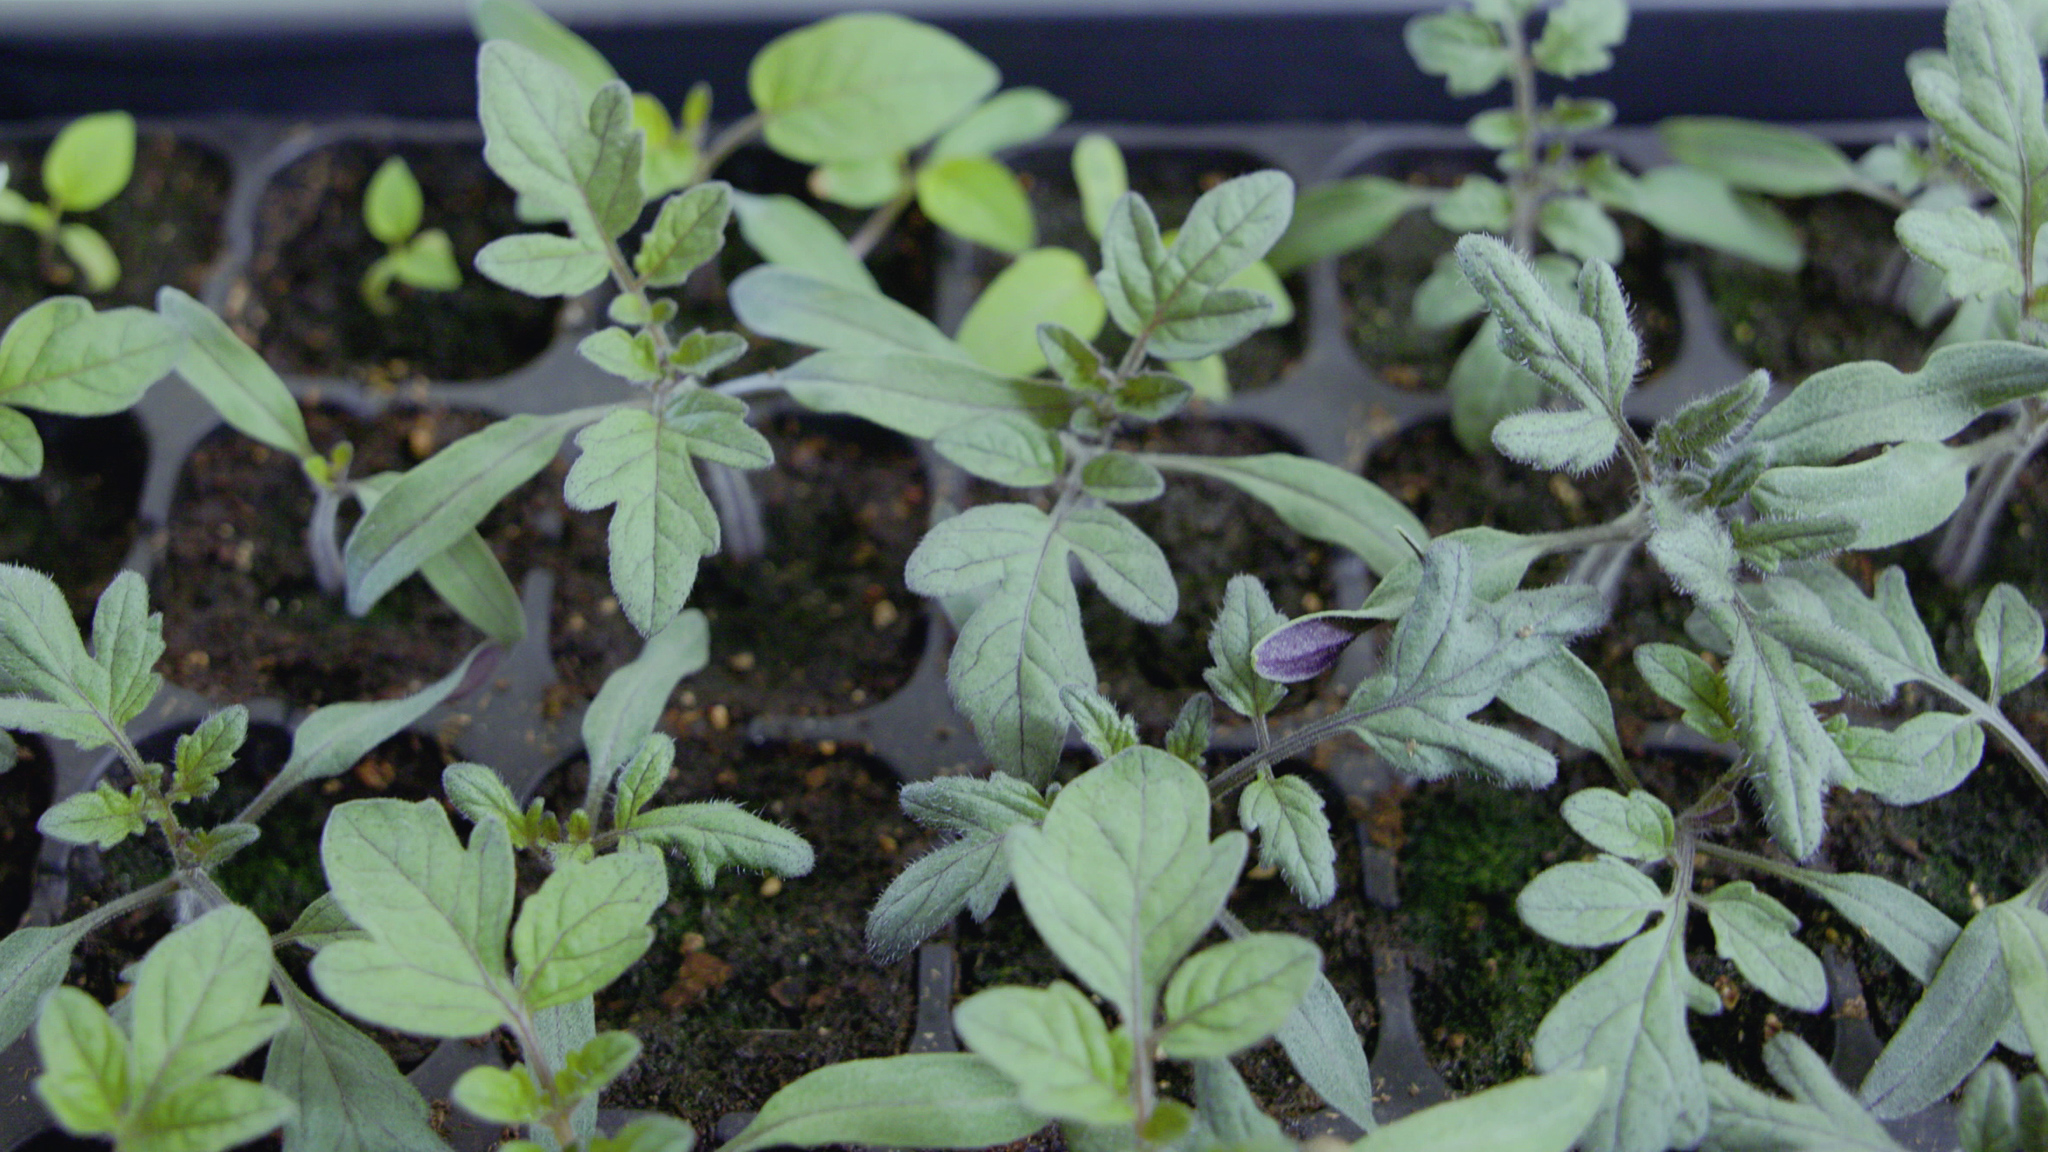
Had we bought those tomato seedlings from the store we’d be looking at around 500$ or up to double that to find all the cool heirloom plants we’re growing. Totally infeasible.
Instead, we spent $15 on seeds. To make it even cheaper, we buy the majority of our seeds from online stores like dollarseed.com or migardener.com. And for the extra frugal (and extra patient) gardener, there is freeheirloomseeds.com where they will literally send you free seeds during select periods of the year.
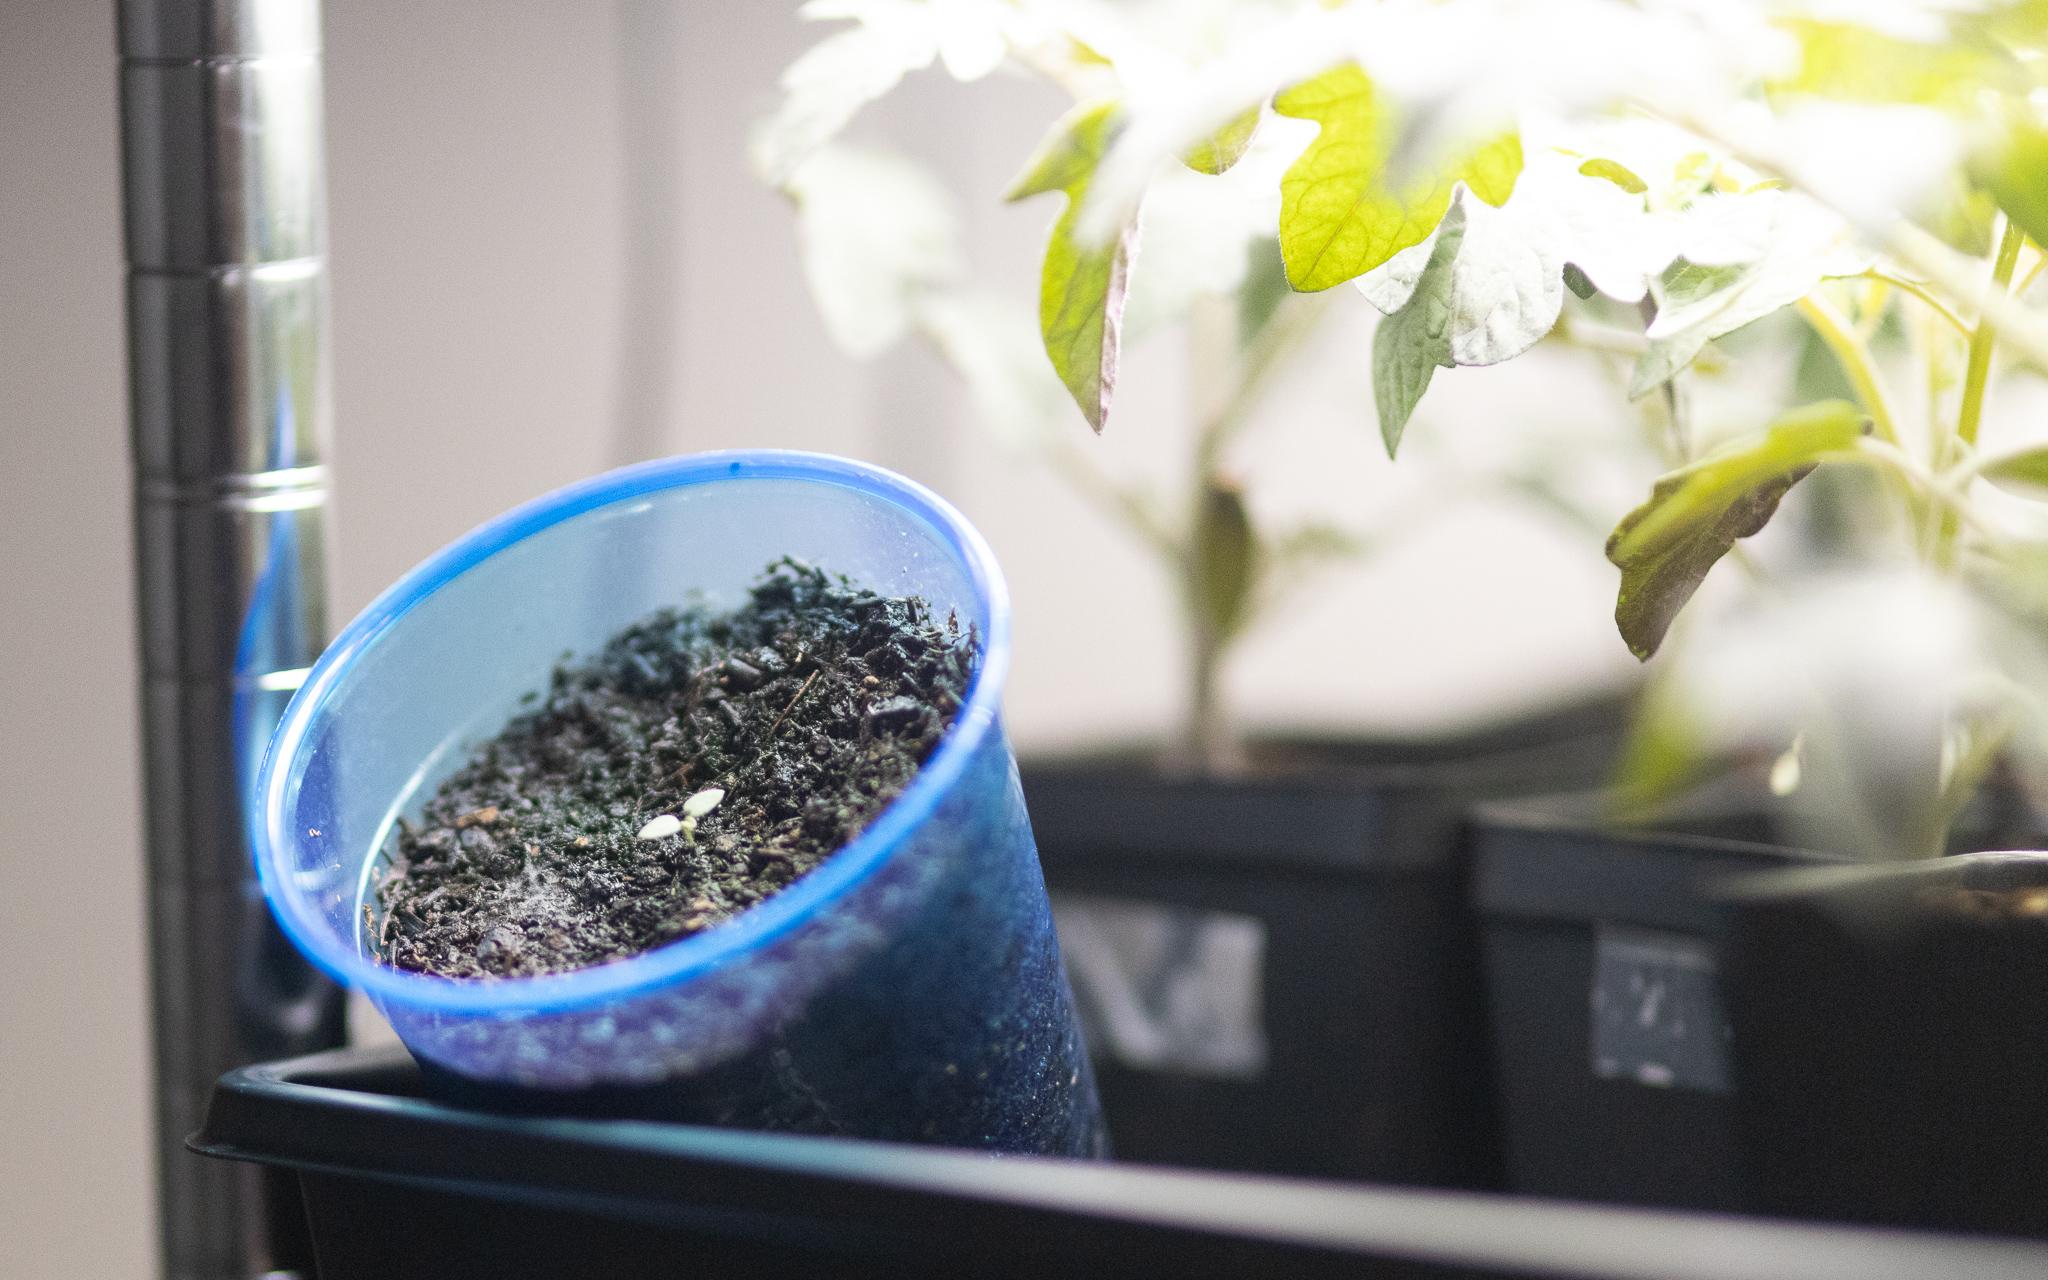
Even if you consider all of the investments we made into outfitting a seed starting rack with grow lights, growing from seeds will still be thousands of dollars cheaper this year than buying starts from the store. Because we will grow thousands of seedlings total through the year. Not to mention the more expensive seed starting gear is totally optional as a couple dollars for a seedling tray and a drainless tray combo will get you started.
P.S. If you want to watch along as we cover all 13 frugal garden hacks instead of reading, we made a companion video with these same tips.
2. Learn to Clone or Propagate Perennial Plants
Most of our seed starting efforts go towards annuals even though we do grow the occasional perennial plant from seed. But we can still save tons of money on perennial plants by learning how to clone or propagate them.
We recently planted a variety of berries like blueberries, jostaberries, raspberries and blackberries. All of which are very straightforward to clone from either suckers or taking cuttings in the dormant season!
If we want a cutting of a plant we don’t have yet, we ask friends and family if we can take one from their yard.
If you haven’t given propagation a try, please consider it this year; it’s probably simpler than you imagine. Here’s a good video on how to get started.
3. Buy Bare Root Plants in Winter
If you just can’t find the plant you need to propagate from, try to stay patient and wait for winter when cheaper bare root options can be found. Bare root trees are almost always less expensive than plants with a mature root system in a pot and some stores will inevitably need to unload their unsold stock as Spring approaches.
We bought a Santa Rosa plum bare root last year and while we didn’t let it fruit this season, it bloomed and provided plenty of value by pollinating our more established aprium and pluot trees. And it was very cheap!
4. Shop the Dollar Store
Speaking of discounts, check out the gardening aisle at your Dollar Store or Dollar General or the Daiso or whatever your local option is. I was shocked at the legitimately useful array of small gardening goods at two of our local stores. So far, we’ve picked up four types of pots, a trowel, seeds, and tons of twine for trellising. All are working out great. You can even find big packs of plastic cups for seed starting that work in a pinch!
Of course the quality can be hit or miss, but if the alternative to buying a cheap option like a container is not buying anything, then buy cheap and grow food! We don’t follow the “buy once, cry once” mantra when applied to food gardening because even if a cheap option only lasts a season, well that’s a season’s worth of food you grew.
5. Buy a Cheap Version and Upgrade Later (Maybe)
We do however like what is sometimes called the “Harbor Freight Rule”. We buy cheap equipment when we’re not 100% sure it’s something we need for years and years and then down the line decide if we need to upgrade.
We certainly have our share of gardening tools and that collection will only grow, but the truth is we complete nine out of ten tasks in the garden with this cheap multi tool purchased for $13 (at the time).
It’s probably inexpensive for a reason, but that just means we don’t mind beating it up a little. When and if it fails, we might upgrade but wow has it gotten a ton of use in the meantime.
6. Skip the Raised Bed and Plant in the Ground
Another way we save money is to skip the raised beds and plant in the ground. I was listening to a podcast recently and the host was lamenting the fact that he’d spent hundreds of dollars buying and filling a raised bed to fill with squashes that would, in the best case scenario, save him $30 that year. Not a great short term investment.
I was dismayed to hear this on a popular podcast because I can’t help but feel that while raised beds are awesome, they’re a little overhyped and expensive right now.
Until I know how a given plant will grow in a given area, I’m more likely to grow in the ground and amend the soil with super cheap steer manure and compost. Most of our tomatoes were planted in clay soil that I know for a fact will not support tomatoes - I tried it last year - and they’re growing well because we mixed in tons of aged steer manure and compost with the native soil. And those two are such cheap ingredients that each planting hole cost us less than $1 in ingredients.
Amending your soil - assuming it isn’t contaminated with something problematic - can be unbelievably affordable compared to buying (or building) and filling raised beds.
Plus, once you know a location can support a given plant, you can always make that larger investment into raised beds in a future year.
7. Try Fabric Grow Bag Pots
Unfortunately, planting in the ground is not always a viable option. In that case, go buy some non woven fabric grow bags. 10 Gallon versions often go on sale - we’ve gotten them for as little as $1.50 a bag - and can easily support a tomato or even a tomato and a companion flower.
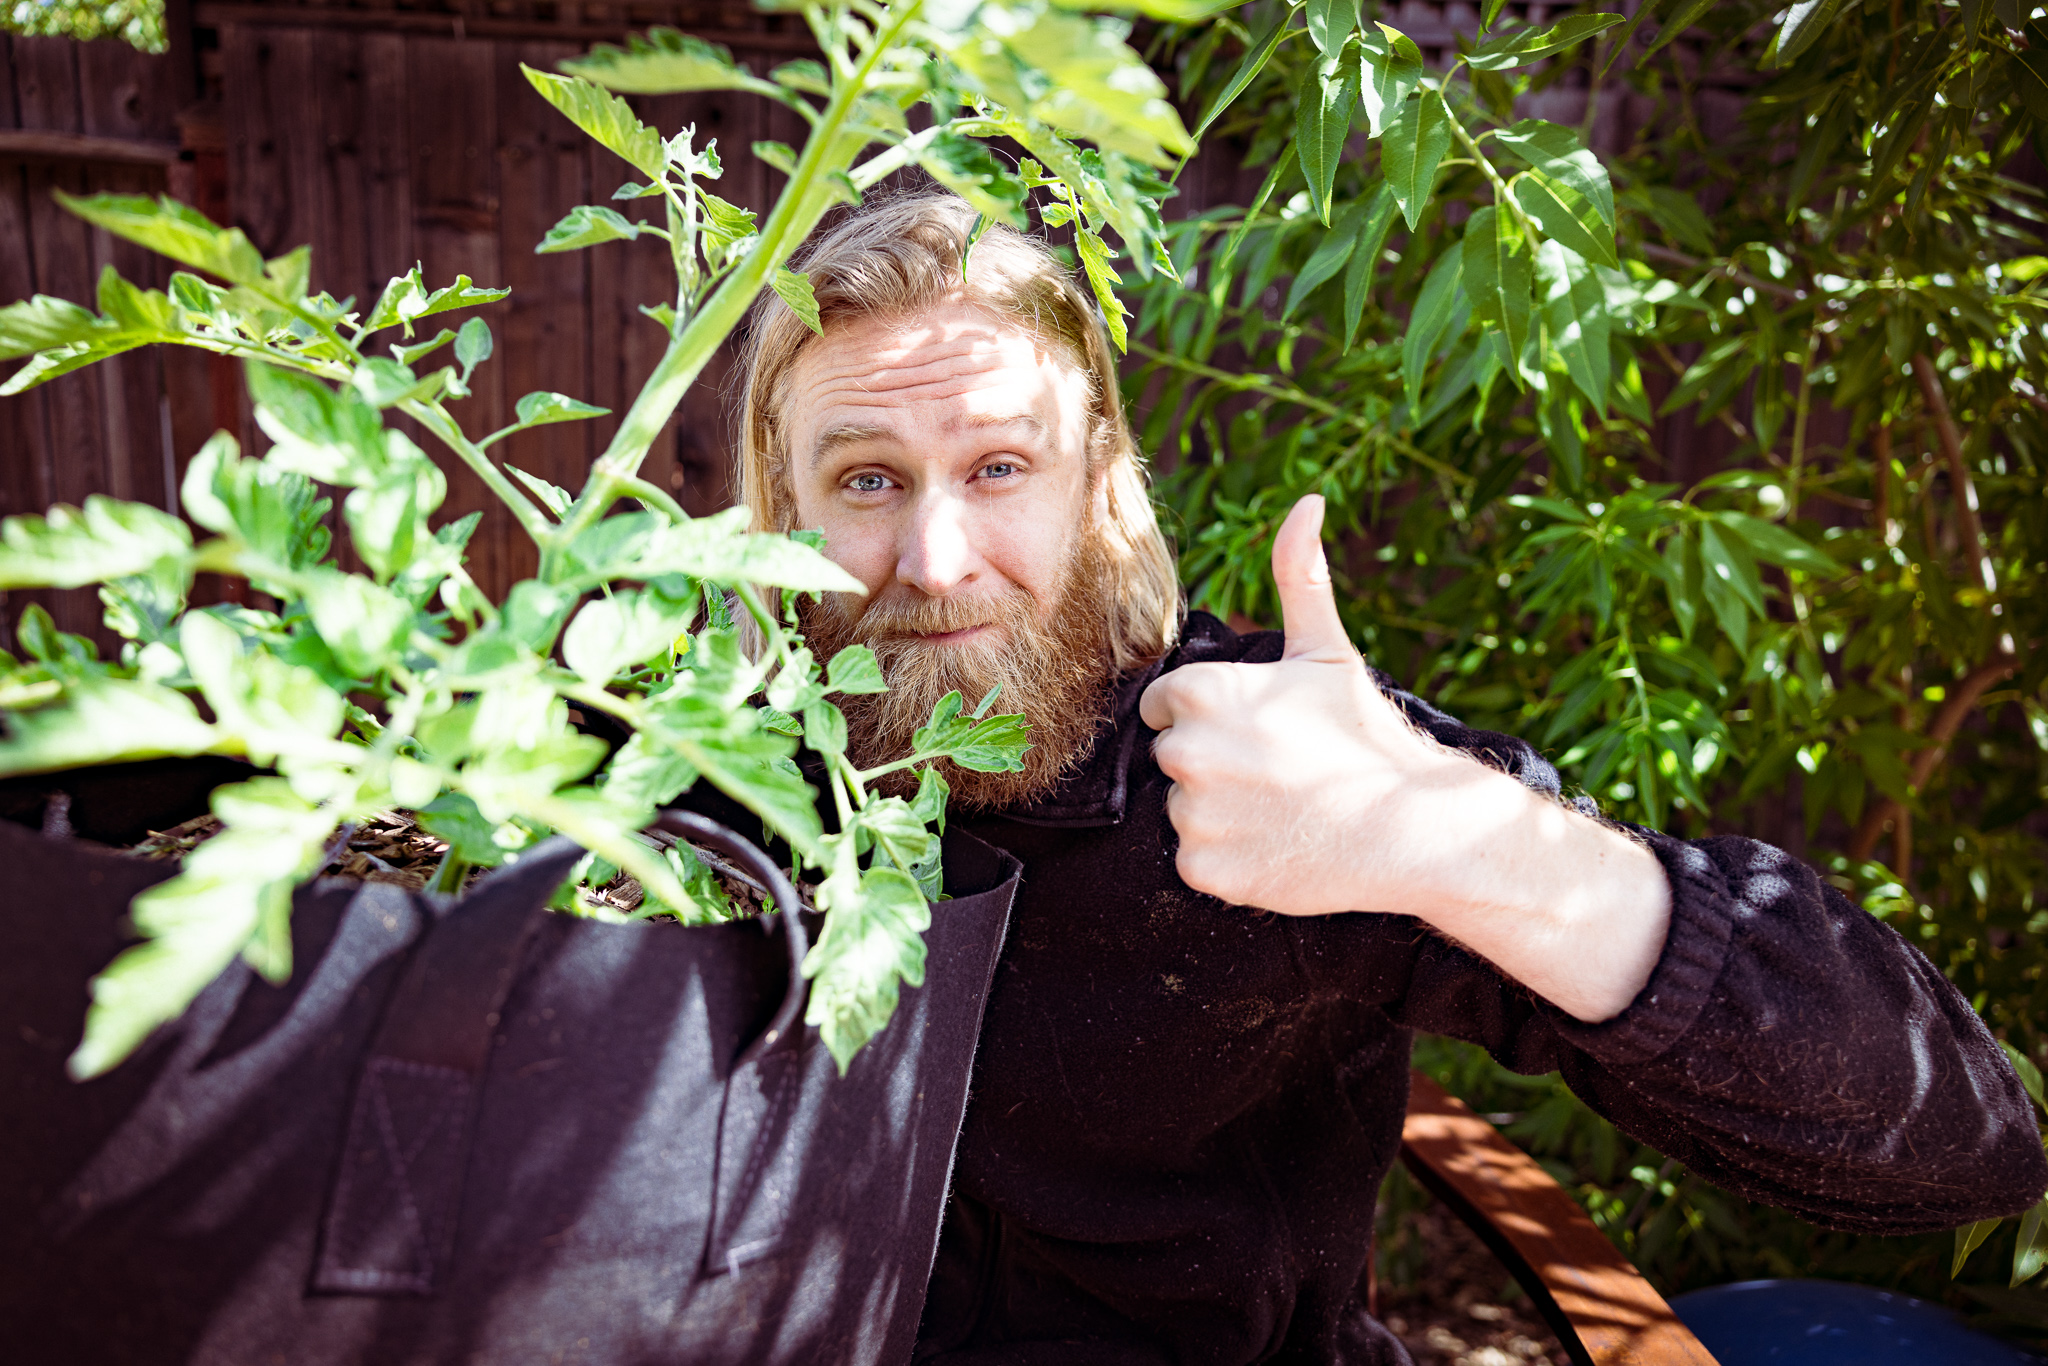
And there are even incredibly large options like 30 gallon and 100 gallon versions. 30 gallons works well for a full-size winter squash like Jack-o-Lantern Pumpkins and 100 gallons can support an entire herb or leafy garden with dozens of individual plants.
Moreover, it’s certainly not as if fabric grow bags are poor containers - they are simply fantastic, with excellent drainage and aeration that promote healthy roots. From a purely functional standpoint, they’re my favorite container type. They are, however, not the most aesthetically interesting.
8. Make Your Own Potting Mix/Soil
To fill up those grow bags, be sure to mix your own potting soil. Why? Well a great DIY potting mix will typically cost $2-4 in ingredients plus 5 minutes of effort. And a decent premade bagged potting mix typically costs $15-30 (gardening supplies have gotten so expensive!).
Here’s our video on how we make soil for our containers, but if it’s not a good fit for you there are hundreds of youtube videos out there for every type of soil need.
The vast majority of our planters are filled with DIY soils made with cheap ingredients like steer manure, wood fines, and even topsoil. And they do very well (mostly)!
9. Start a Berkeley Hot Compost Pile
All those plants are going to need compost whether they’re in the ground or in a bag, so consider setting up your own Berkeley hot compost pile. While it’s worth reading the full instructions, the basics are quite simple:
- Set up a large container (at least 3’ ft. x 3’ ft.)
- Add high carbon and high nitrogen materials in alternating layers
- Once full, keep it moist
- Wait and turn the pile at predetermined intervals
What makes Berkeley hot composting more frugal than traditional alternatives is its speed-to-completion. You can have finished, usable materials in only 2.5 weeks which makes it very possible to produce all the compost you need for even a large garden space.
10. Start a Worm Compost Bin
Compost is great, but I actually like worm composting or vermicomposting even better. The right worms make an amazing soil amendment for the cost of some food scraps and wood chips added to their bin once a week. Which is to say they cost nothing once setup.
To lower the overall cost even further, try to find a few gardening friends to split an order of worms with from somewhere like [Uncle Jim’s Worm Farm]https://unclejimswormfarm.com/). They’re much cheaper in bulk.
11. Source Free Wood Chip Mulch
Weed problems? Get the wood chips. Plants drying out? Needs some wood chips. Soil compacting? Throw down some wood chips. Mildew on lower leaves? Block that splash with some mulch.
…You get the idea. We use wood chips absolutely everywhere on our property.
And we got all of our wood chip mulch for free using a service called Chipdrop. Chipdrop basically connects gardeners who need wood chips to arborists who need to get rid of theirs quickly.
It’s not a perfect solution for everyone as you have to be supremely flexible with the timing, the amount, the placement of your wood chip drop, etc. But it worked out well for us. And it’s hard to beat free.
12. Furring Strips
Our DIY tomato trellis was made using 2$ furring strips from the local hardware store. Even better, I cut the top 18 inches off and split those portions in half lengthwise to give us additional 1.5’ ft. stakes for more compact plants like eggplants.
Furring strips tend to be relatively brittle and aren’t treated wood so they won’t last in the ground for years, but they are a surprisingly versatile component for little projects.
As with any DIY project, make sure you take all precautions to prevent injury and do not use any tools you aren’t trained to use.
13. Monitor Deal Tracker Websites
Finally, for all those corner cases where you just need to buy the thing and be done with it, use a deal tracker site like slickdeals.
For example, we needed a prettier planter to put some passion flower plants I’m germinating right now in the front yard. Because this plant will be a bit more visible, we wanted to home it in something more aesthetically interesting than our go-to black fabric grow bags. So we waited for a deal on planters to pop up and picked a couple decent wooden whiskey barrel pots.
While still very pricey compared to a $2 grow bag, it feels a lot better to spend 50% off retail at least!
I hope something on this list inspires you to not let a tight budget get in the way of growing food. If you’ve got any tips of your own, please send them my way! I’m super into ways to make food gardens a net positive contributor to our monthly expenses so hopefully we can do another post like this in the near future.
Happy Gardening!