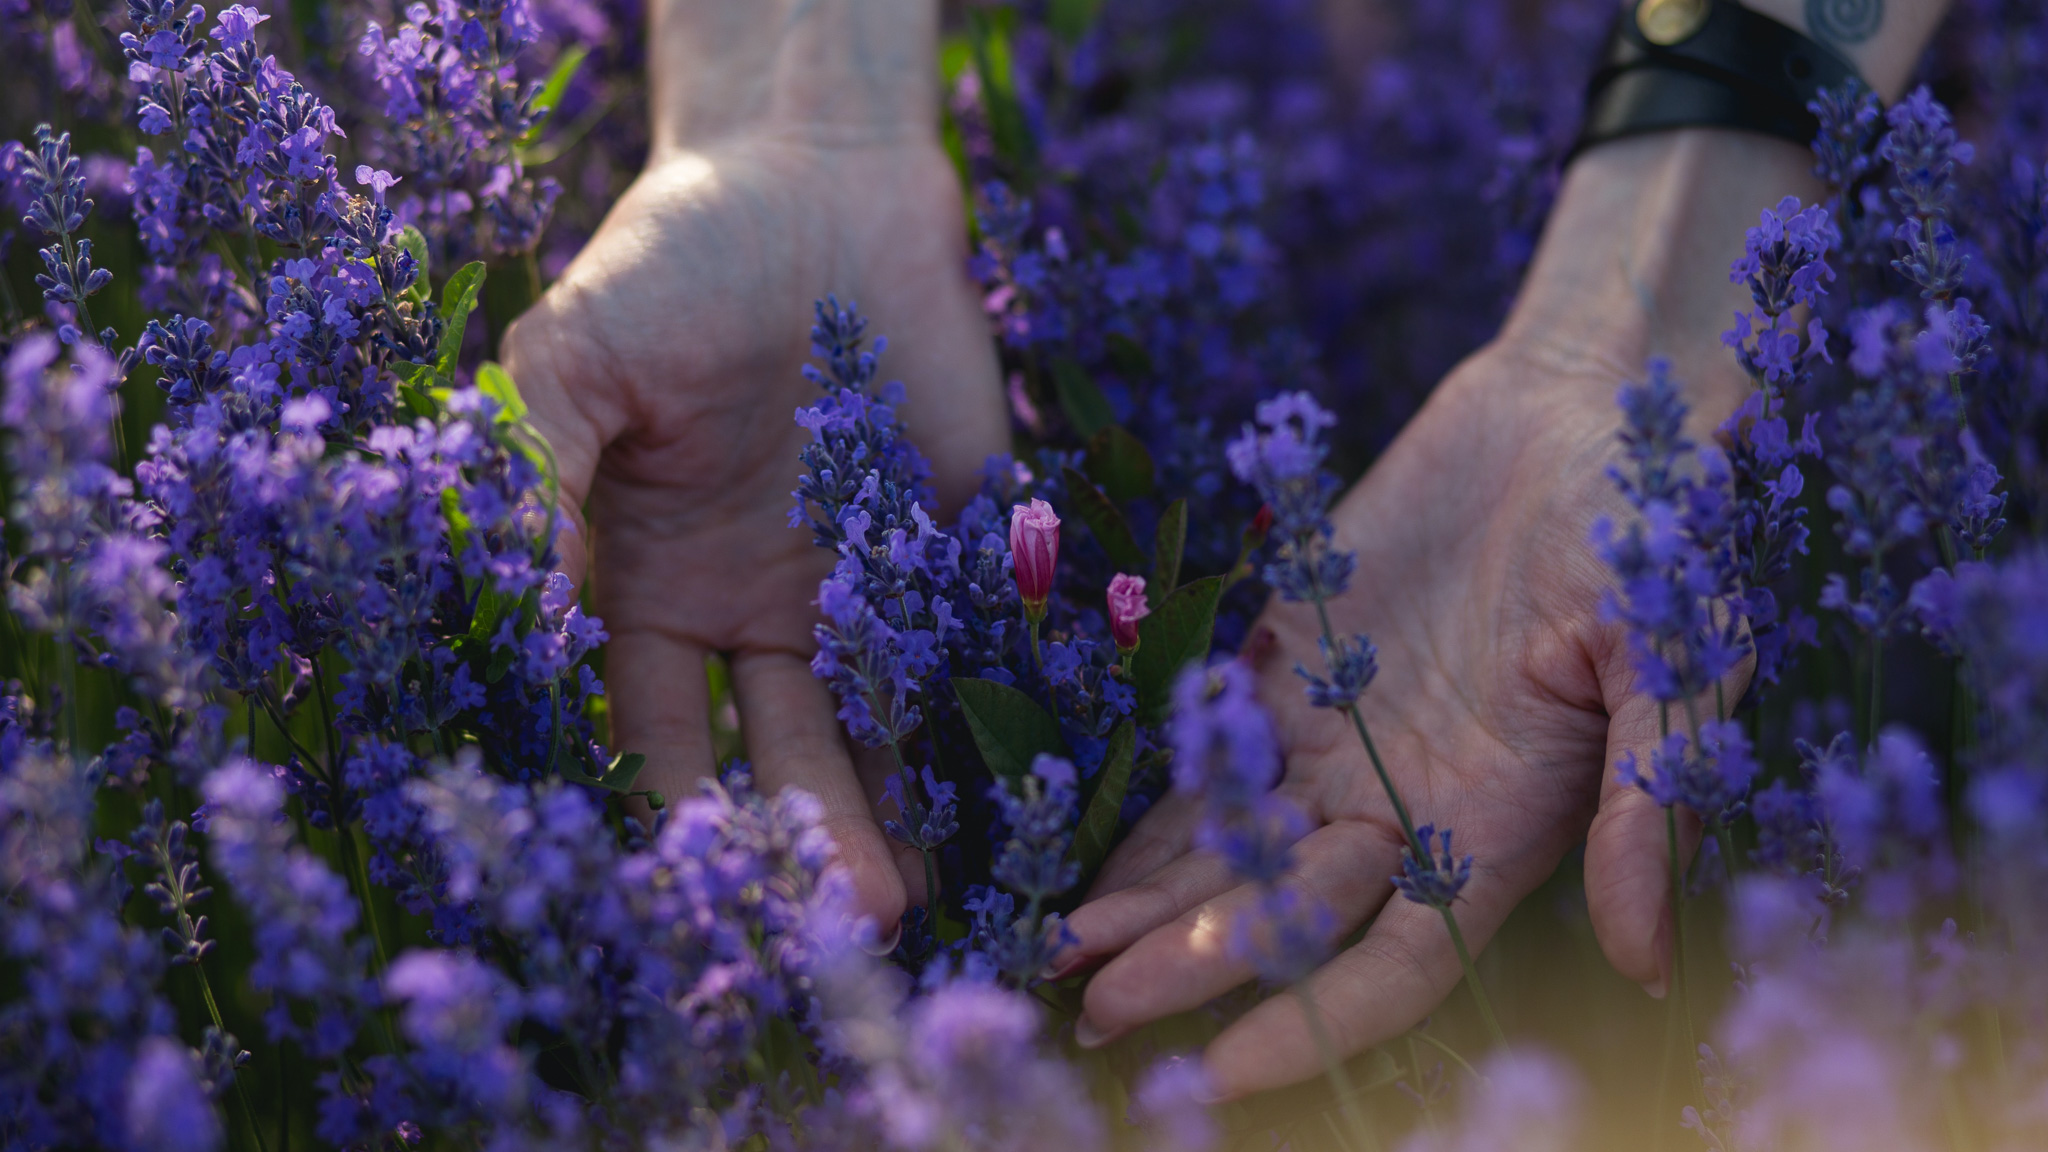
Lavender is a hardy and surprisingly delicious herb. Yes, that very same lavender with the purple, fragrant flowers. It’s simply impossible to not love it in your herb patch.
But it also suffers from a reputation for being finicky, so let’s look at exactly how to grow Lavender from seed all the way to harvest in a container while avoiding the pitfalls. I promise it’s easier than you think!
You can also see exactly how we grow lavender from seed to harvest over on our YouTube channel (same content but for those who prefer video =).
Selecting a Variety of Lavender
Lavender comes in three main types: Spanish, English, and Lavandin. There are also a few less common types and many varieties within each of those.
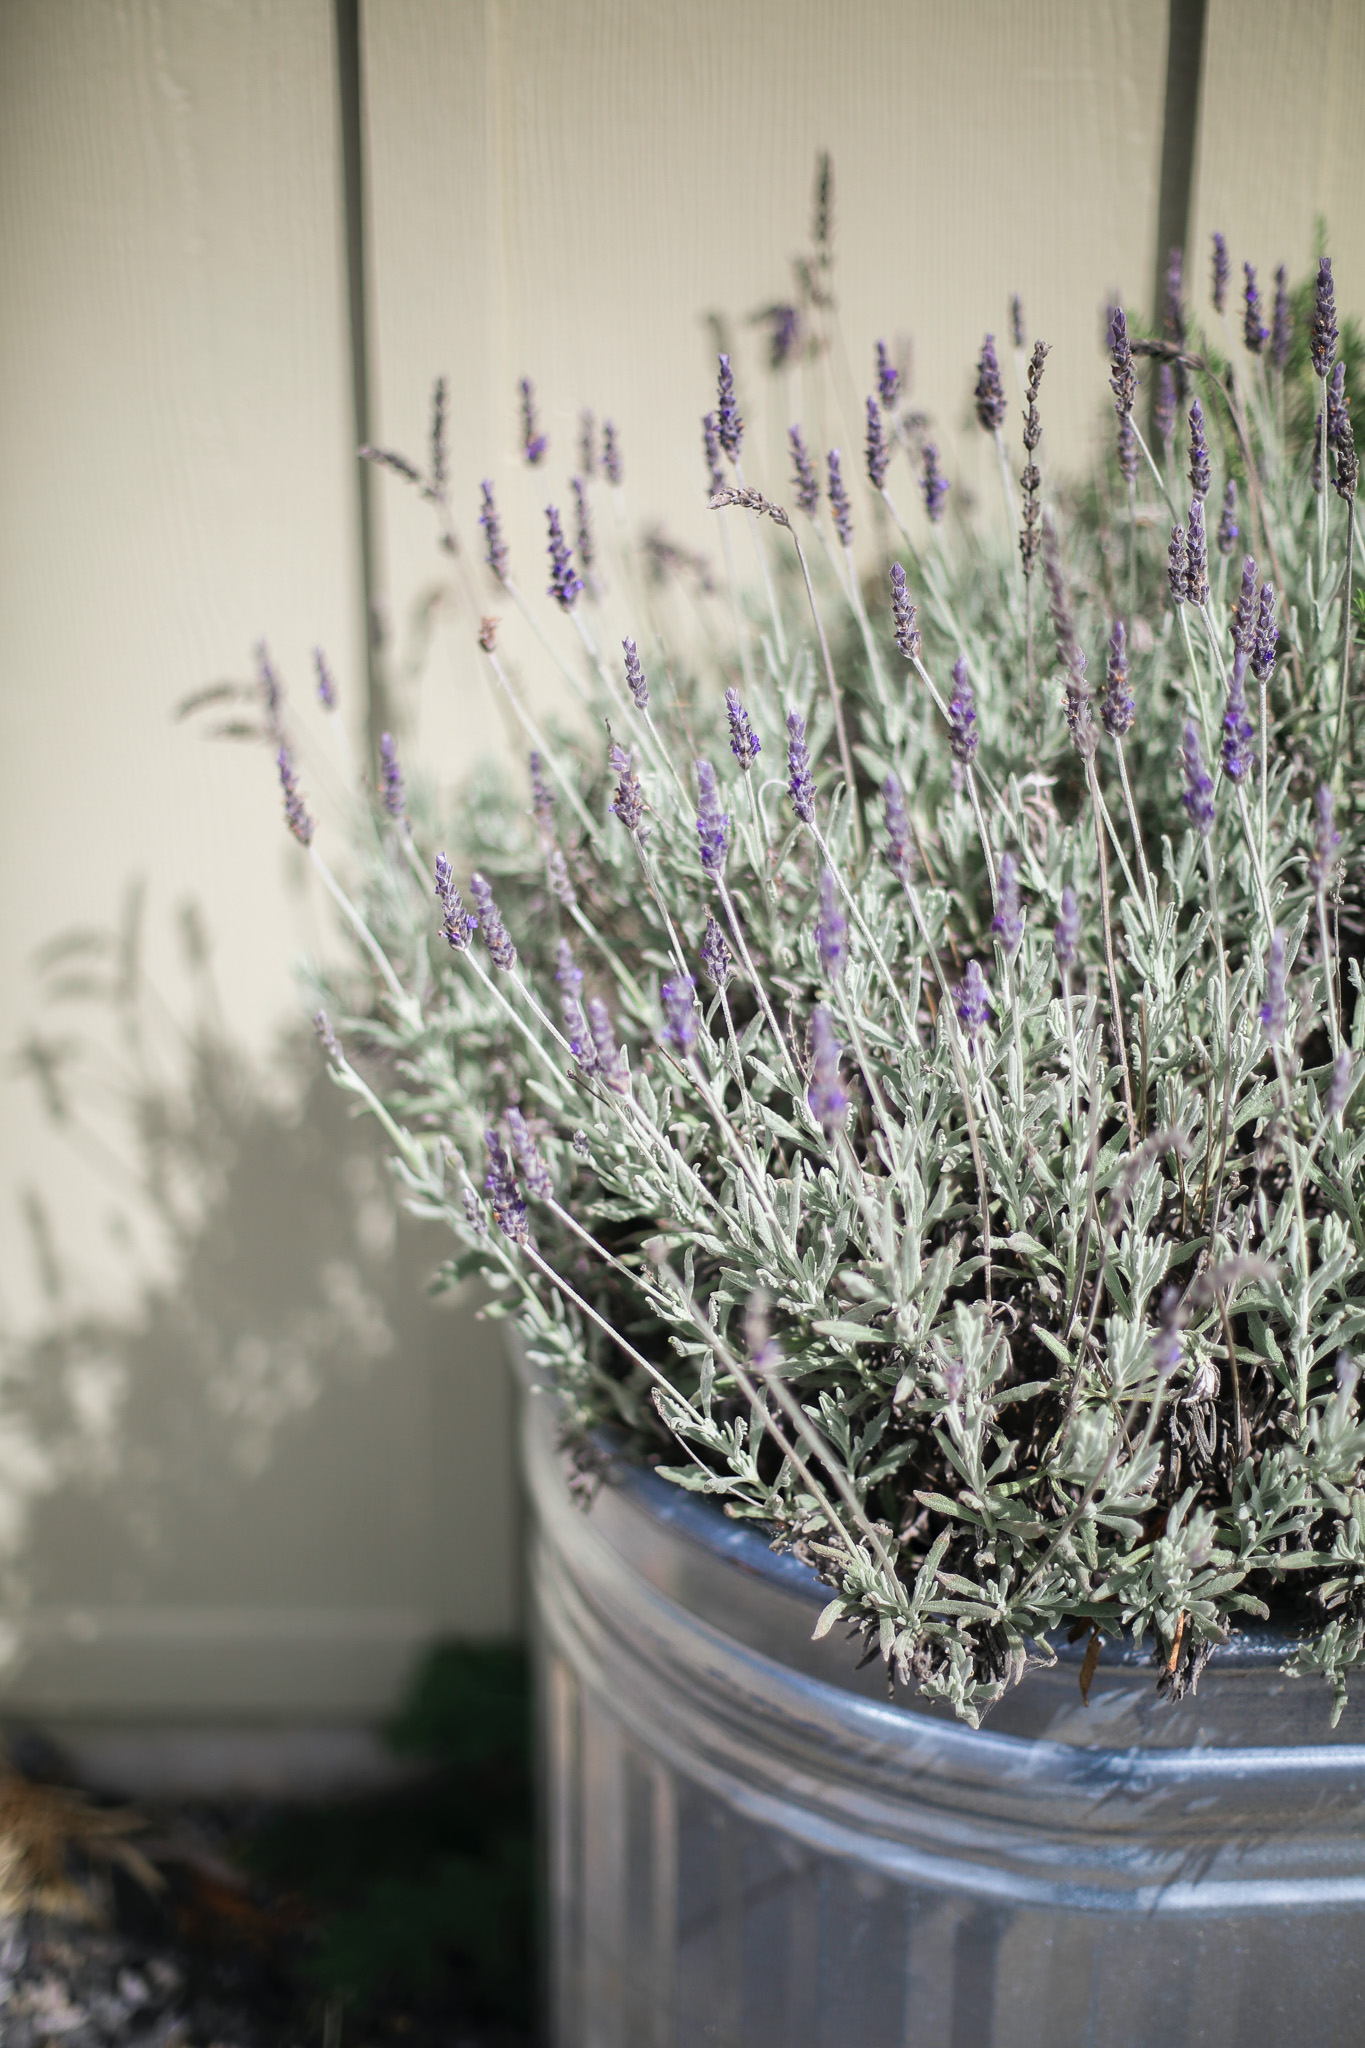
For your first attempt at growing lavender in a container, I recommend growing English Lavender. English Lavender is more compact than French and Spanish Lavenders, which makes it a good container option and it still grows to an impressive 25-35 inches (2-4 feet) tall and wide.
It also overwinters in even cooler areas - down to zone 5 - and is generally quite hardy. In hotter climates, Spanish Lavender is a popular landscape option since it handles the heat well, but it is also possible (we have personal experience with this) for English Lavender to thrive in very hot and dry climates.
It is also by far the best variety to use for cooking, which is why it is also called culinary lavender. English Lavender has a beautiful smell but a softer, less bitter flavor than French Lavender or the hybrid Lavandin type. I’m biased, but growing food is our passion so English Lavender takes the (lavender) cake in my opinion.
How to Start Lavender Seeds (Easily)
The first thing that scares gardeners away from growing lavender is its reputation for being difficult to germinate and grow from seed. For this reason, many lavender growing guides will recommend buying a seedling rather than starting your own from seed. That’s always an option of course but I’m here to tell you it’s also not necessary and much more expensive.
The crux of the issue is that Lavender seeds germinate at a higher rate when you cold-stratify them. Cold stratification is the process of simulating a winter cold period followed by a return to spring warmth. That cold-to-warm transition signals to the seed that it is time to germinate. In practice, you can cold stratify in a few easy steps:
- Sprinkle some seeds onto a moist paper towel
- Place the paper towel into a resealable plastic bag
- Store the plastic bag in the refrigerator for 5 to 6 weeks to simulate a winter period
- Remove the plastic bag from the refrigerator to signal to the seeds that its spring
Instead of taking the time to cold stratify and since lavender seeds are not at all expensive, another strategy is to simply plant a very large number of inexpensive seeds so that the odds are on your side. We like to grow extras to attract bees, but for use as an herb, two lavender plants is probably plenty for the average family. So long as we plant lots of seeds, we never struggle to get enough to germinate!
Plus, lavender is extremely easy to propagate from cuttings so you probably won’t have to plant from seeds again for years, if at all.
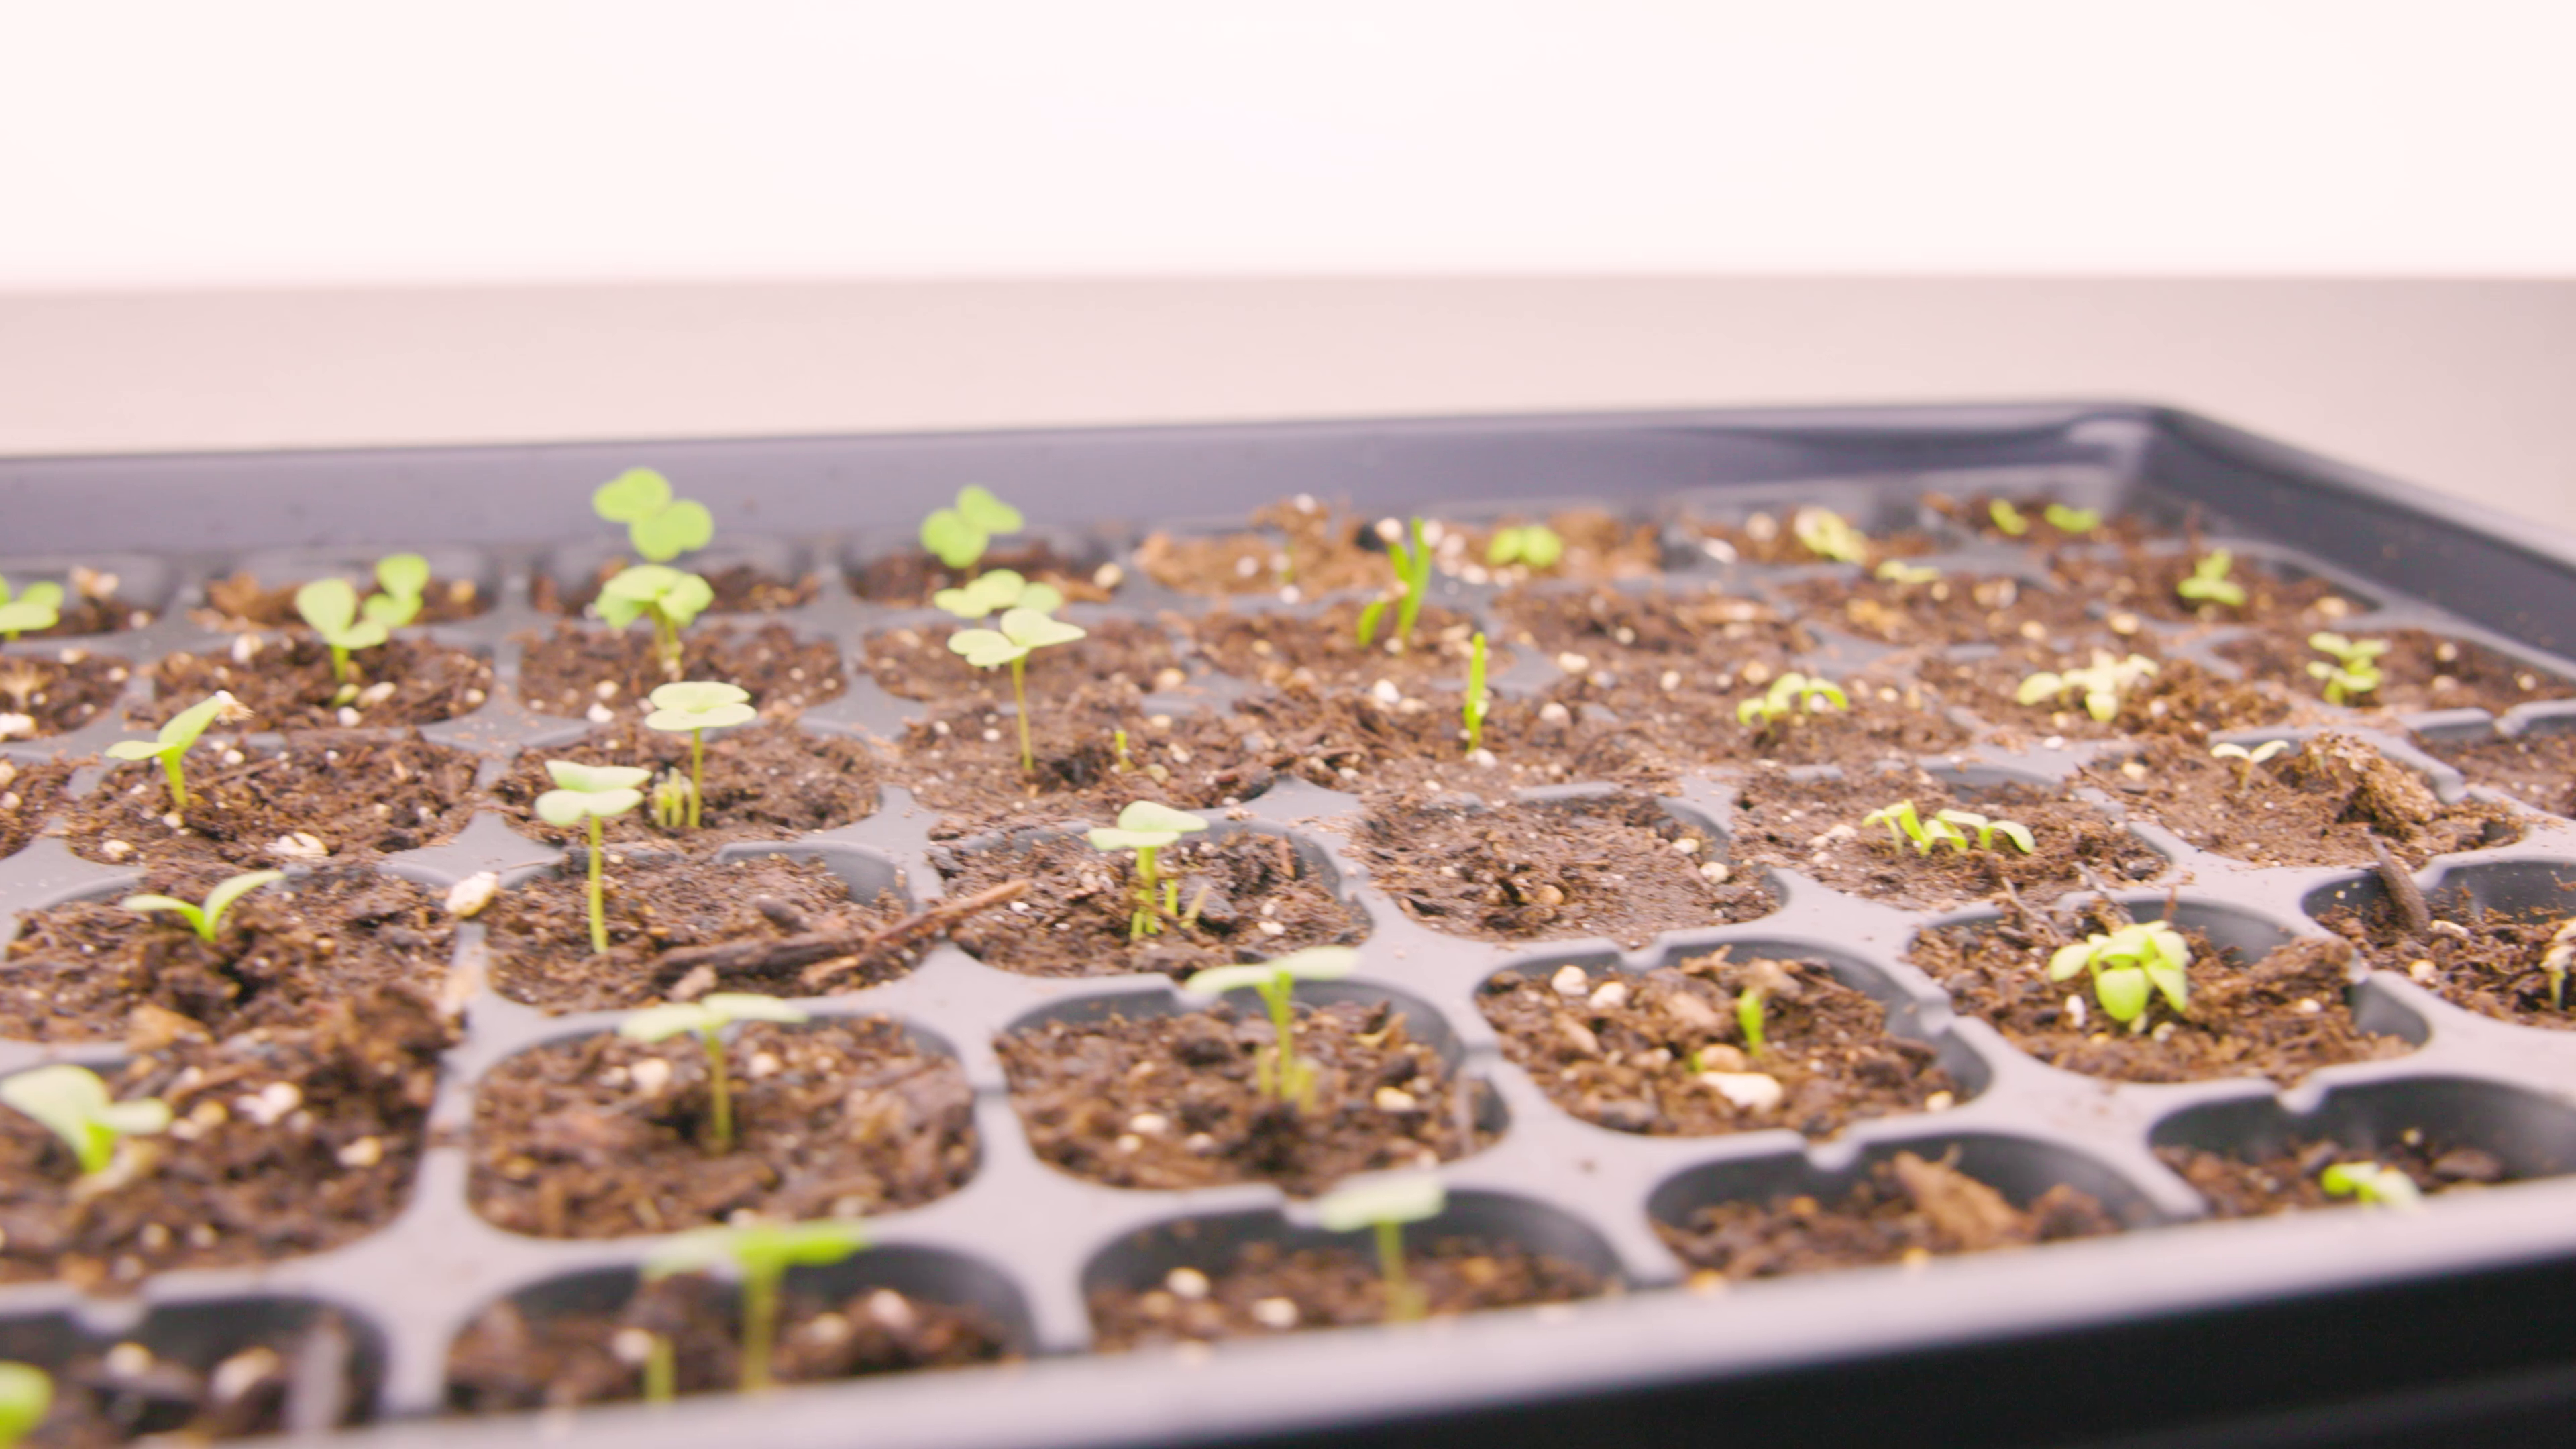
Lavender seeds do however require light to germinate. So when you plant those lavender seeds, gently press them into the surface of the soil instead of burying them. Then move the container into full sun or under an indoor light until they germinate in a few weeks.
We prefer to start the Lavender indoors under LED lights rather than outside for a few reasons:
- Lavender seeds take a long time to germinate (two weeks up to three months!)
- Outside, the unburied lavender seeds at the top of the container may be lost due to wind or pests
- Lavender won’t germinate in very hot weather due to thermal dormancy (all seeds have a point at which it’s too hot for them to germinate)
Overall, it’s significantly easier to start lavender indoors in a seed starting tray and even better if you can put them on a heat mat until they sprout. If you do not have an indoor growing setup, another option is to grow lavender on a south facing windowsill.
Selecting a Container for Lavender Plants
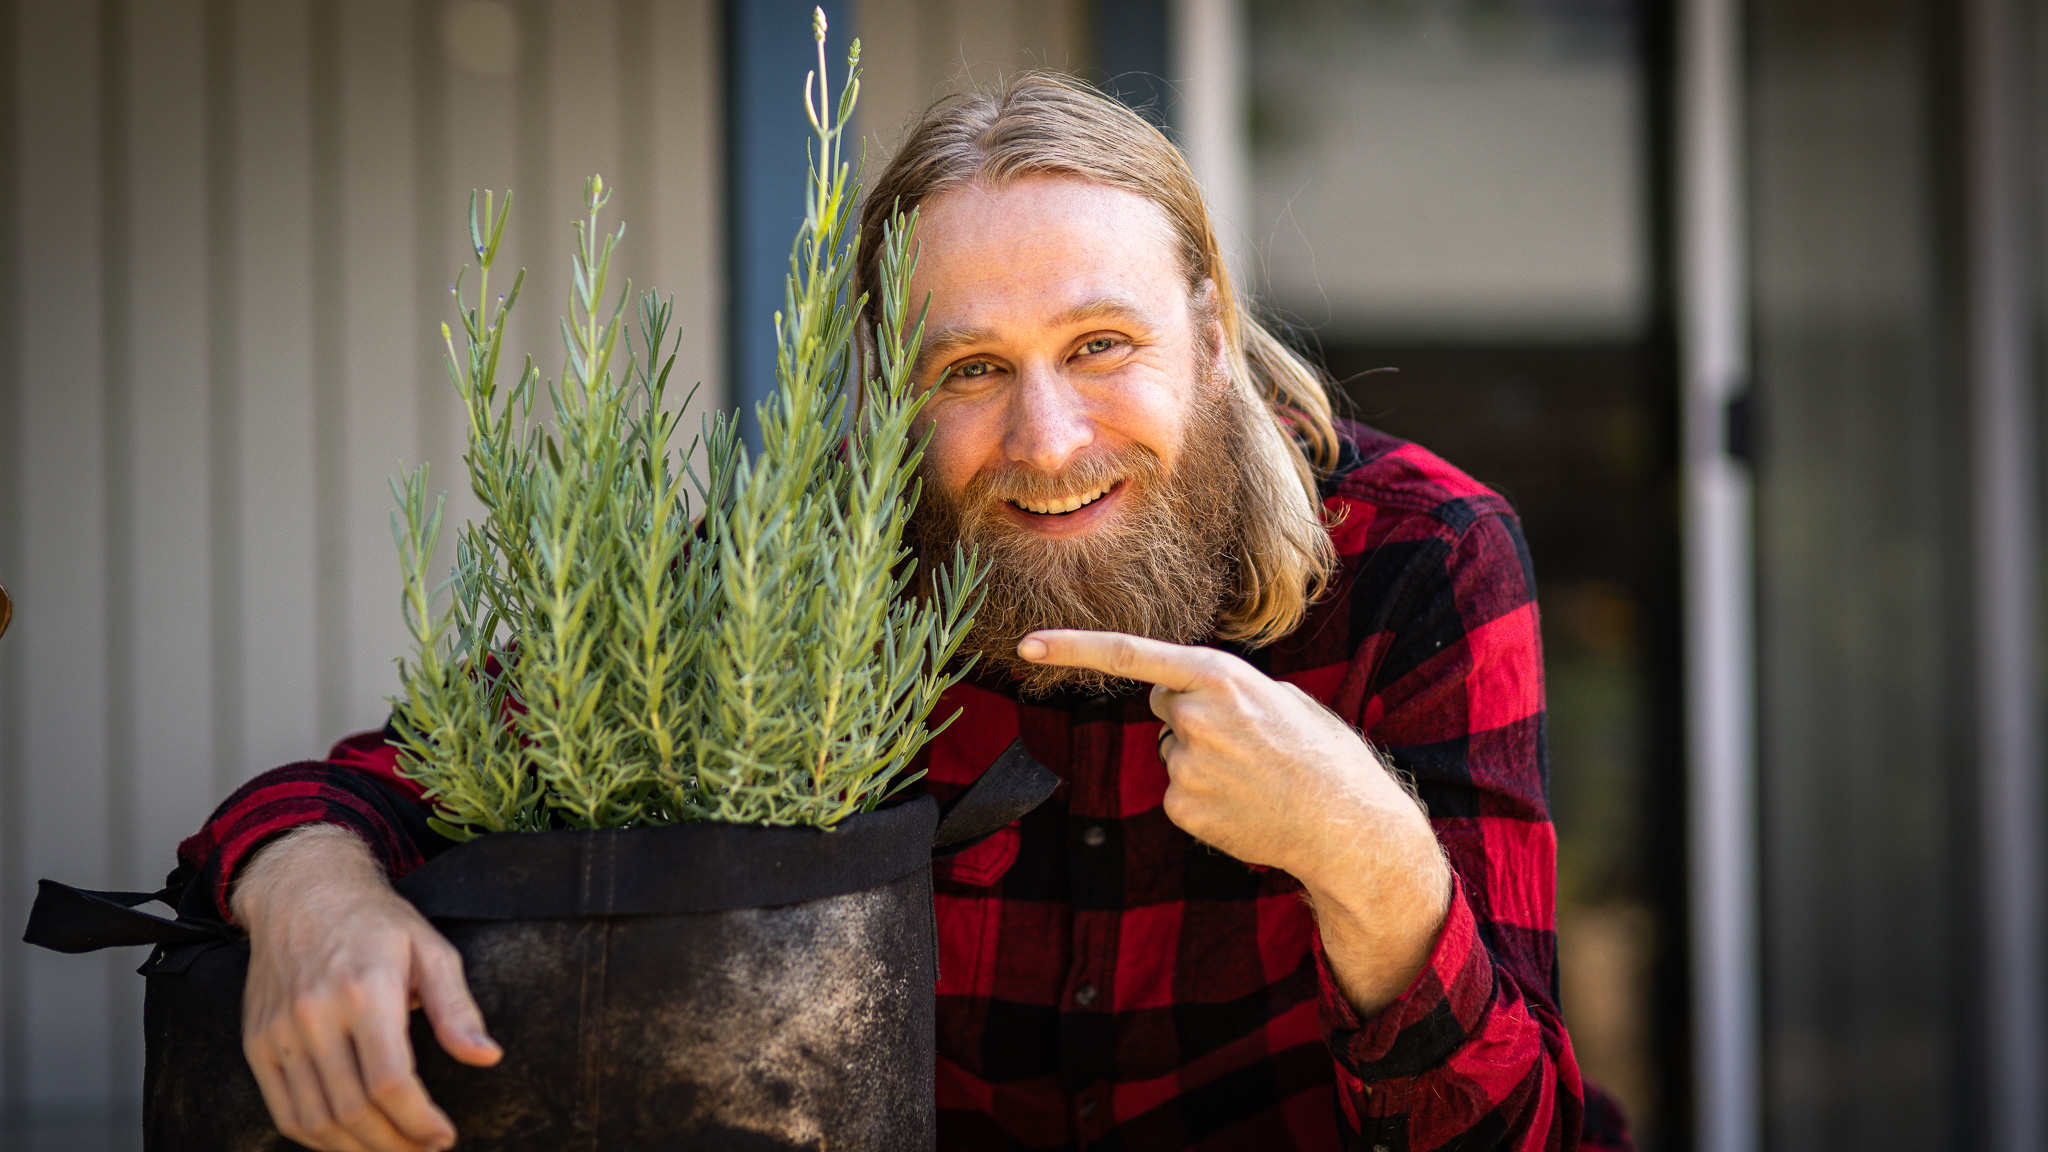
Like most perennial Mediterranean herbs, lavender can grow in small containers but planting into a 7 or 10 gallon container will allow it to grow into a nice, compact bush without wasting garden space.
For the healthiest plants, grow your lavender in either an unglazed terra cotta pot or a fabric grow bag. Unglazed terra cotta and fabric grow bags have very good drainage and air exchange, which is more important for lavender than most plants.
Regardless of the container type, do NOT fill the bottom of the container with a layer of gravel, ceramic shards, or anything other than potting soil. That’s common advice but ultimately counterproductive and will actually make drainage worse.
I also recommend keeping the container small enough to move it around as you may need to occasionally relocate your lavender plants (especially in their first season) to protect them from the big storms.
Soil Mix and Amendments
Lavender will thrive in any good quality potting mix despite its reputation for needing “poor” soil. But as with most of our plants, we use a DIY potting mix composed of:
- Compost
- Steer manure
- Wood fines
- Sphagnum peat moss
- Fertilizer
A major downside of sphagnum peat moss is its moderate acidity as lavender is the rare garden plant that does better in a more basic soil. Too much of it can also lead to soggy roots.
Instead of the sphagnum peat moss you can also add in drainage ingredients like perlite, chicken grit, or even small wood fines.
Don’t add any additional fertilizer if you’re using a bagged potting mix with fertilizer already in it. Lavender is not a heavy feeder.
Transplant Lavender Seedlings
When your lavender is around one inch in height, transplant it into its final home. To transplant, match the soil line of the young lavender plant to the soil in the new container.
After transplanting, add only a thin layer of mulch. Thick mulch layers will make it difficult to determine how moist the soil is and can therefore lead to overwatering.
Companion Planting Lavender
Lavender takes weeks to germinate - not including time for cold stratification - and it grows very slowly to start. Which makes it a great candidate for companion planting alongside annuals that grow more quickly with your lavender for the first year, especially if it is planted in a bigger pot.
We planted this year’s lavender with both a chamomile and a johnny jump up (viola), which both grew beautifully, flowered, and started dying back just in time to leave room for the lavender to start putting on real size.
Where to Place Your Lavender
Lavender thrives in full sun. And while it grows slowly regardless, it will grow agonizingly slowly in partial shade. So put it in full sun!
Temperatures over 38C (100F) should not result in sunscald on your lavender as long as it is kept well watered.
Watering Container Lavender Plants
While lavender is considered to be drought tolerant, that is mostly only true when planted into the ground. In a container, they are less tolerant of dry soil as their roots do not reach as deep and potting mix can dry out rapidly in full sun.
The key is to pay attention to the soil moisture and only water as that top layer dries out. For us that means that in full sun we water every three days in Summer, but your unique combination of soil composition, weather, container type and the age of your plant all contribute to the watering needs of your lavender.
Just make sure your lavender is never sitting in water (even if that means moving it under an eave during storms). Like most Mediterranean perennial herbs, it is not at all tolerant of soggy roots.
How to Feed Lavender
Lavender grows well in relatively infertile soil. This means that you don’t have to supplement a store bought potting mix with additional fertilizer until Fall. To renew the soil, we like to add an inch of compost to the container.
In another 4-6 months when Spring is starting, gently sidedress your lavender container soil with a low nitrogen fertilizer. That’s all it needs for the year. As always, yellow leaves are a telltale sign of poor nutrition, but this will likely not be an issue.
Harvesting & Pruning
Start pruning after the first flowering and after that prune once or twice annually. Pruning extends the lifespan of lavender by preventing it from getting too woody and helps it grow back fuller with more flowers next year.

You should start pruning after the first flowering and after that prune once or twice annually. Pruning extends the lifespan of lavender by preventing it from getting too woody and helps it grow back fuller with more flowers next year.
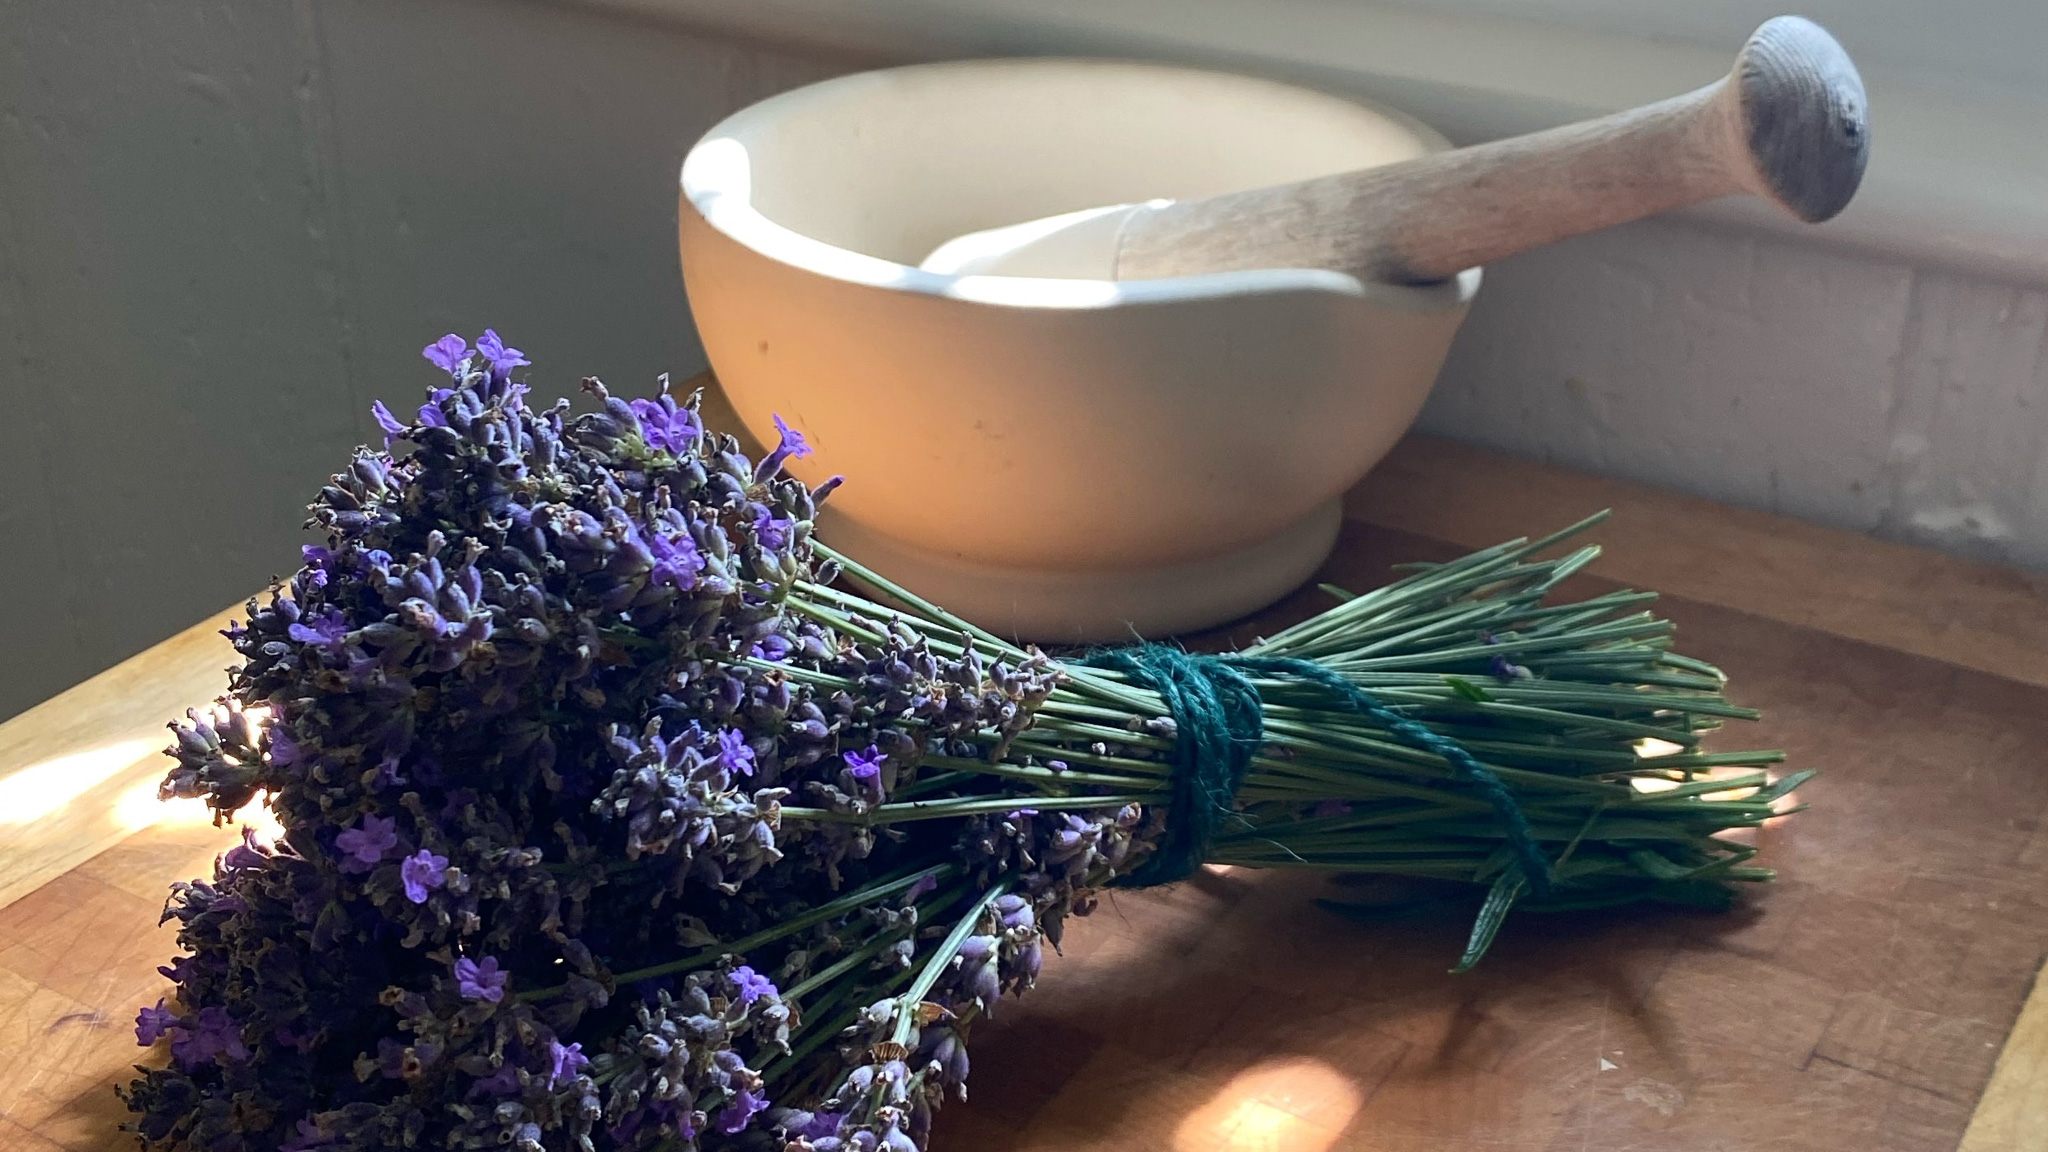
I say “pruning”, but more practically what we really do is regularly harvest from our lavender. We just do it in a specific manner to keep the plant healthy and to keep our stock of lavender buds in the kitchen full.
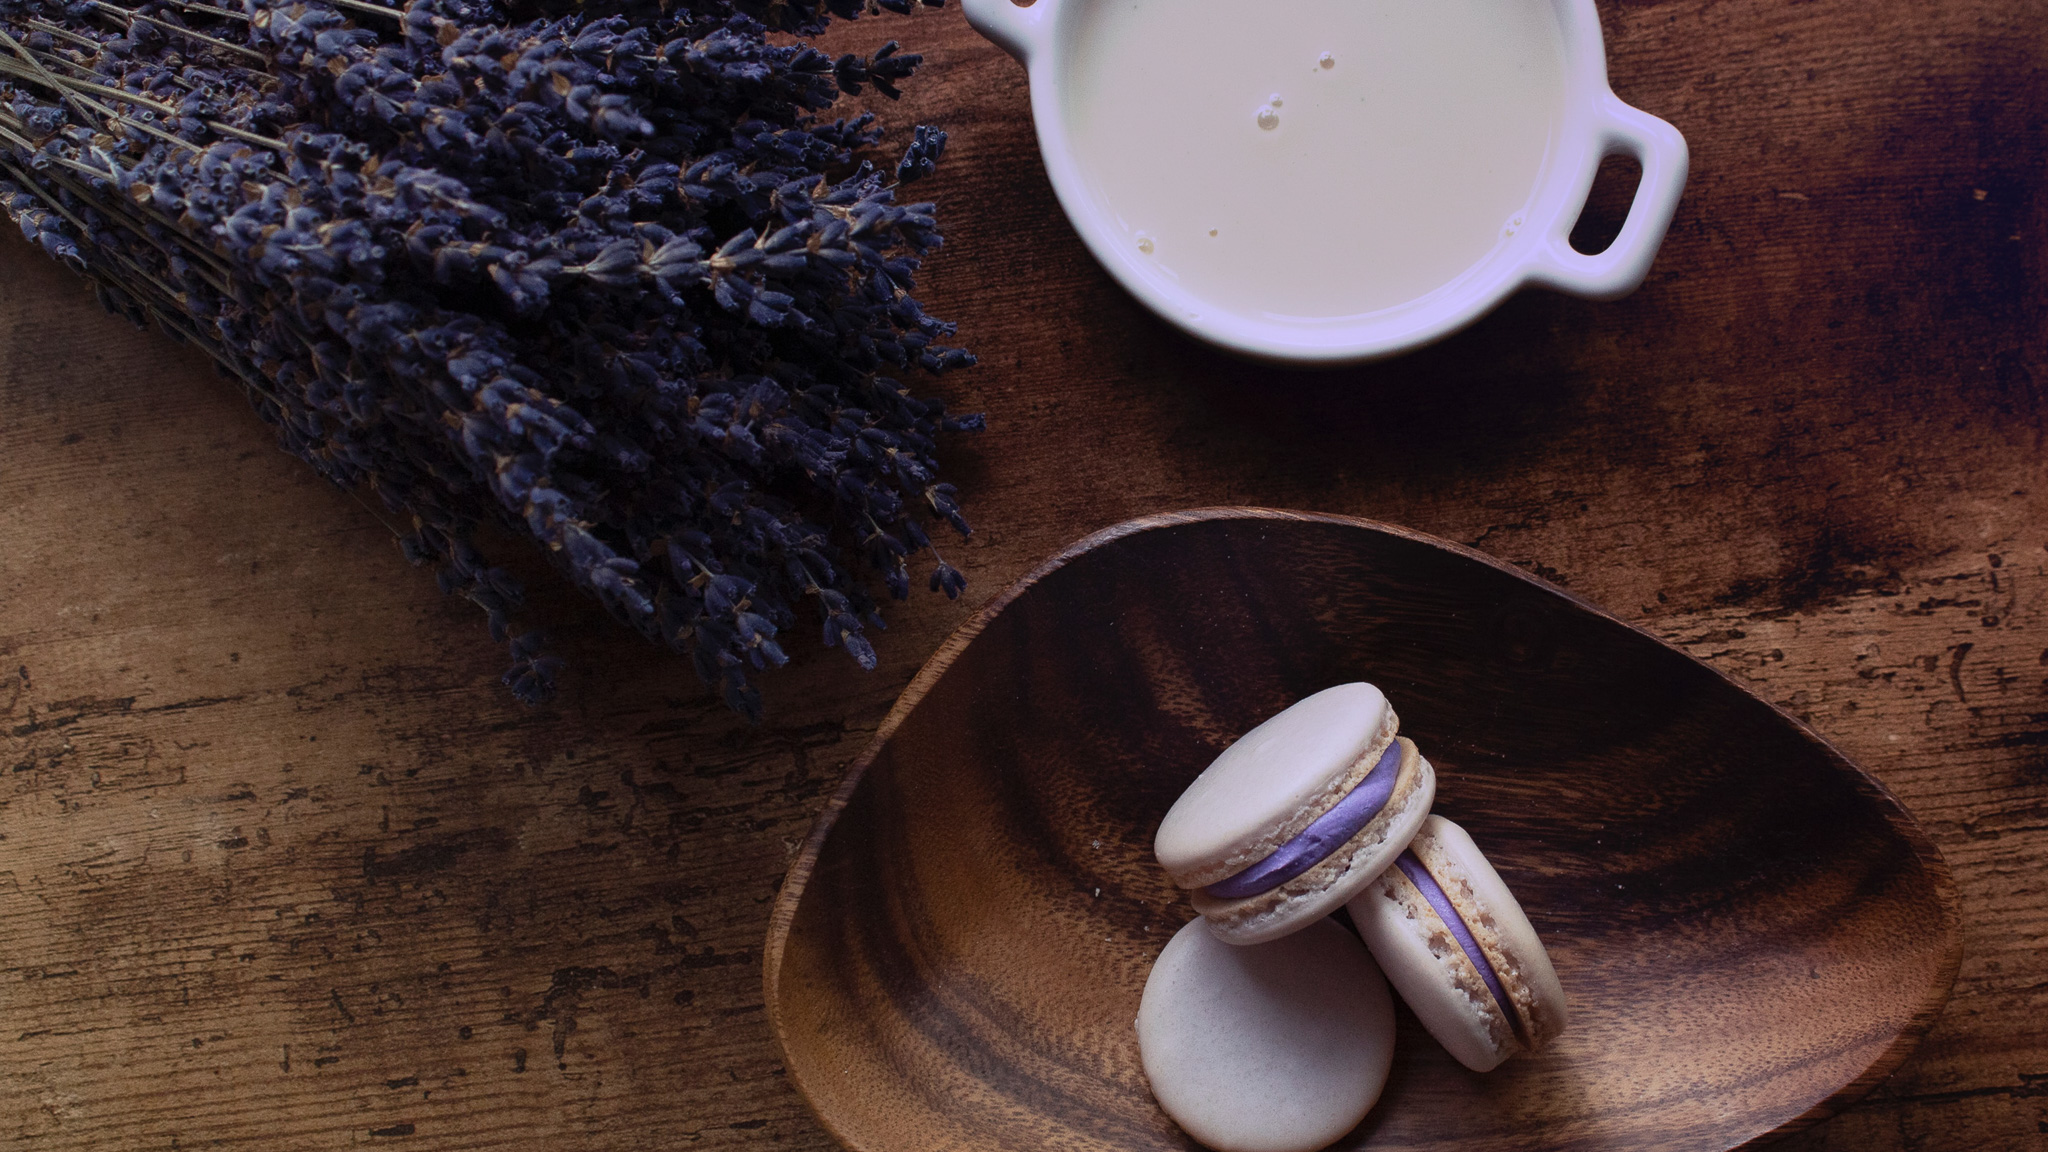
Using Lavender in the Kitchen
If, like me, you dislike the smell of lavender products and assume it would be unpleasant to eat, I recommend that you try fresh English lavender! It is subtle in flavor and pleasant in drinks, savory cooking, and baked goods.
We particularly like to mix it in with other drought tolerant mediterranean herbs like thyme, oregano and sage to create a Herbes de Provence mediterranean rub.
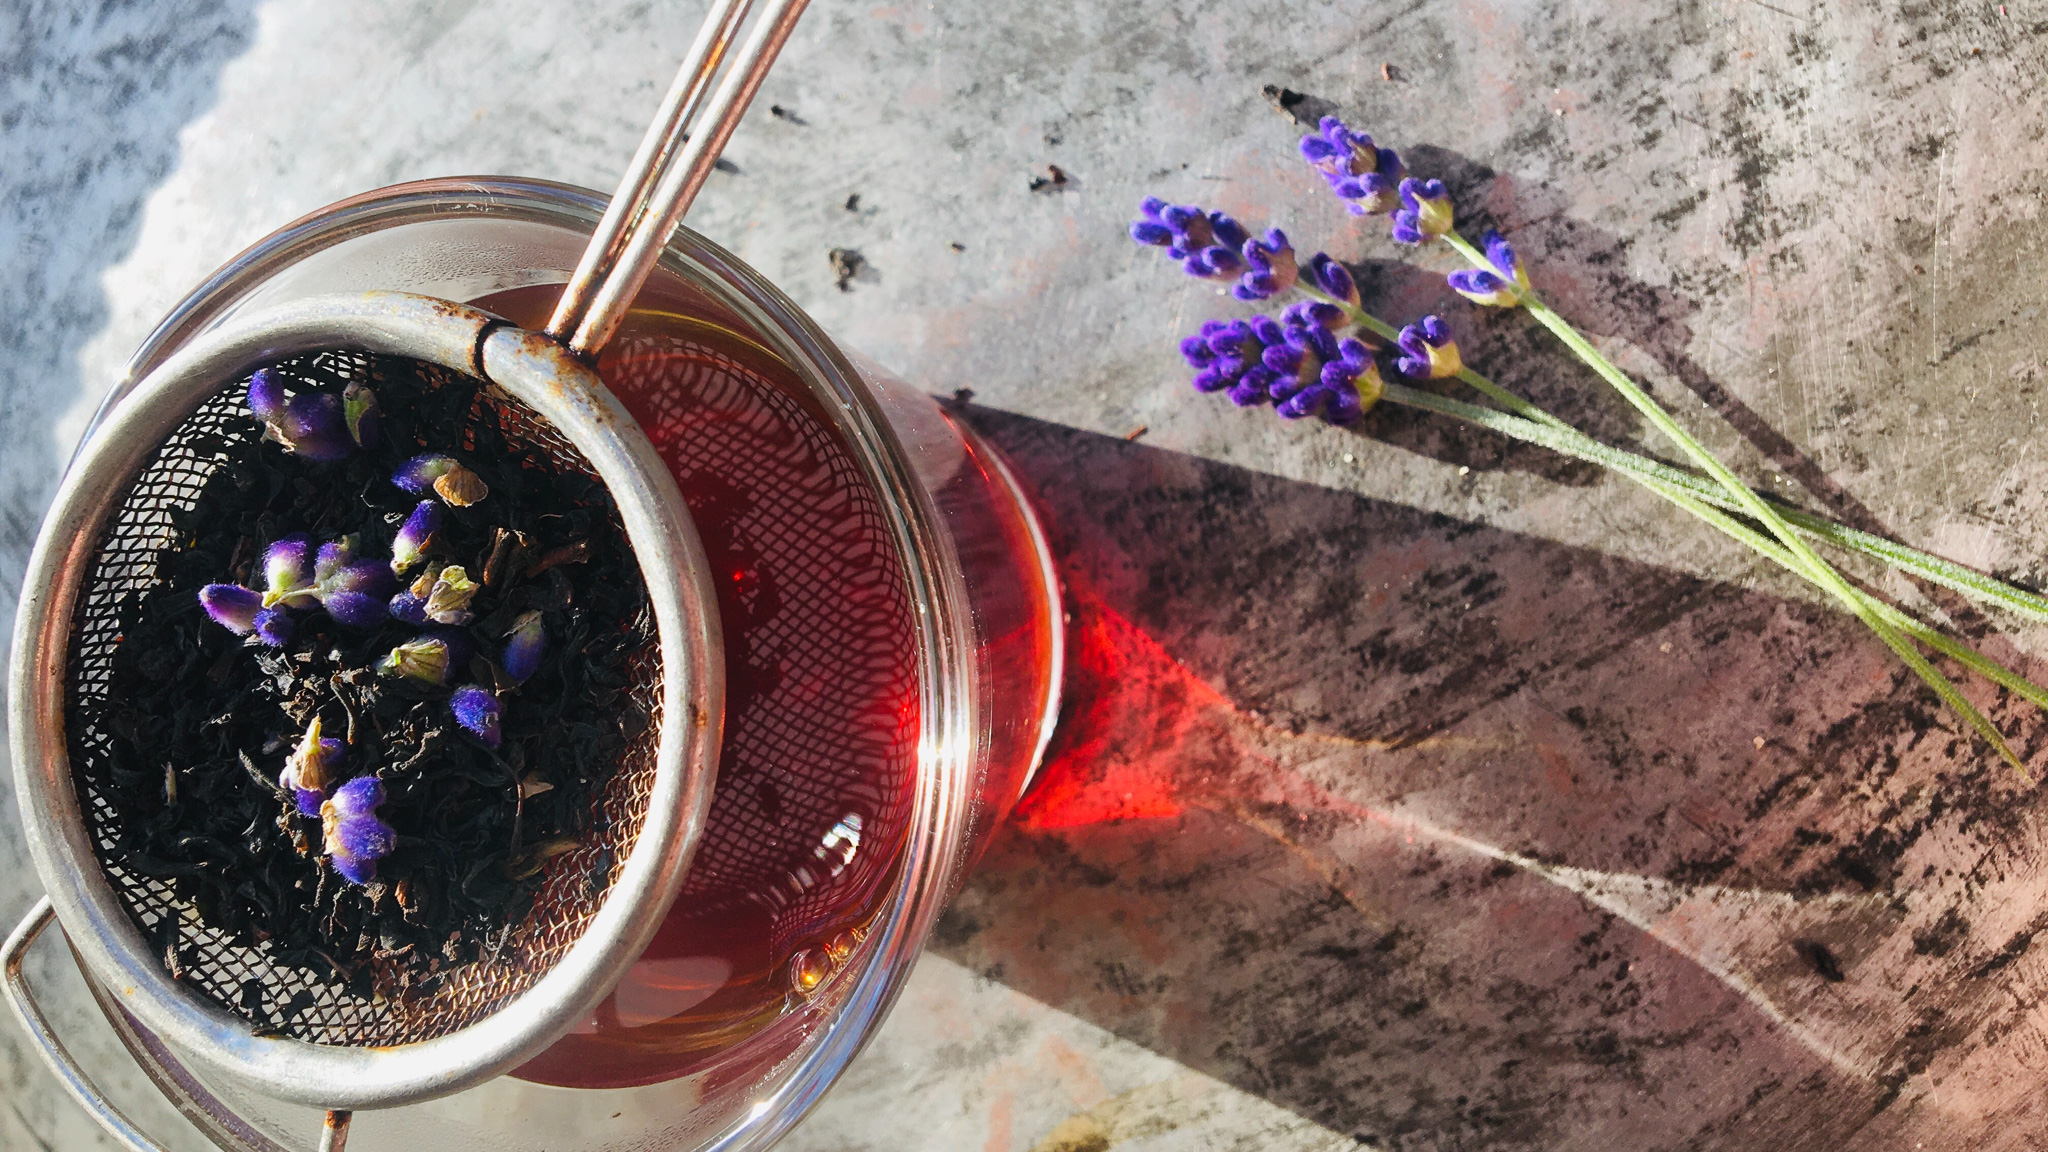
You can also infuse it into cream to make lavender ice cream, lavender butter is really nice smeared on scones or in cakes and cookies, and my favorite in the summer is to make honey lavender lemonade.
For the lemonade, simply:
- Add the buds in a tea ball infuser
- Steep in boiling water for 10 minutes
- Add honey or sugar to taste
- Add lemon (depending on how sour you like it) to ice water
- Mix together the lavender water and the lemon water – throw an extra lavender sprig in
Nothing left to do but enjoy your beautiful lavender coloring your yard for months at a time and fresh lavender treats in the kitchen! Happy gardening!