
Whether you’re on the path to full-blown food independence or just looking for an occasional source of fresh herbs and veggies, gardening is an incredibly empowering pursuit. Of course, for many of us, a large outdoor garden is impractical or straight-up impossible. But that doesn’t mean your dream of fresh veggies has to die on the vine!
Enter indoor gardening to the rescue.
Growing vegetables inside instead of outside actually carries a host of major benefits like accessibility to everyone with a window, convenience (no excuse not to tend the garden when it’s five feet away), minimal physical labor, and super low costs. Not to mention delicious, healthy outputs.
The simple act of cultivating a few vegetables inside is a fun entry point into a gardening hobby that can lower your food bill and engage your mind. Do you remember how exciting science experiments were as a kid? That’s exactly how you’re going to feel when the first seed you plant with your own hands pops up, revealing new life from dirt! It’s an indescribably satisfying feeling.
Most importantly though, producing your own food - even the tiniest amount - is liberating. And that’s what Nextdoor Homestead is all about. So put a few seeds in some dirt and find out if producing your own vegetables is something you’d like to pursue.
Let’s get into it!
Indoor Gardening Setup Tips and Tricks
Gardening how-to’s often contain an intimidating mix of complicated technical concepts and no concrete step-by-step instructions. Soil pH, seed germination techniques, companion planting… it’s all fascinating, but a little overwhelming at first.
Here’s the thing though - growing vegetables indoors is actually comically simple. Seriously. Here’s all there is to it:
- Choose seeds
- Put seeds in dirt
- Put dirt containers next to window
- Water regularly
- Transfer seedlings to bigger pots
- Water as needed
- Cut food off plants, eat food
So here’s my philosophy for beginners: Go cheap on everything, experiment freely, celebrate your gardening failures, and try lots of different plants! Low costs and low-frustration levels will keep you happy with the output of your efforts and quitting out of the question.
Fair warning, reaching the point where you know what works for you and your home will involve killing some plants. And that’s just fine. No matter the setup and plants you end up with, I promise that growing food - any food - will feel like a huge success!
Step number one: find a window to host your upcoming garden. Insufficient light is the single biggest barrier to success in indoor gardening, so carefully select the spot that receives the strongest and most sustained sunlight. A south-facing window (tip: use your phone’s map app to determine south) is typically your best bet. Just make sure that in addition to facing the right direction, your window is clean and not overly obstructed by trees or neighboring buildings.
In the name of starting cheaply and simply, skip the indoor plant grow lights and learn to work with window light for now.
Next, it’s time to do a little shopping (not too much though!):
- Seedling trays - these small plastic containers work wonders to start a ton of seeds in a small, well-organized space
- Drip trays - protect your windowsill/floors and make watering a breeze by putting these under your seedling trays
- Soil - specifically, potting soil*
- Seed packets - a few varieties of organic seeds will encourage you to experiment with lots of different plants
- Pots - buy containers deep and wide enough to support large vegetable plants. Drainage and breathability are key
- Fertilizer - your vegetables need to be fed for optimal growth and these fertilizer sticks are super easy to use. Note that for outdoor plants, we pretty much always recommend compost and worm castings instead of store-bought fertilizers
* Trust me, I get how silly buying expensive bags of dirt sounds, so let me explain why it matters. A fresh bag of potting soil - unlike dirt from a field or reused soil from an existing garden - is sanitized. It’s much less likely to contain fly larvae or other pest organisms that, once introduced to your planting area, are a huge pain to get rid of. An indoor setup doesn’t benefit from all the beneficial components of a natural ecosystem (like predatory insects that eat pests) and must be quarantined from the beginning.
You may also want to consider these optional purchases:
- Plant support sticks - to help vining plants like green beans grow vertically. But skip the expensive purpose-made plant clips and just use loose twine to attach your plants to the sticks
- Watering can - the long neck and small outlet are surprisingly helpful
- Bookcase or metal kitchen rack - if your window is tall and your plants are not (like leafy greens), a shelving unit can radically increase your usable surface area
Don’t underestimate the power of garage sales and asking friends and family to acquire some of these items - most homes accumulate a ton of unused gardening supplies they’d be happy to part with!
The Best Vegetables to Grow Indoors
Don’t worry too much about which seeds you plant first. A wide variety of seeds in the dirt is a better predictor of success than spending hours researching the perfect plant to match your home’s parameters. Use those hours to get started instead!
Similarly, if you really want to try growing a specific veggie, go for it! The worst case is not that bad (it fails to thrive).
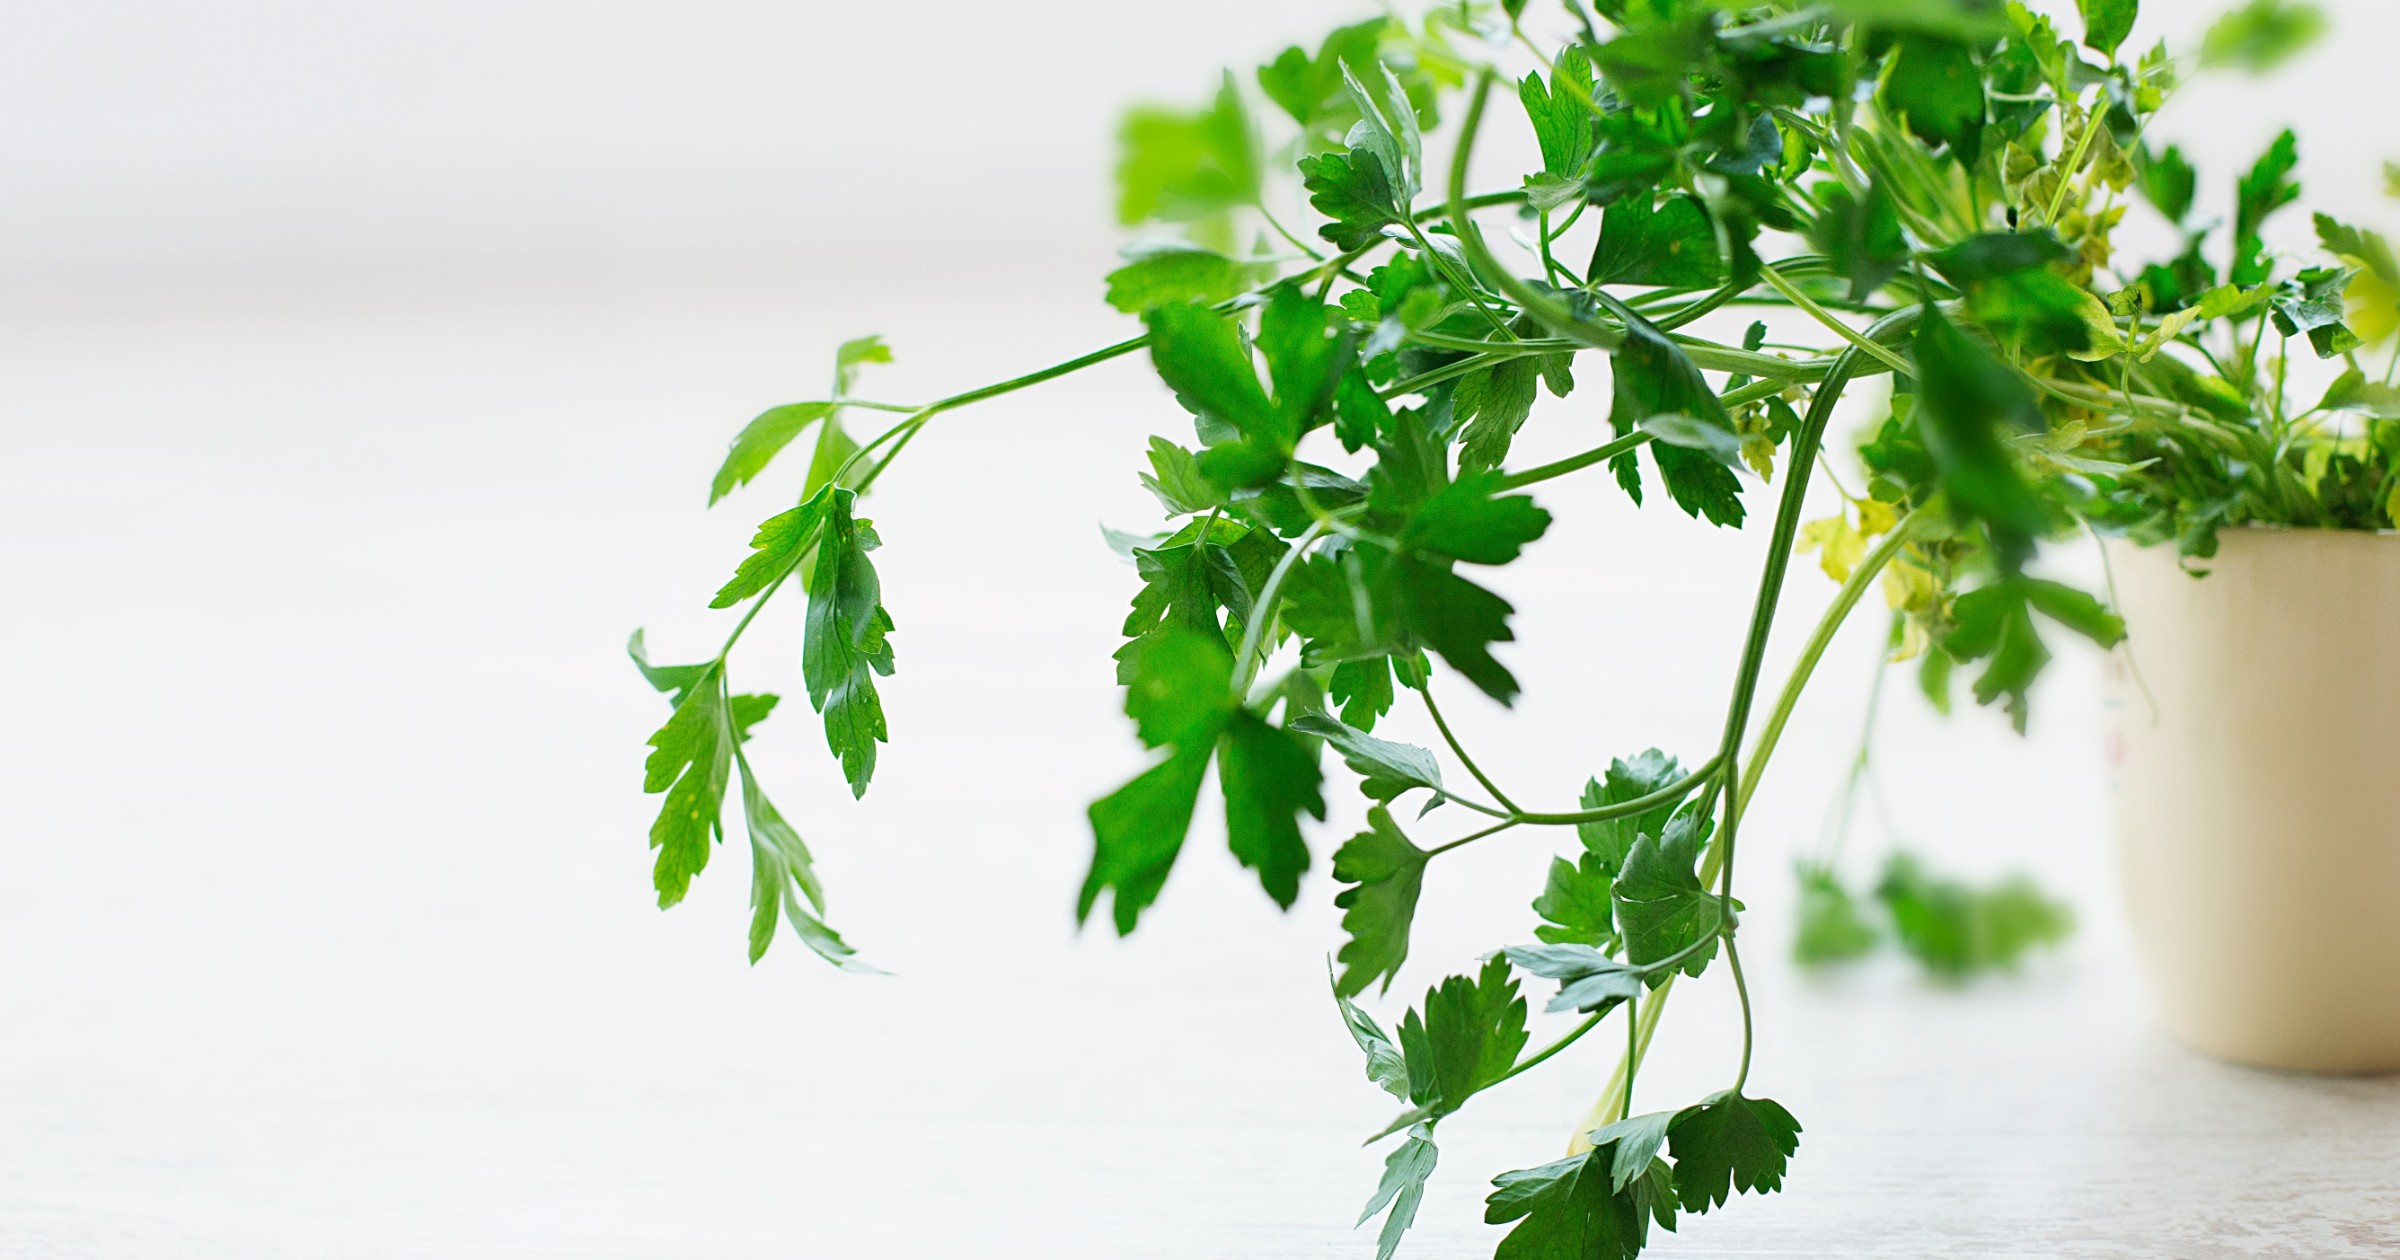
1. Herbs
Basil and parsley are traditional windowsill favorites. They’re also delightfully fragrant and pleasant to have in your own home. I can’t help but smell the basil every time I water my plants.
2. Beans
Green and yellow wax beans can thrive indoors and produce suprising amounts of food in a controlled, vertical space. After herbs, they’re tough to beat when it comes to truly satisfying indoor gardening results!
3. Spinach
Leafy vegetables like spinach, kale, and arugula are perfect for windowsill pots. Not just healthy and delicious, they grow well even in partially shaded conditions.
4. Cucumbers
Pickling cucumbers in particular are a great fit for an indoor garden. Pretty flowers, high production, and so fun to watch grow… what’s not to love?
5. Microgreens
Not a specific plant, microgreens actually refer to harvesting and eating the young shoots of a variety of vegetables. I love growing microgreens indoors because they require no culling and are still great even if they grow thin stems.
Avoid plants with high heat and light requirements and plants that grow so large (above or below the soil) that your window space and pots can’t support them. Unfortunately, that means tomatoes and squash are off the table for now.
An additional note on tomatoes: I really wouldn’t bother to start. They’re frustratingly hard to get fruiting indoors and even worse, the plants will grow great, providing a false sense of hope while taking up valuable window space without contributing food. Get some growing success under your belt and come back to tomatoes when you’re in so deep that buying indoor lights sounds like a reasonable thing to do!
Start Your Vegetable Seeds Indoors
While you could buy young plants and pot them in your home… start with seeds instead. Not only are seeds wildy cheaper, the satisfaction of seeing your first plant pop out of the soil is such an important part of the process. You’re going to be hooked!
Luckily, it’s easy to start seeds indoors. Here’s how:
1. Moisten Your Potting Soil
Moist, not wet!
2. Fill Seed Trays with Potting Soil
Don’t over-compact the dirt as it needs to drain water effectively. Leave a little room to cover the seeds.
3. Label Each Seed Cell
You can buy the expensive plastic sticks, but a simple strip of cardboard works fine. We typically use a spreadsheet app on our phone instead of any physical lable.
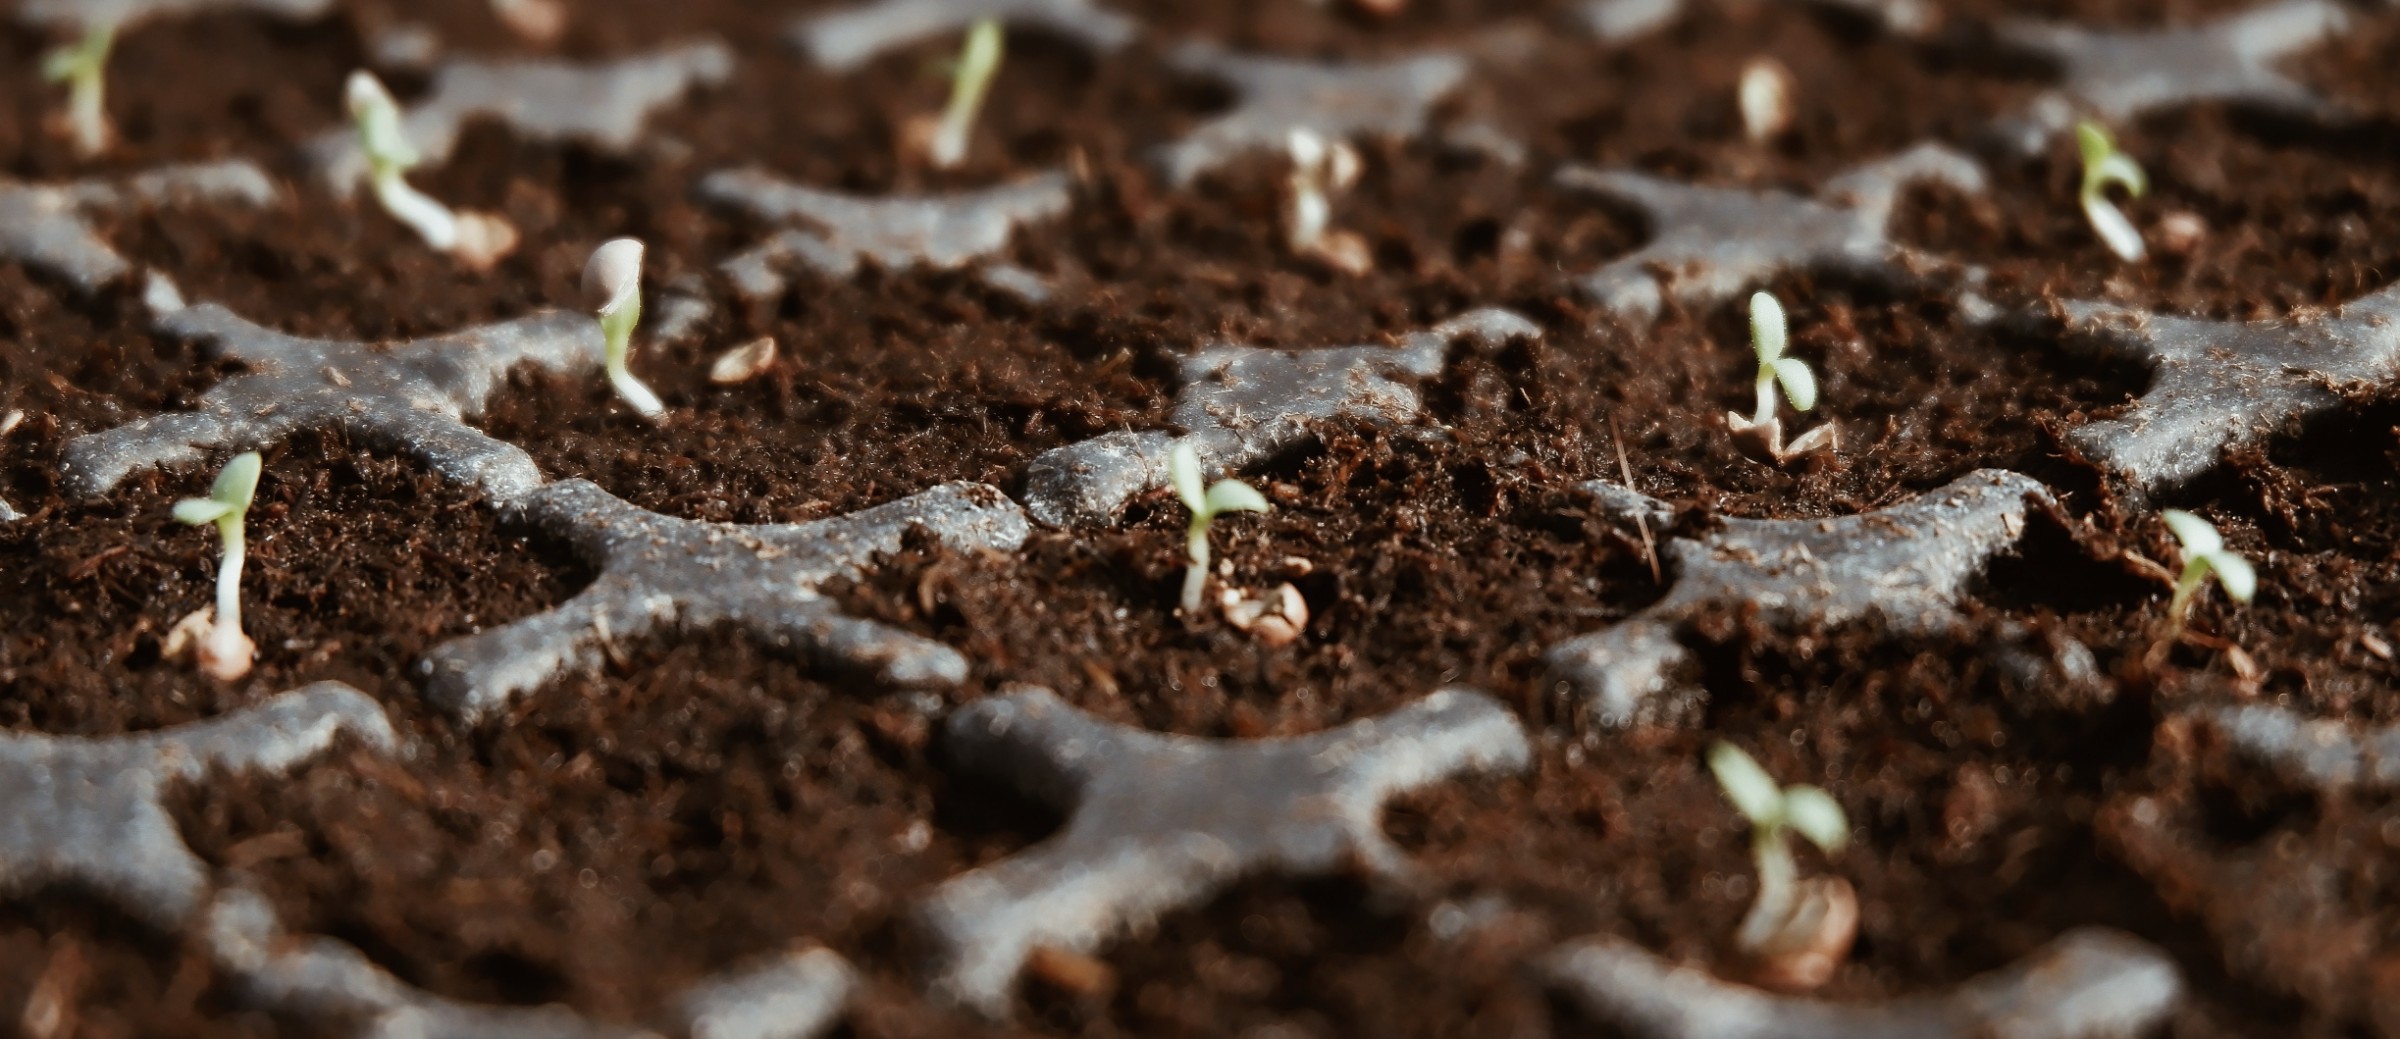
4. Lay Seeds on Soil
Add a few seeds to each cell. Don’t overload with seeds though, you’ll be surprised at how many successfully germinate. Microgreens are the exception and can support high density as they’re harvested young and small.
5. Cover Seeds with Soil
Cover carefully according to the instructions on the back of the seed packet.
6. Water Seedling Trays
Water generously, preferably from the bottom up via the drip tray. This helps evenly water the cells and doesn’t tear up the top layer of dirt where the vulnerable seeds lie.
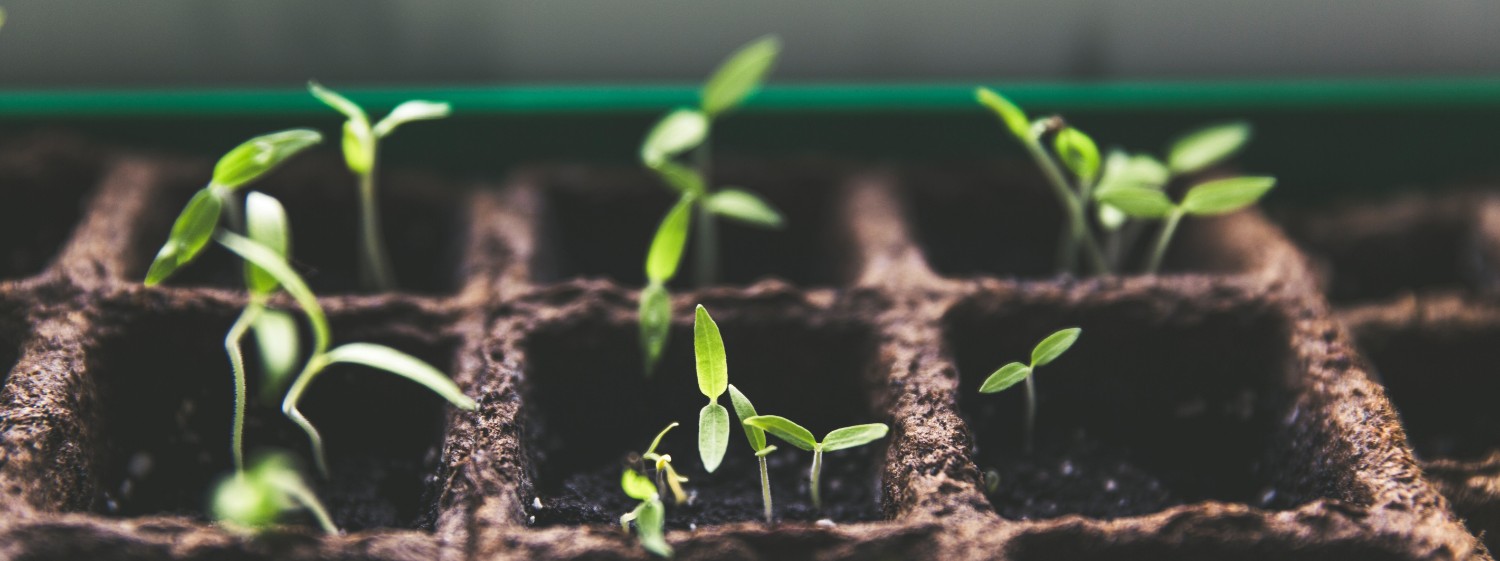
Care for Indoor Vegetable Seedlings
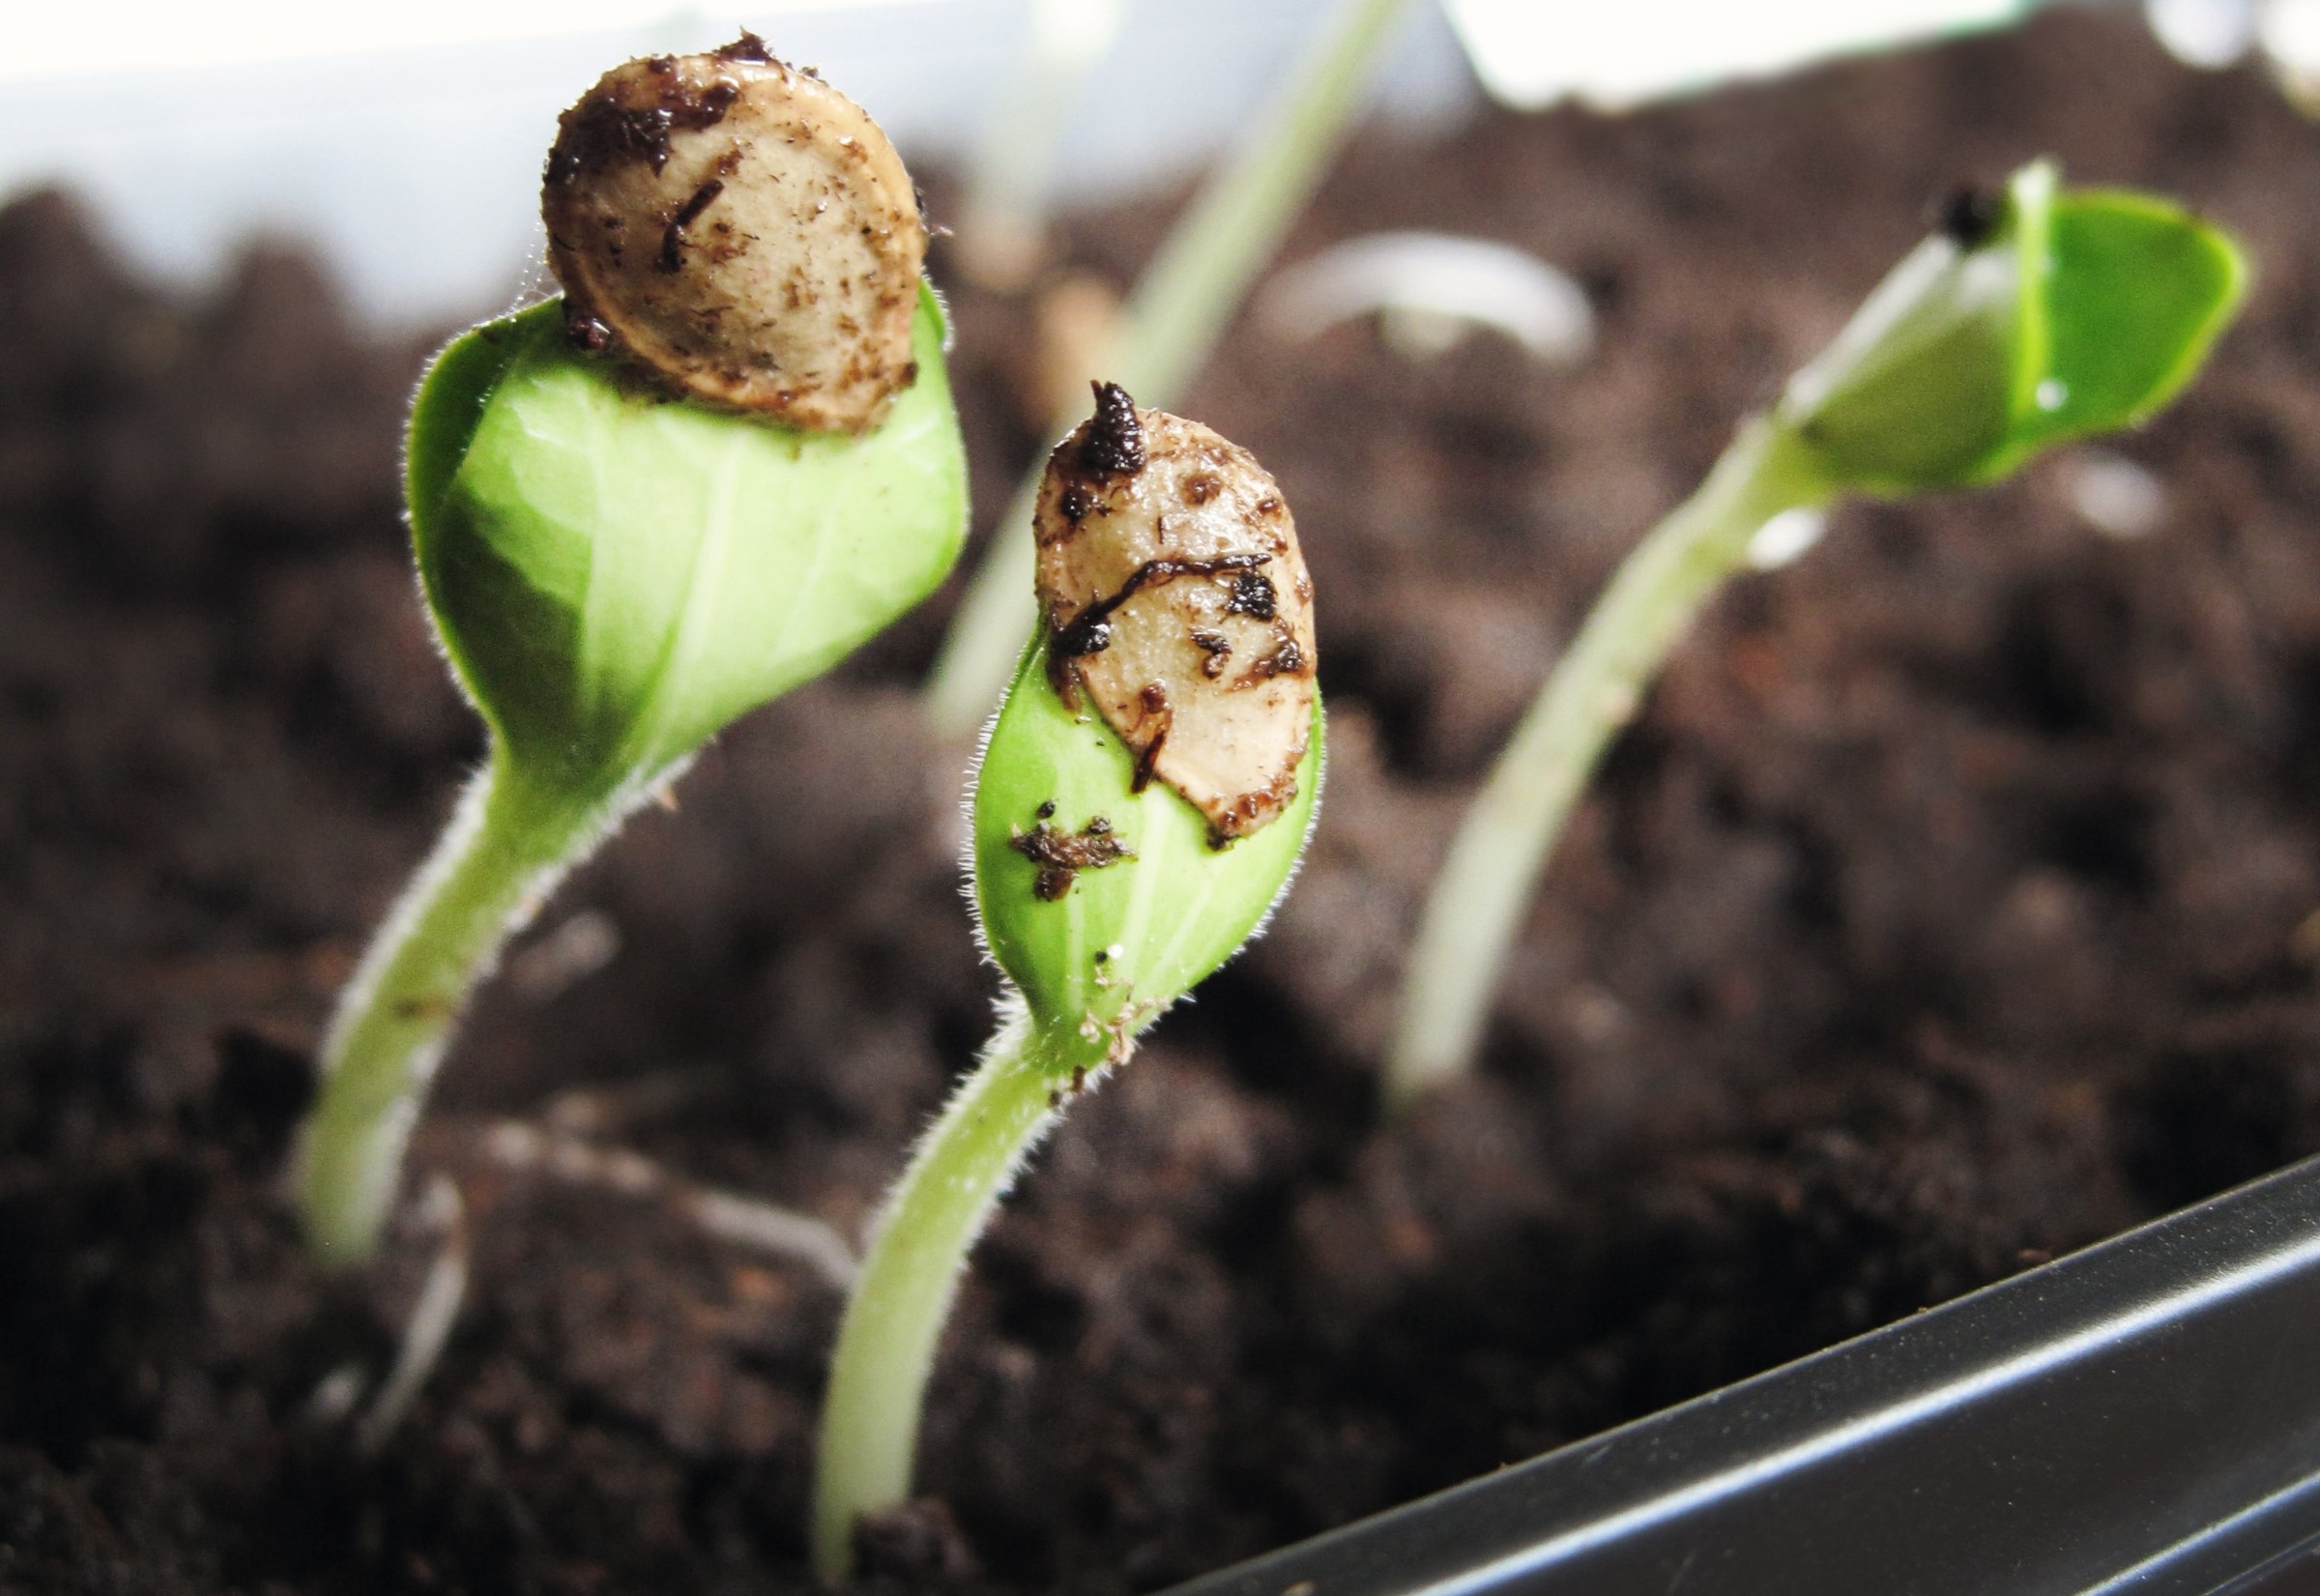
Germination times vary plant to plant, but you’ll probably start seeing new shoots pop up over the first week. From that point on, your number one goal is to maximize the sunlight your plants receive. Seedlings that don’t receive enough light grow long and thin - often referred to as “leggy” - when they don’t receive enough natural light.
The first set of leaves on your baby plants are actually not leaves at all. Known as cotyledon, these ‘false leaves’ contain a store of nutrients for the growing shoot. Once the next set of leaves come in, they’ll be immediately distinguishable from the cotyledon.
Soon, it will be time to steel yourself to begin culling the weakest plants in each cell, leaving only the strongest. You can identify the strongest plants around the time the second set of true leaves appear (don’t count the cotyledon).
While culling is never fun, it is necessary and you’ll regret not doing it while the plants are still small and have little in the way of roots.
Transfer Seedlings to Permanent Pots
Soon it will be time to rehome your seedlings into their permanent pots. You’ll know they’re ready to transplant when the roots have filled out the plastic cell and begin creating a root ball. Check to see if they’ve progressed to this point when the third set of true leaves comes in.
Your various vegetables will mature at different rates of course, but so will individual plants of the same kind; there’s no need to transplant them all at once.
When you’re ready to begin transplanting, fill your large pots with soil and water down both the pots and the seedling trays.
Remove the plant from the seedling tray cell by gently tapping to loosen and turning upside down. If you’re having trouble, try running a thin butter knife around the edges of the cell. Remember to be gentle and avoid harming the stem - leaf damage is less likely to kill the plant than stem damage.
Once out of the seedling tray, place the plant into a depression in the center of the large pot and add dirt to fill in. Avoid burying the leaves, but it’s ok if some of the stem is buried lower than it was before.
Finish by watering generously and adding fertilizer (assuming you chose to purchase some).
Care for Your Indoor Vegetable Garden
Ongoing care could not be simpler and will quickly become part of your everyday routine!
- Water when the soil begins to dry out and turns a lighter color. Before long, you’ll develop a feel for how much and how often. And don’t forget - you’re in experimentation mode so don’t sweat it if a few plants die from over or underwatering. It’s all valuable experience.
- Monitor the soil for the presence of mold, which is an easy indicator of overwatering. Luckily, it’s typically easy to remedy too - pull back on water for a bit and then adjust down your watering schedule.
- Physically rotate your plants regularly to keep them growing straight and strong
- Prune dead or dying leaves aggressively
- Plan your next batch of seeds to plant and never let good window space go to waste!
Learn More About Growing Vegetables Indoors
Indoor plants are all the rage right now and you’re officially on your way to the coolest set of houseplants there is. If a succulent is impressive, food crops are off the charts.
While we’ve moved most of our plants outside, we absolutely loved growing food in our little urban apartment. And I genuinely hope you do too. If you want to keep the good times rolling with more gardening education, here are a few of my favorite resources:
- The Market Gardener by Jean-Martin Fortier. This book has nothing to do with indoor gardening specifically, but Jean-Martin’s pragmatic, experimental, and efficient approach to food production is endlessly inspiring to me. I hope it proves the same for you.
- Best Vegetables You Can Easily Grow in Your Kitchen [video] by GrowingYourGreens on YouTube. A solid intro to growing microgreens indoors.
- My Top 3 Plants to Grow When Indoor Gardening [video] by MIGardener on YouTube. This video dives deeper into the factors that make some vegetables more likely than others to succeed and produce indoors.
- Starting Vegetable Seeds Indoors: Planting, Watering, Feeding Tomatoes & Peppers [video] by Gary Pilarchik on YouTube.