It’s a wonderful time of year when our tomatoes finally grow large and established enough to flower and set fruit. To make the most of our growing window, let’s cover fertilization strategies that will keep your tomatoes happy, healthy, and super-productive without wasting time and money on stuff you don’t need.
If you prefer to watch your gardening tutorials, we’ve made the same content into a video as well.
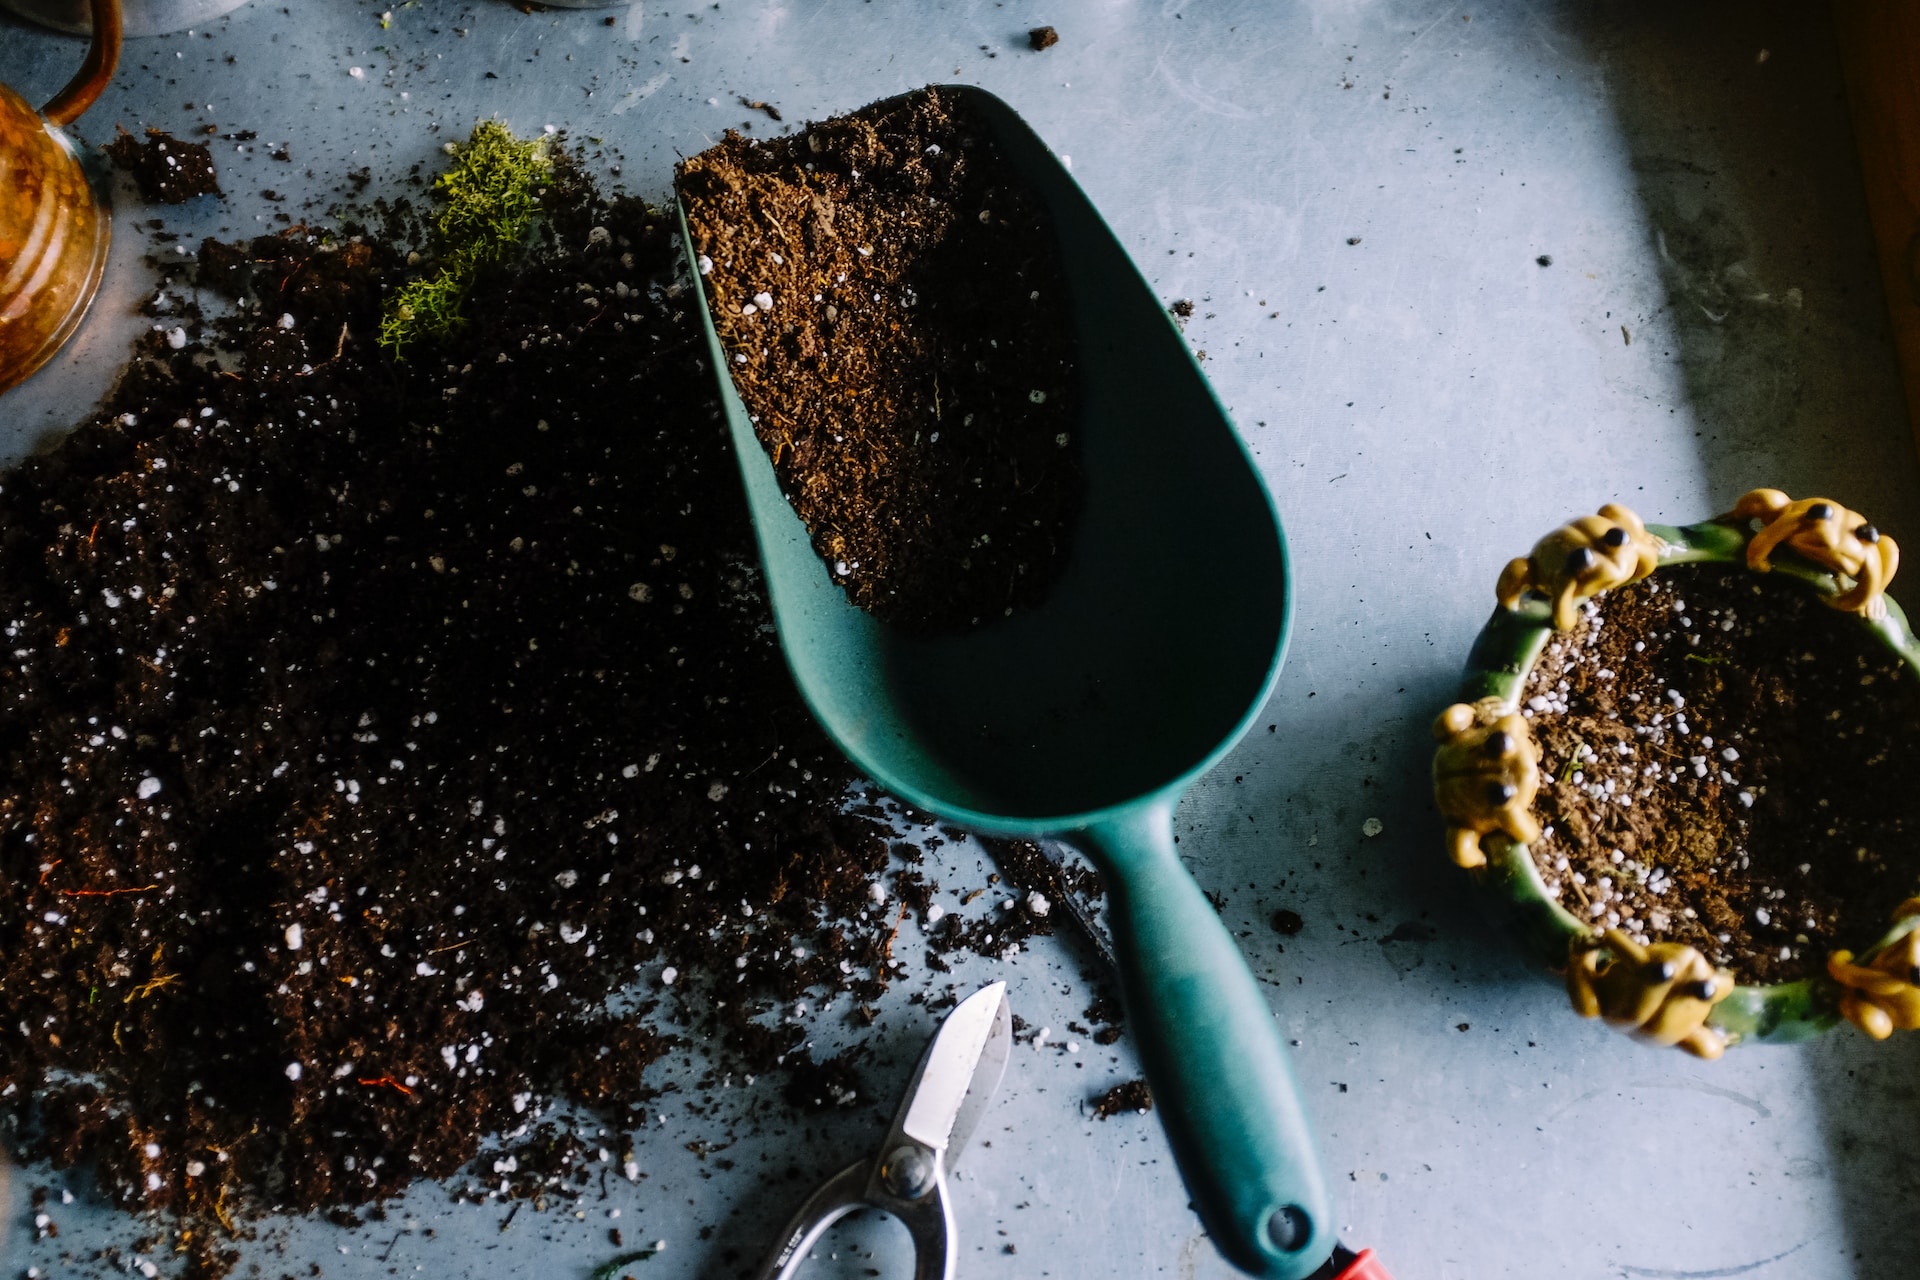
Tomato Fertilization at Seedling Stage
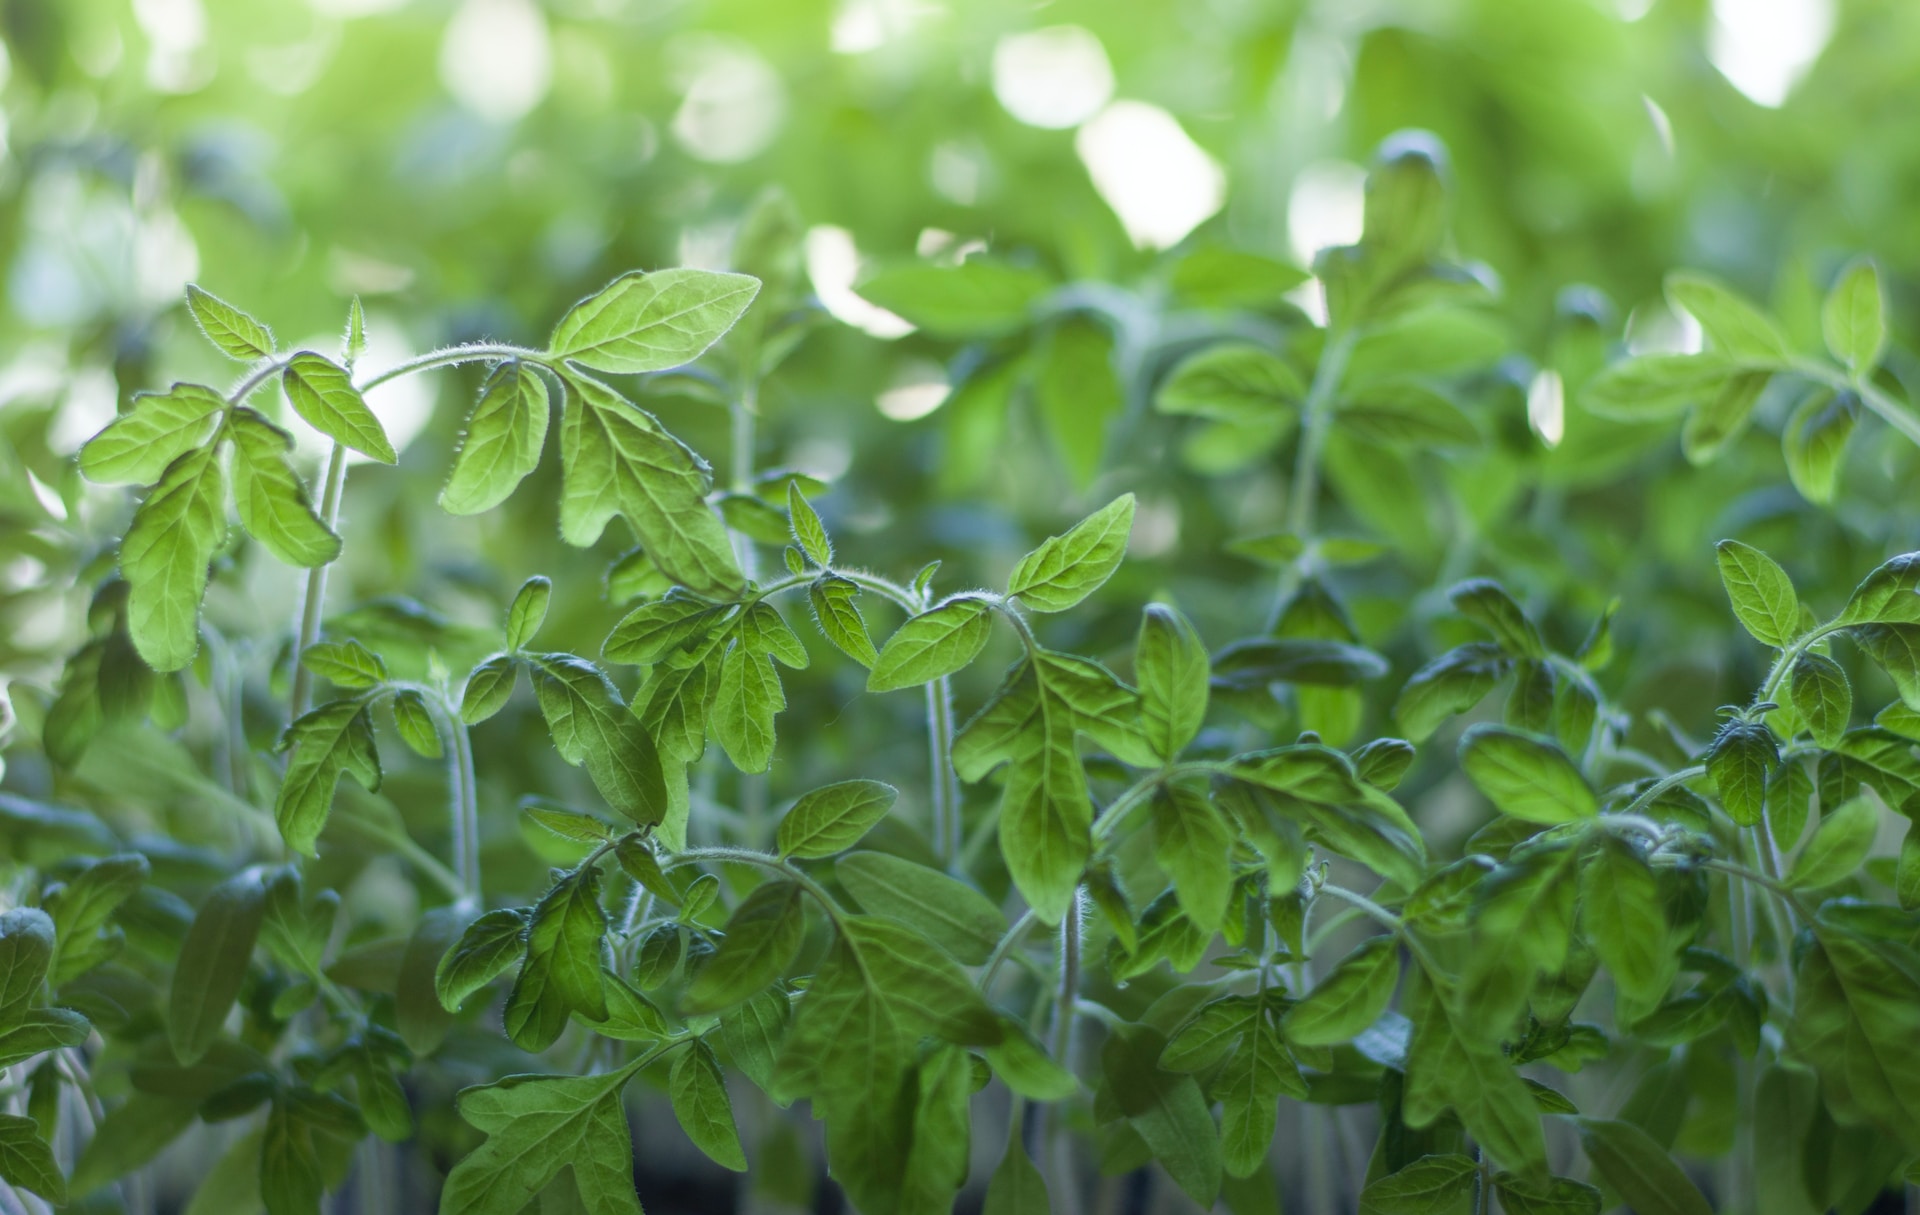
Newly germinated seedlings don’t need supplemental fertilizers right away because they feed themselves via energy stores in their seeds. But to play it safe, we prefer to make sure that the medium we start our tomato seeds in contains at least a small amount of plant food.
If you start your seeds in an inert medium like a commercial seed starting mix, you can add a small amount of fertilizer into the mix before planting or feed them when they develop their first set of true leaves with compost or a diluted liquid fertilizer.
Seedlings started in a quality premade potting mix have what they need for a little while longer.
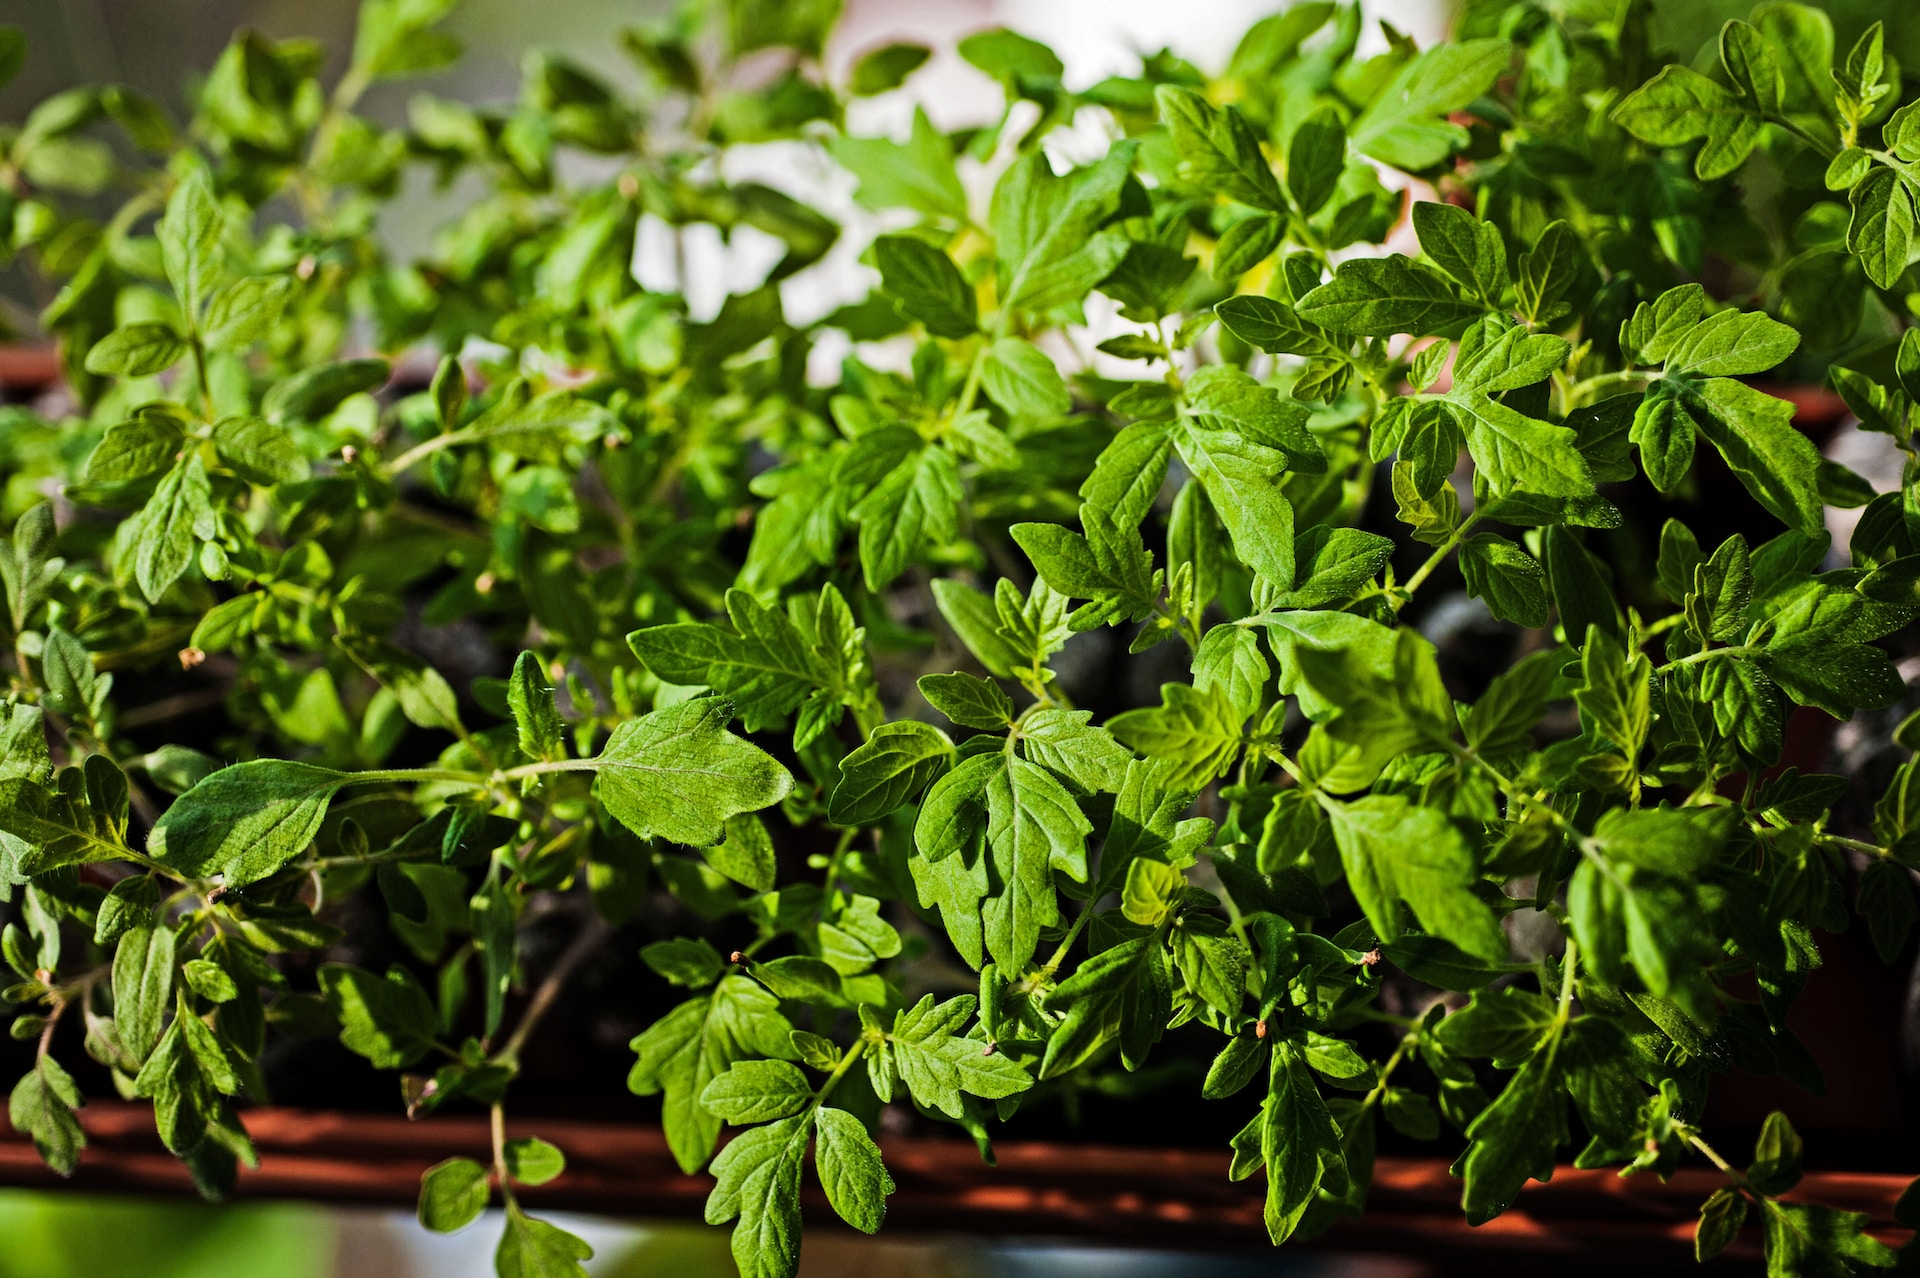
Tomato Fertilization at Potting Up Stage
Tomatoes do best if repotted into a larger container at least once before you transplant them into their final home. And it’s a good practice to feed them again a few days after they settle into that intermediate home.
The most important thing to keep in mind when your plants are young is that it’s all about balance. They need to be fed or they’ll become stunted, potentially permanently, but you don’t want to encourage too much growth when they’re not yet receiving enough light to support that growth. I’ve had the best results starting seeds in a sifted potting mix that already contains a mild fertilizer and then potting them up into a mix that contains lots of compost and worm castings. This takes a lot of the risk out of it.
Depending on how long you plan to leave your plants in a container, you may need to repeat this step every two-three weeks or earlier if you notice any signs of nitrogen deficiencies.
While your seedlings are putting on size in their intermediary containers, it’s time to start thinking about preparing your soil before there’s anything planted in it. But I’ll just tell you right away that I don’t recommend adding concentrated NPK fertilizers as you prepare your soil ahead of time.
We’ll get into the biology of why here in a second, but for now as those tomatoes are still growing in their pots, focus on preparing soil that is:
- High in organics by adding things like compost and aged manure
- Moderately acidic pH
- Well draining as tomatoes - like all nightshades - are susceptible to root rot when there is too much moisture surrounding their roots.
If you’re like me and your native soil is heavy clay with no organics and absolutely terrible drainage, do not give up! You can still grow tomatoes as they actually do great in a mix of native clay, steer manure and compost. Even in a new garden with poor soil, tomatoes can thrive with only 50 cents in amendments!
In these more difficult soils though, it all comes down to the compost and manure added to the soil, a regular pruning practice, and a watering schedule that waters deeply, evenly, and infrequently. And mulch… lots of mulch.
If you do elect to add concentrated fertilizers ahead of transplant, make sure it’s not something that’s going to just get washed away before the tomatoes are even in the ground. A slow-release organic granular fertilizer will keep you from wasting money on fertilizers that won’t even be around when they’re needed.
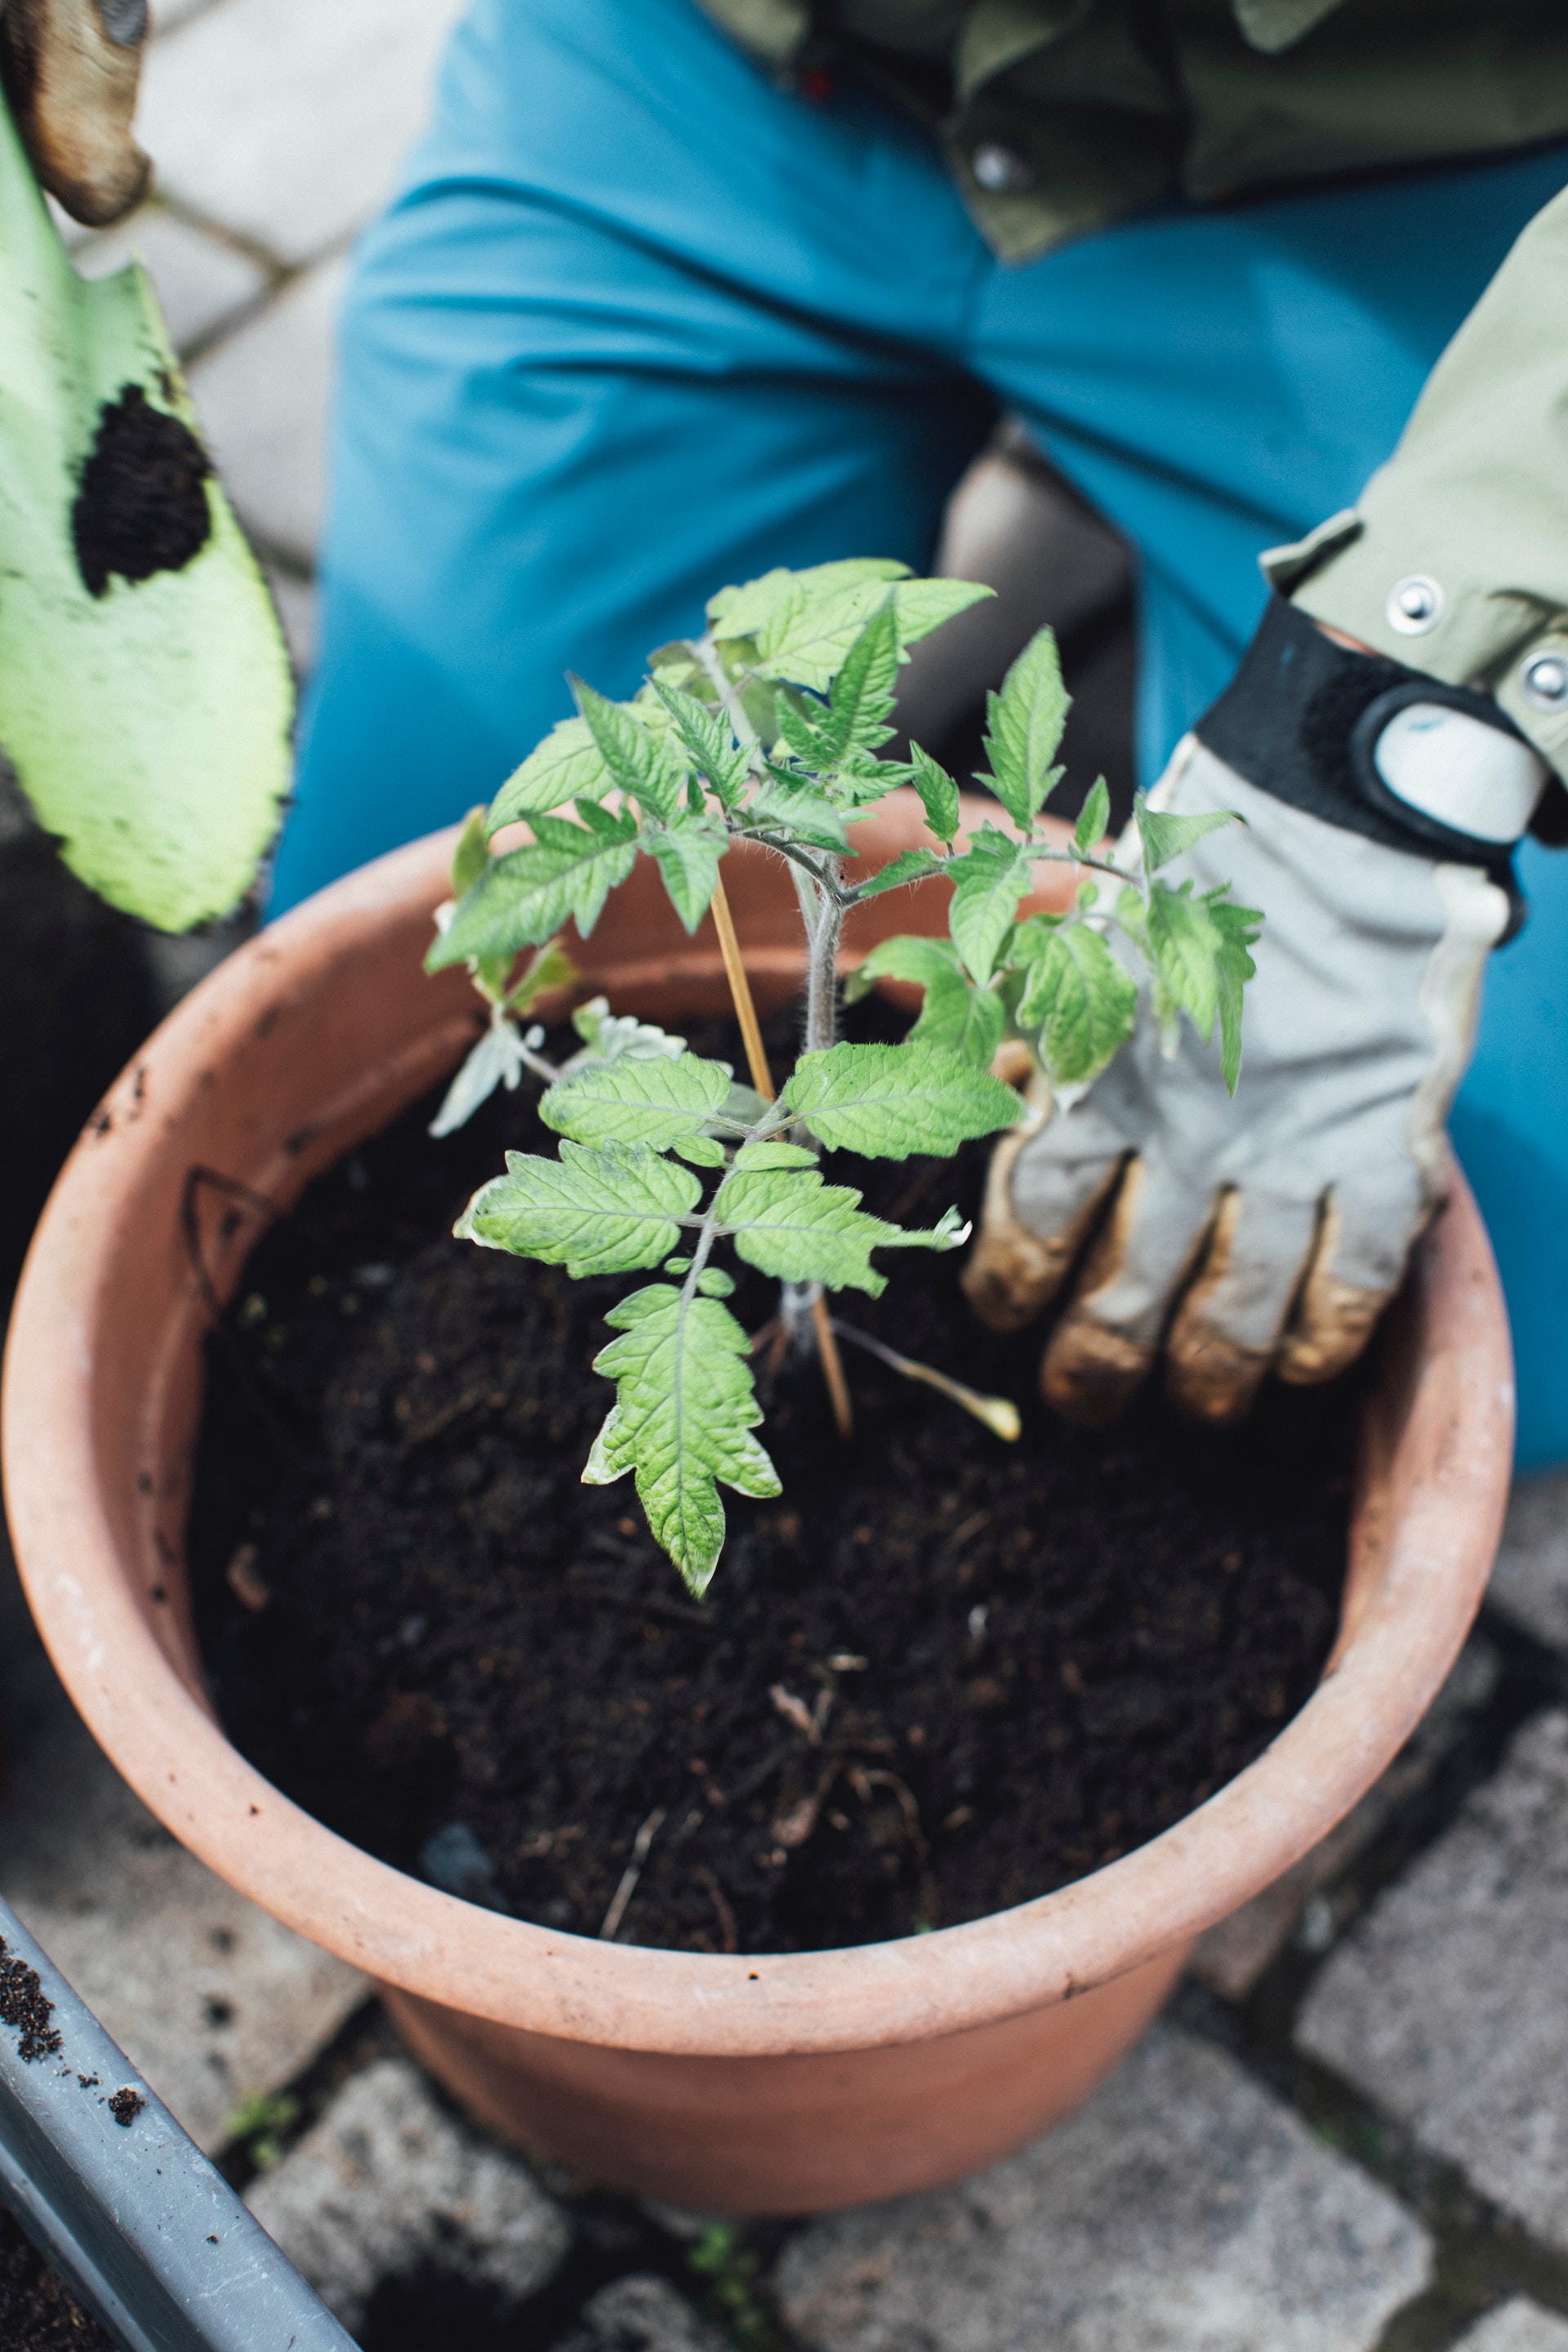
Starter Fertilization on Transplant Day
After you’ve got your soil generally prepared, it’s time to think about how you want to fertilize your tomatoes at the point of transplant. If you’re willing to run a soil test, the results will really help you make a more informed fertilizing plan and schedule. But practically speaking, most of us aren’t going to do that (at least not every year) so we’ll just make solid fertilization choices for the majority of soils.
Transplant day is the ideal time to mix in either a balanced fertilizer with plenty of nitrogen and phosphorus like a 10-10-10 mix or a more specialized fertilizer that’s moderate in nitrogen, higher in phosphorus and low in potassium - all the way up to a 10-34-0. Or if you did a good job amending with organics like compost, you can just use a low-nitrogen, vegetable fertilizer!
I won’t wade into the debate around organic vs. synthetic today but I do have a 1 minute video showing you how to quickly look up how much of both the good and bad stuff is in your fertilizer in a video.
Now, let’s get back to why we didn’t add a concentrated fertilizer earlier when prepping our soil. It’s important to know that tomato plants take up a minority of their nitrogen - less than 30% - before fruit set. Most of the seasonal growth and nitrogen uptake occurs between the early fruit set and the early red fruit stage. Because of this late nitrogen uptake, the nitrogen needs to remain in the root zone for a relatively long time before plants take it up and this is why adding nitrogen at the time of transplant is more efficient. Compost and manure during soil prep, moderate nitrogen at transplant and small amounts of nitrogen during the growing season is both an effective and efficient receipt that reduces wasted fertilizer.
Mixing in that high phosphorus fertilizer at transplant is good because phosphorus supply is most limiting early in the season, when the soil is cooler and the root system of the crop is still small.
Potassium uptake is slow until the fruit set begins. Up to this point, the plant’s need for potassium is probably covered by the soil. But most of us aren’t going to go out and buy or make a fertilizer with little or no potassium, it’s just a bit much for the home gardener or homesteader. So just make sure you aren’t overdoing it with your fertilization and follow your package’s instructions (or even apply less). You absolutely can hurt your plant’s roots with too much fertilizer, especially very strong synthetics. Assuming you’re transplanting in established tomatoes and not starting them from seed in the ground, the placement of the starter fertilizer can be done beforehand by mixing it into a planting hole. You can dig it into the soil after, slightly offset to the side so that it can be reached by roots growing out of the root ball, but it’s generally less effective.
You may have heard that tomato roots can grow extremely deep, greater than 3 feet deep, but keep in mind that the majority of roots are found in the top 18 inches of soil.
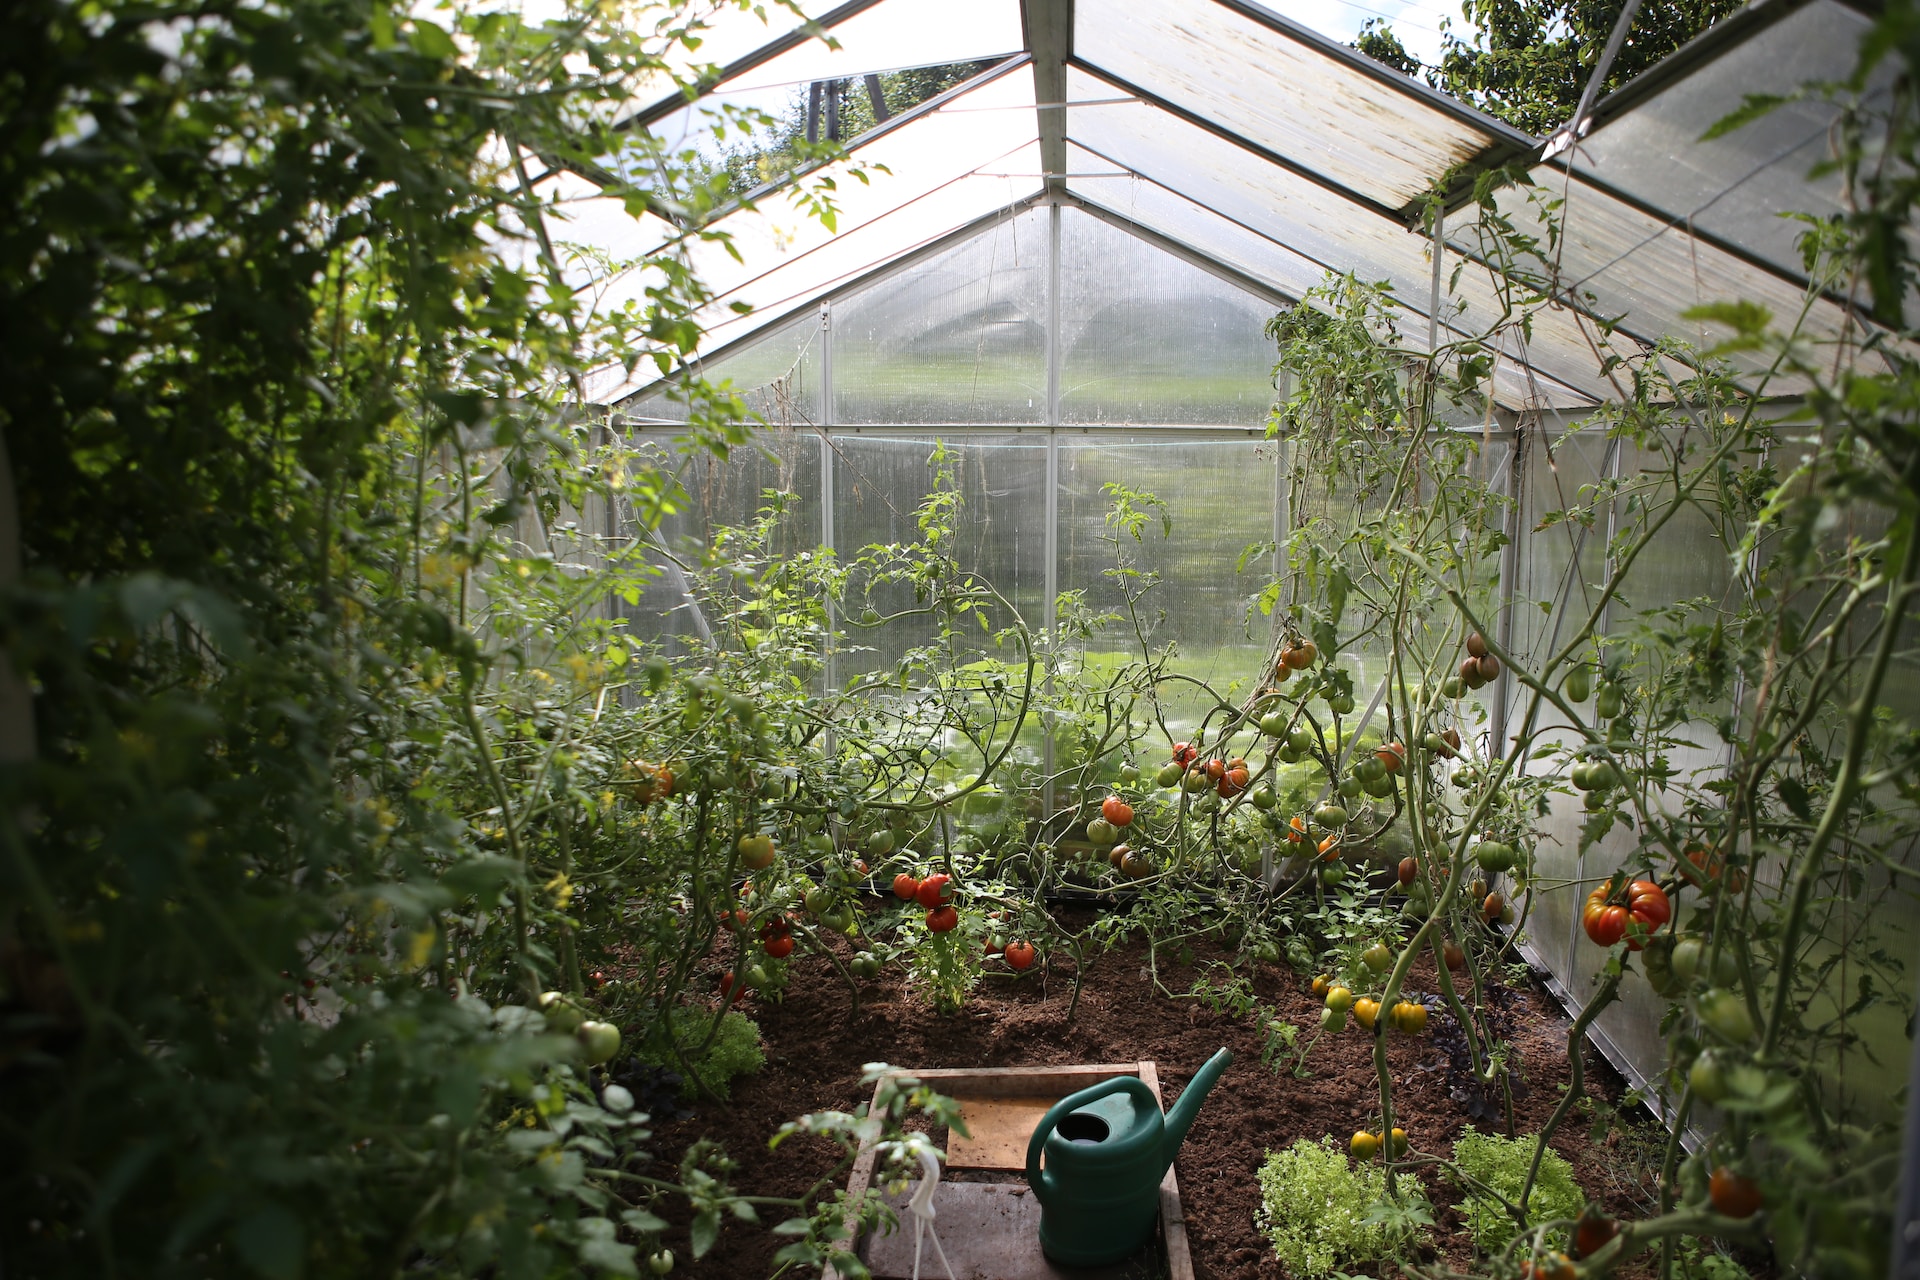
Side Dressing During Flowering and Fruit-Set
Before we get into the details of feeding more mature plants, you should know that if you amended your soil with lots of organic material earlier in the season and mixed in a balanced fertilizer before transplanting, you’ll probably get a decent harvest even without any further feedings! Particularly if you’re growing a faster growing, determinate tomato plant. But for the best harvest, and certainly the best harvests with indeterminate tomato plants, we want to periodically sidedress our plants with supplemental fertilizer. I like to time the first fertilizer side dressing to coincide with when the plants flower and set fruit, usually about 4-6 weeks after transplant. At this point, I want to make sure my plants have potassium available first and foremost and nitrogen second. Too much nitrogen is counterproductive since at this point it encourages an overabundance of foliage that I’m going to manage through pruning anyways. Phosphorus levels are probably not depleted but again, it’s OK that it’s present in our mix. Gotta find that balance between practical and optimal right? For side dressing plants that are starting to set fruit, my fertilizer of choice is still a dry, granular option, but transplanted tomatoes should get a lower nitrogen content fertilizer. Granular fertilizer is cost effective as you can buy it in large quantities including your organic choices, easy to apply as there’s no prep work involved and it doesn’t need to be applied as frequently as a liquid fertilizer. Liquid fertilizers can be terrific for pros with automated applicators (fertigation) but I think granular wins out for home gardeners and homesteaders. Similarly I don’t use any foliar fertilizers - the type that you spray directly onto the leaves - because they’re not necessary in a home garden or homestead context where we’re watering by hand or using drip irrigation and can easily apply fertilizer side dressings. To sidedress your plants with more plant food, create a small furrow about 4-6 inches away from the plant stem. This is one of the few times lots of mulch can be a pain to deal with, but just do your best to get at the soil line. Then sprinkle in either the recommended quantity of granular fertilizer or more often, a reduced amount, and bury it in a bit. After that, it’s just a matter of fixing up our mulch layer and watering it all in.
If you’re short on time and patience though, you may prefer spike fertilizers. They’re super easy to use, they’re slow release, and I’ve gotten great results with them. They’re just also a lot more expensive. Good option for a small tomato garden, but not an economical choice for a bigger one. Now, at this point if you’re growing determinates keep in mind that nutrient uptake slows in the final 4-6 weeks before harvest, with the fruit drawing nutrients out of the vine. Depending on the timing of your initial feedings here, you might need only one more side dressing. Because long season indeterminate plants do not have one big flush of fruit though, you will want to sidedress fertilizer in the same exact way every 4-6 weeks during the growing season. So if you grow into September, that means three or four more applications. Good thing we went with an affordable granular fertilizer!
Alternative Amendments and Fertilizers
What about epsom salt? Or egg shells? Coffee grounds? Banana Peels? We simply don’t use them unless you count adding those last two to the compost heap. I’m not particularly worried about deficiencies in micronutrients like magnesium considering the amount of compost, worm castings, and fertilizers we use. Same with egg shells for calcium - the research is fairly conclusive at this point that blossom end rot is caused by environmental stressors and not a calcium deficiency in most cases. Granular veggie fertilizers will usually have calcium anyways from ingredients like bone meal. In case you’re wondering, compost and worm compost can suffice on their own without additional fertilizer provided they’re used in sufficient quantities and reapplied through the season. That said, I do think there’s a little bit of wishful thinking around worm castings in particular - it’s a hugely beneficial ingredient but not because it provides the major nitrogen, phosphorus, and potassium nutrients in any significant quantity. It just doesn’t. And compost is ultimately pretty mild stuff too, so by relying on just those two you are probably sacrificing some yield. For a lot of stuff we grow, that loss in production is not a problem. I like to rely on compost and vermicompost as much as possible to keep costs down and to control the quality of my inputs but I also want to be honest with you about their limitations! Adding store bought fertilizer directly to plants ensures sufficient nutrients and that in turn helps give them the best chance against diseases and pests. Our tomato patch is a converted lawn space and the balance between pests and predators is skewed towards pests and those pests spread diseases. If you’re setting up a new garden that’s vulnerable to those sorts of imbalances too, keep in mind that a plant with proper nutrient uptake is better able to withstand those external stressors. Tomatoes are just such a popular garden plant that there are hundreds of recommended growing strategies out there. I’ve tried to stick to fertilization guidelines from university-backed commercial tomato garden research in this article.
That said, it was impossible to avoid some anecdotal recommendations based on my experience, so please keep in mind that I’m growing in a hot, dry climate with a long season and have truly horrendous native soil. I also grow mostly heirloom tomatoes that are a little more finicky than the more robust modern hybrids out there. Tailor your approach as needed.
And that’s all I’ve got for you today! Happy gardening =)