When my wife and I were living in a tiny urban apartment, I tried growing just about everything I could on a windowsill in cheap plastic buckets. The tomatoes were a failure, the lettuce was just not worth it, but the beans occupied this magical confluence of plants that produce a lot of food, can grow anywhere, and thrive in whatever container you give them.
By reading through this short article, you’ll every step of how to grow beans in a container from seed to harvest.
If you prefer to follow along as we go through these same steps in our garden, check out the companion video here:
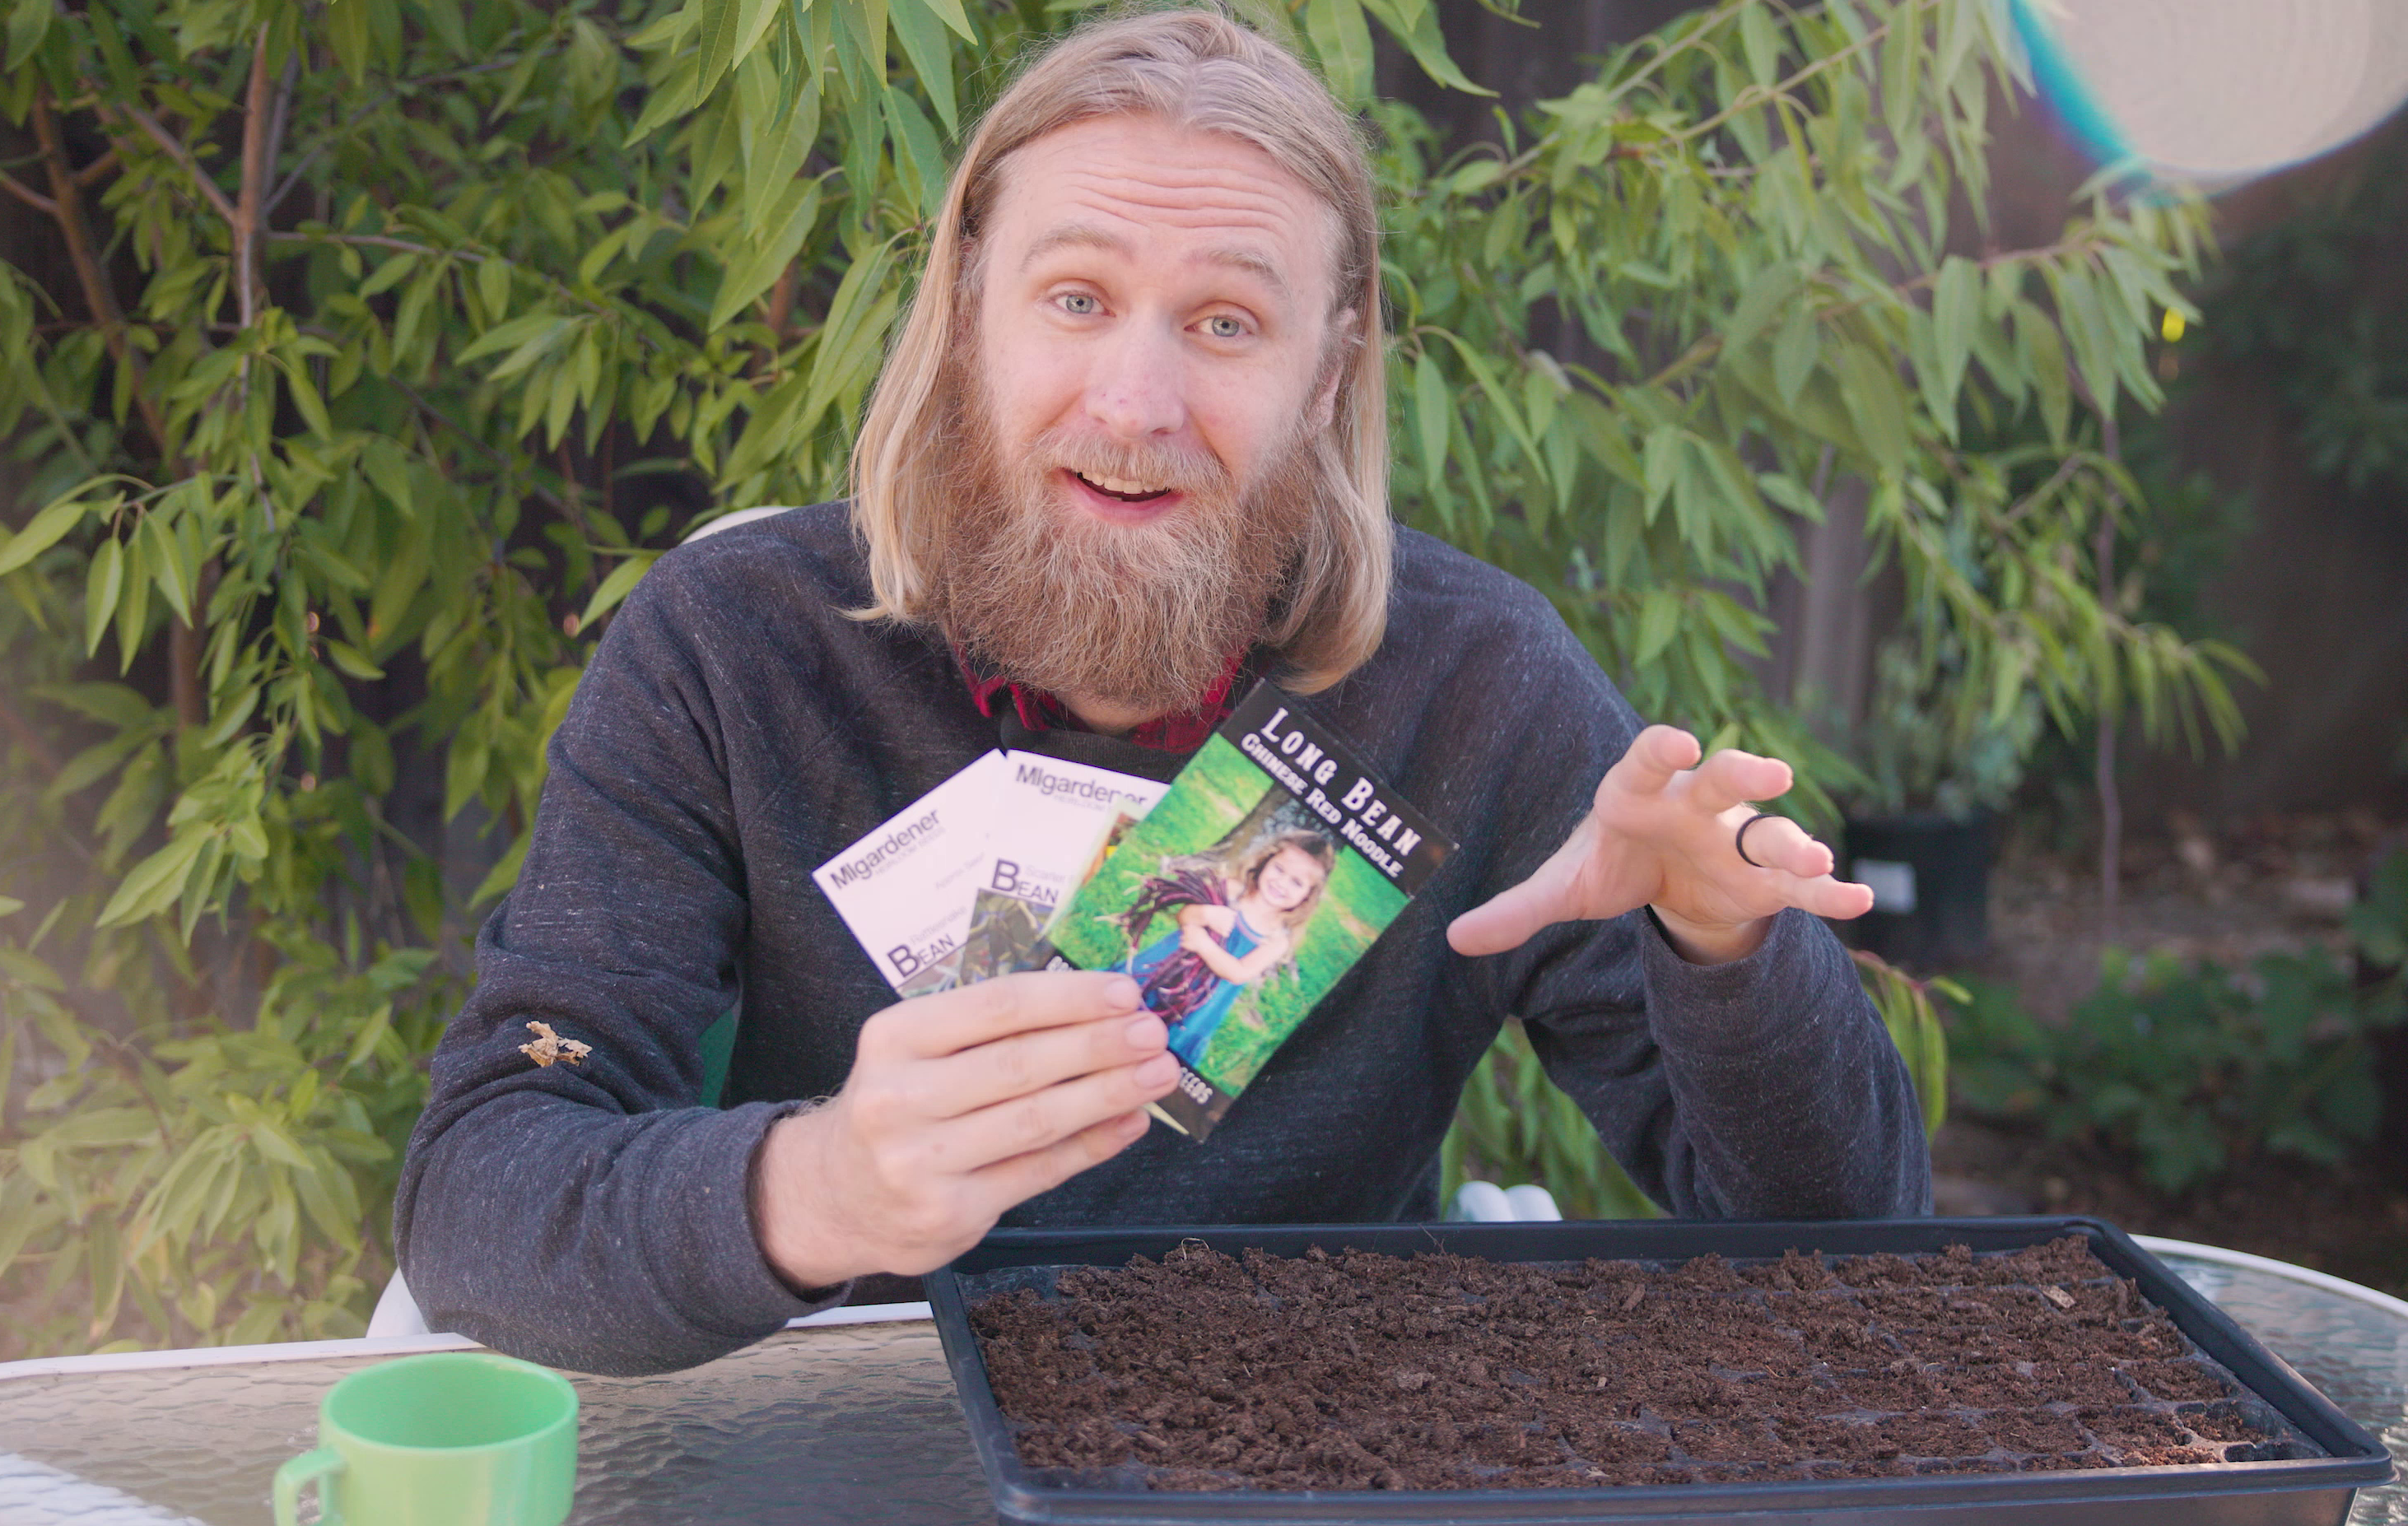
1. Selecting a Variety of Bean to Grow
The first step to set you up for bean nirvana is selecting the right variety for your climate and your needs.
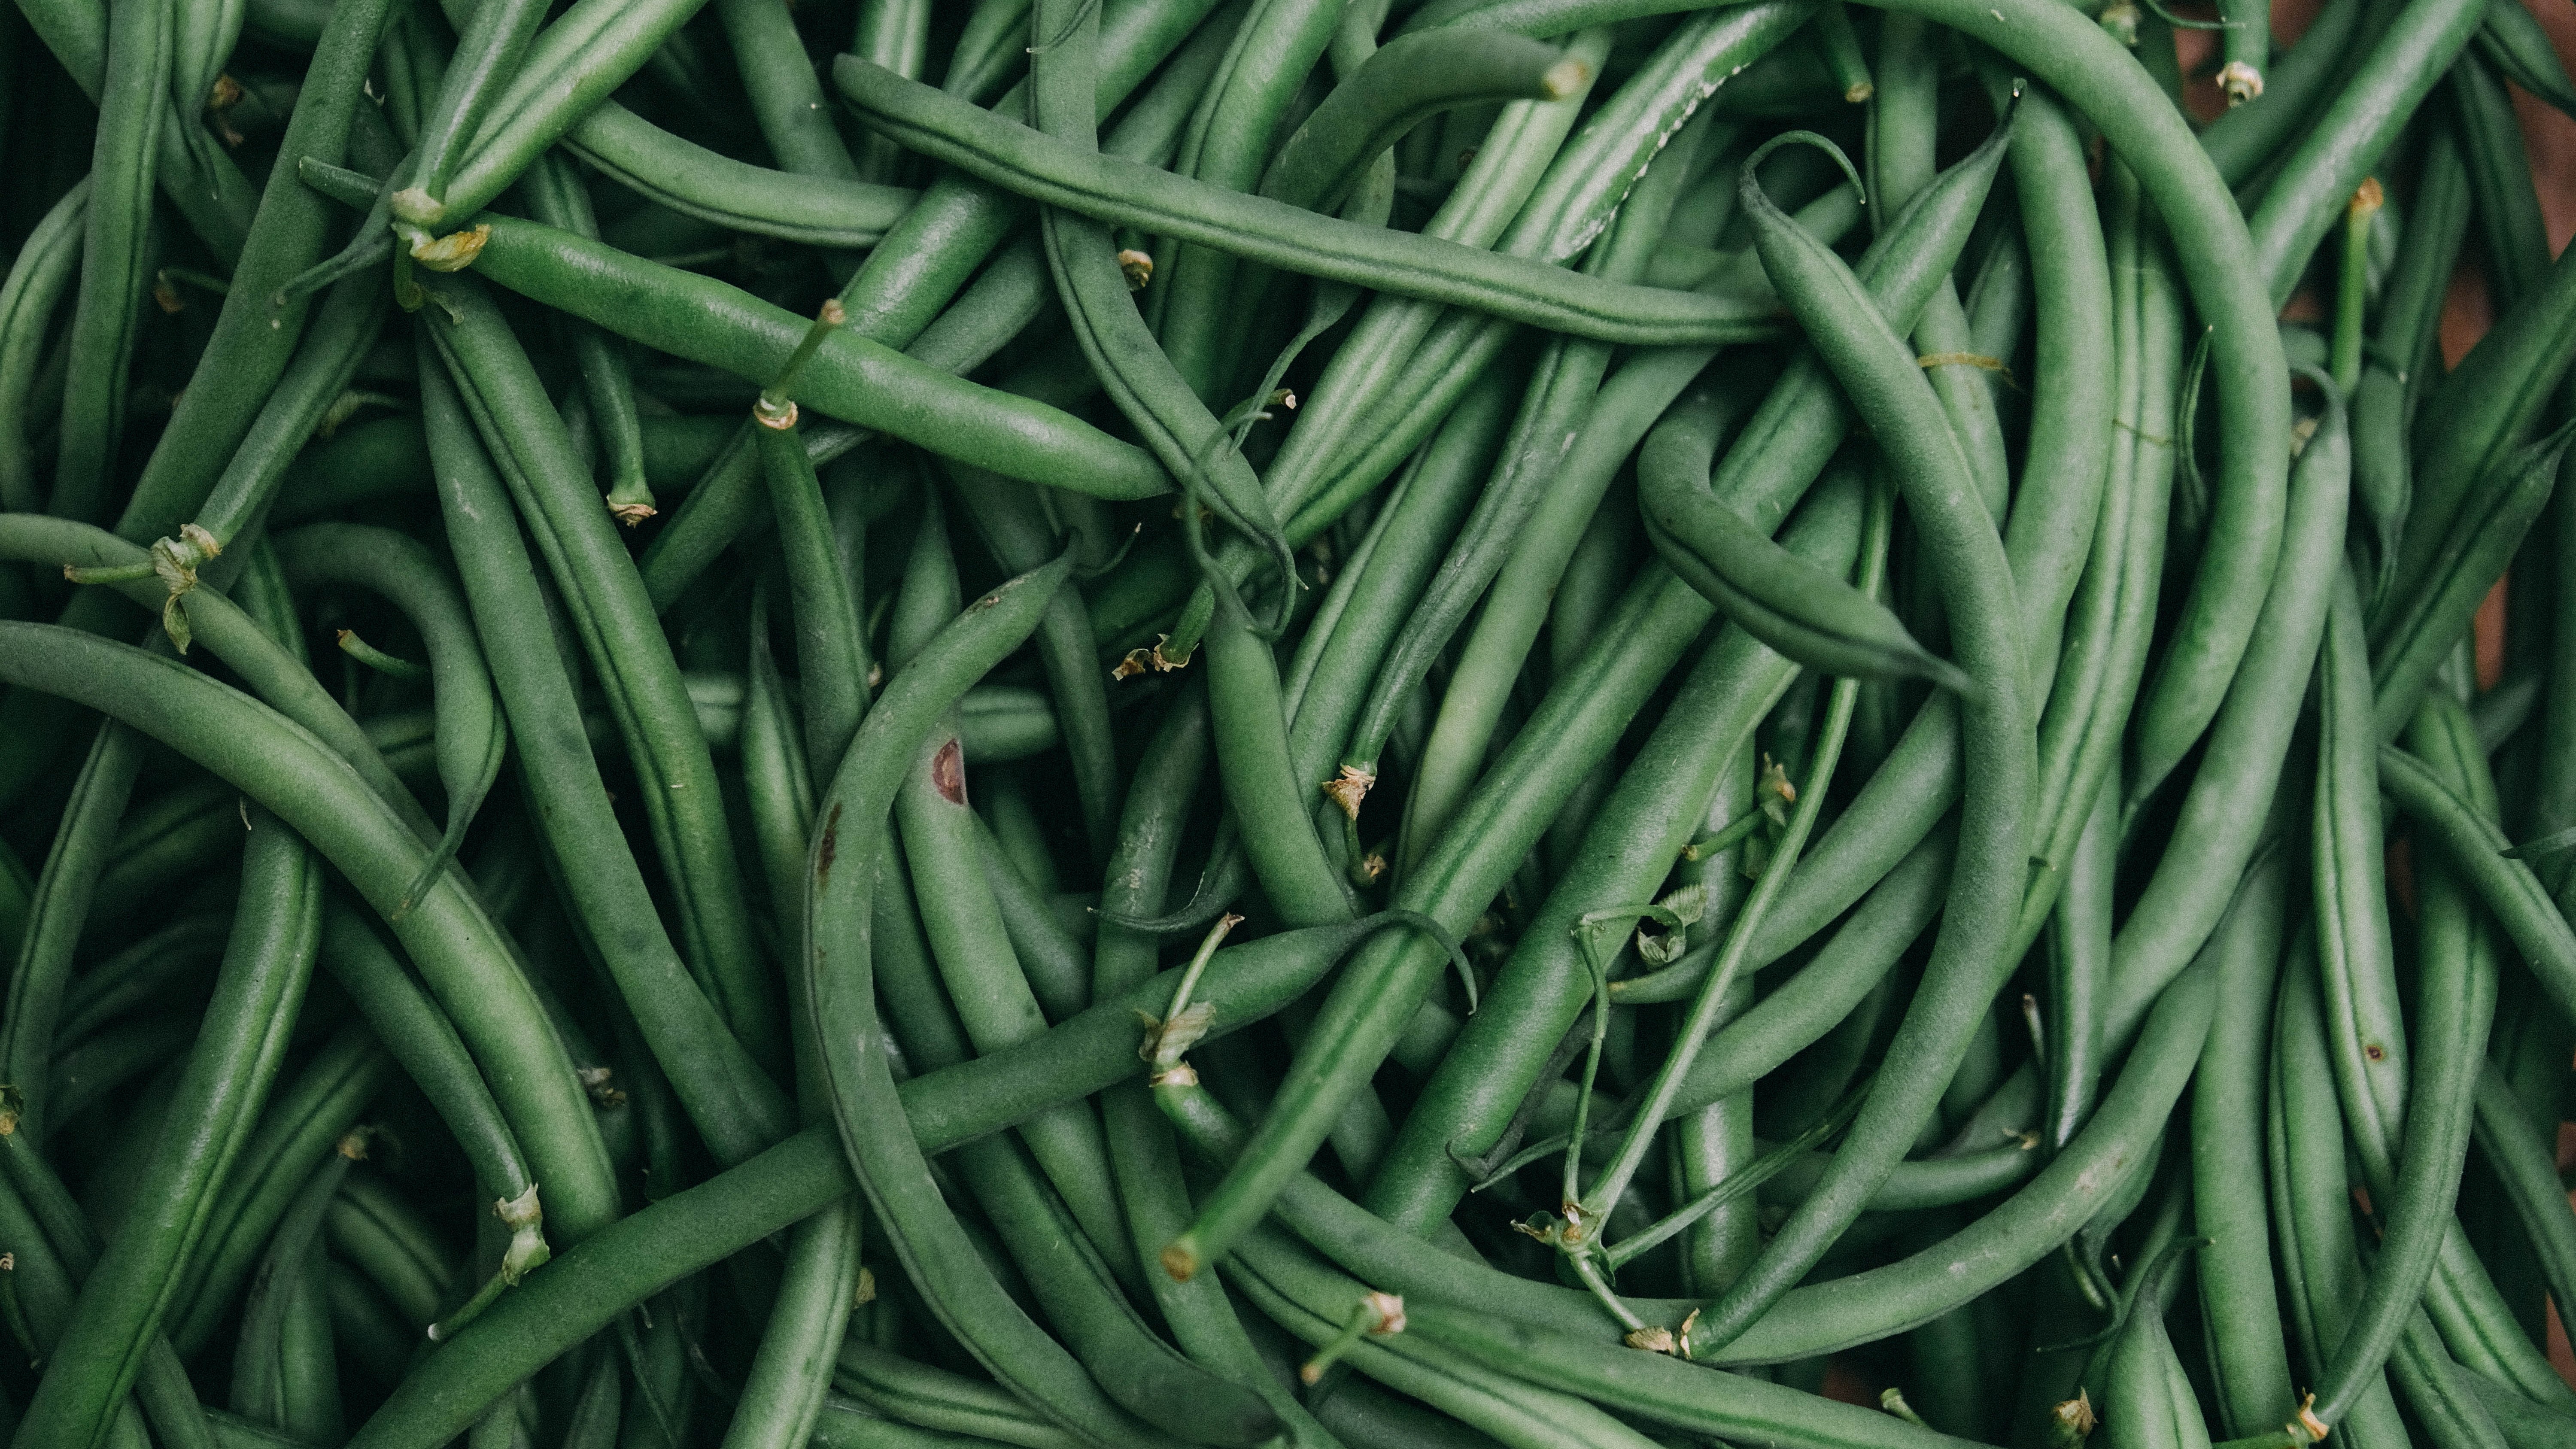
Fresh eating green beans come in two major types: pole beans and bush beans. Here’s a quick summary of how they differ:
Bush beans are:
- Smaller in height (typically)
- Faster growing
- Do not need a trellis structure
- Largely determinate, so they’ll set one big crop for the season (or maybe 1 and a half)
Pole beans are:
- Larger in height (so you can fit more plants into a tight container)
- Require a trellis structure
- Mostly indeterminate, meaning they’ll continue producing throughout the season
I enjoy growing both, but I tend to prefer the pole beans because their indeterminate nature and vertical growth habit result in more food production overall throughout the season.
We often grow two varieties of pole beans I’ve come to love: Rattlesnake beans and Chinese red noodle beans. They’re both fast growing, productive, beautiful, and very heat tolerant. That said, beans are incredibly easy to grow so I strongly encourage experimenting with multiple varieties every year to find your own favorites.
When you select your variety, consider heat tolerance and time to harvest. Some beans like the early Italian bush beans are incredibly fast maturing and are great for planting late in the season or in areas with short growing seasons.
2. Bean Planting Timing
Green beans are not frost tolerant and grow best after nighttime temperatures are consistently over 4C. This means you can typically plant your beans a little before the point you’d transplant out your tomatoes.
Green beans grow fast so make sure there’s enough light and warmth to support that growth or they’ll be stunted. It’s better to procrastinate a bit than be too early.
While beans are generally easy germinators, check the seed packet to see if they should get a soak in warm water before planting.
3. Container Type and Location
Beans will grow in just about anything and anywhere with some sunlight. My first successful experiment growing food for my family was golden wax bush beans grown indoors on a windowsill in a little plastic bucket I picked up from Ikea on clearance. We got a ton. If you want to do the same, I’d just recommend finding a food grade container.
Beans also don’t have particularly deep roots so you can get away with a relatively small container that’s only 9” deep.
But if you can swing it, I like to use fabric grow bags in either 5, 7, or 10 gallon sizes.
Beans don’t benefit as much from these awesome pots as much as some plants, but I find they let me get away with worse soil because the aeration and drainage is so good.
Beans grow best when they are planted in full sun. If you choose a heat tolerant variety, they’ll even stand up to really strong sunlight and high temperatures.
They’re not totally impervious to heat though. Once temperatures get into the nineties for extended periods, you may notice a few problems like:
- Beans in full sunlight dropping their flowers
- Leaf scalding
- Overall small harvests
They will produce better with some shade during the afternoon to help them get through the hottest months.
4. Soil For Growing Beans in Containers
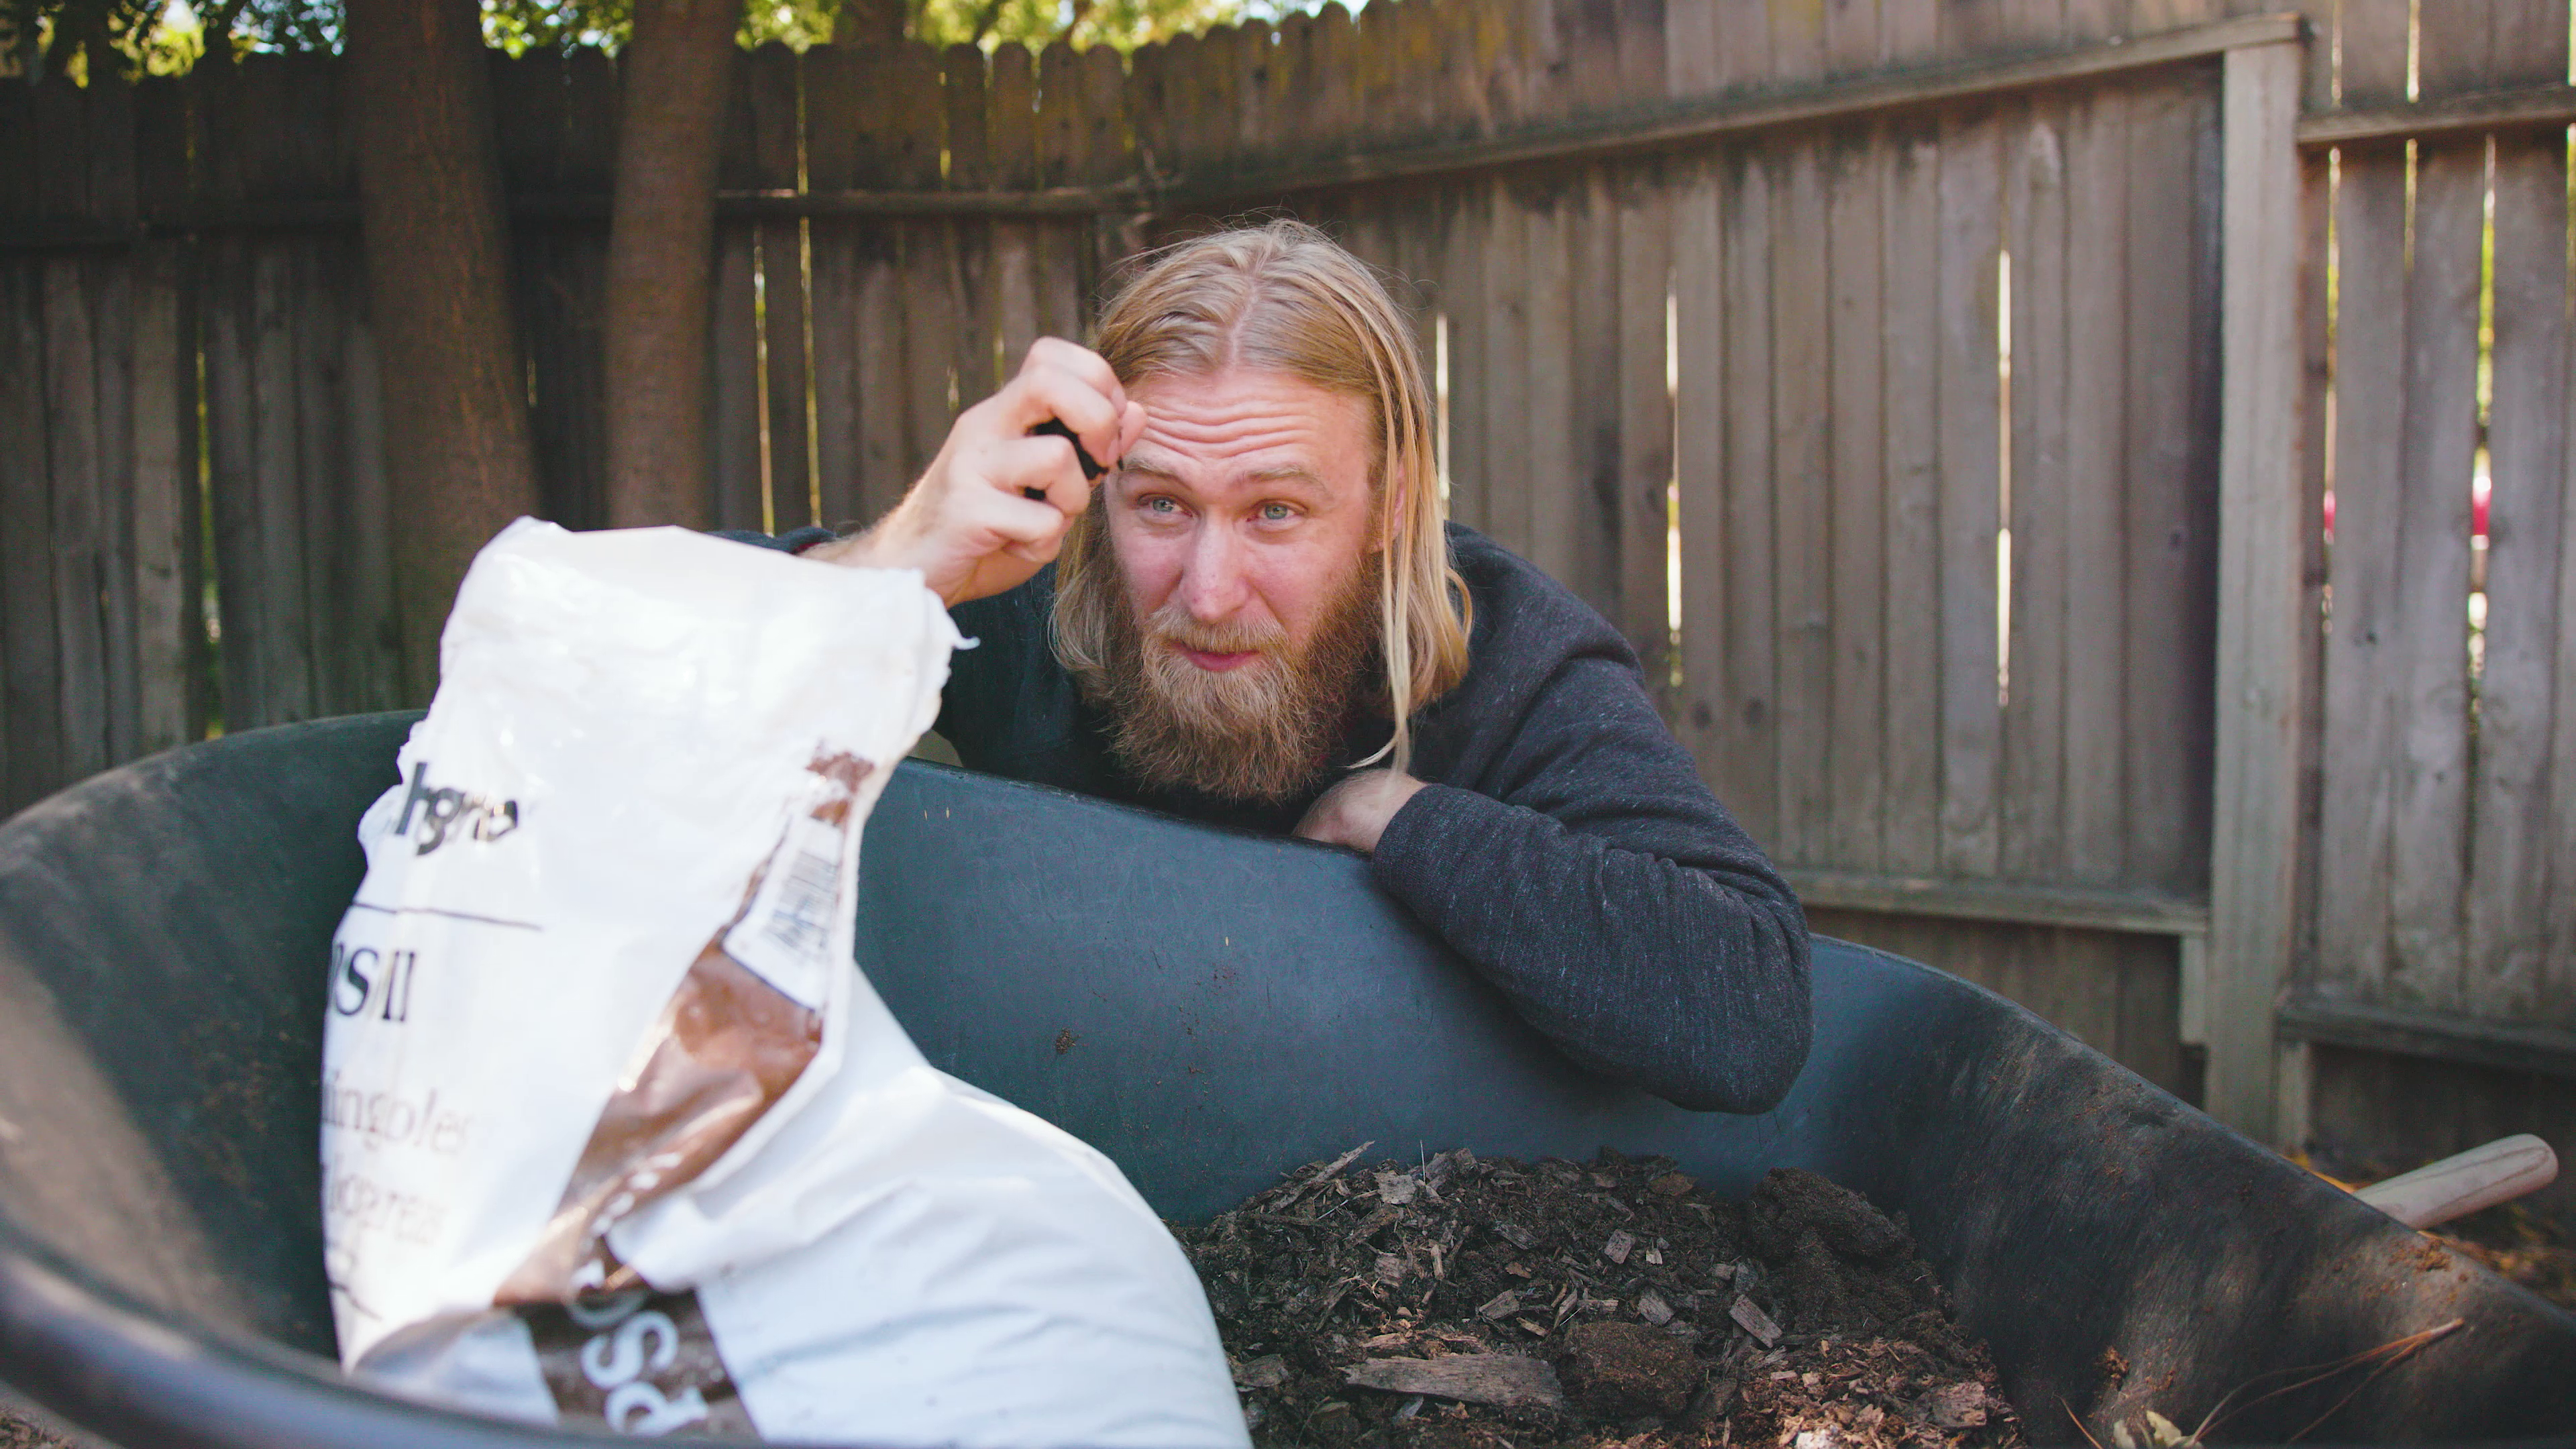
One of my absolute favorite parts of growing beans is that they don’t require the best of soil. In fact, too much nitrogen can be counterproductive as it encourages the plant to grow and grow and grow and never set flowers and fruit.
So consider saving some money by skipping the premium bagged potting mixes and making your own using cheap ingredients like steer manure, compost, sphagnum peat moss, and even some top soil filler.
Beans do like very loose soil but that is easy to achieve in a container. Just make sure you refresh and aerate your soil between plantings in the same pot.
One warning: Avoid soil that doesn’t drain well because beans can get root rot and do better in a free-draining mix. They’re not as sensitive as something like a raspberry or a tomatillo though.
If you’re planting in plastic, be sure your soil drains freely or add a drainage ingredient like perlite.
5. Seed Starting
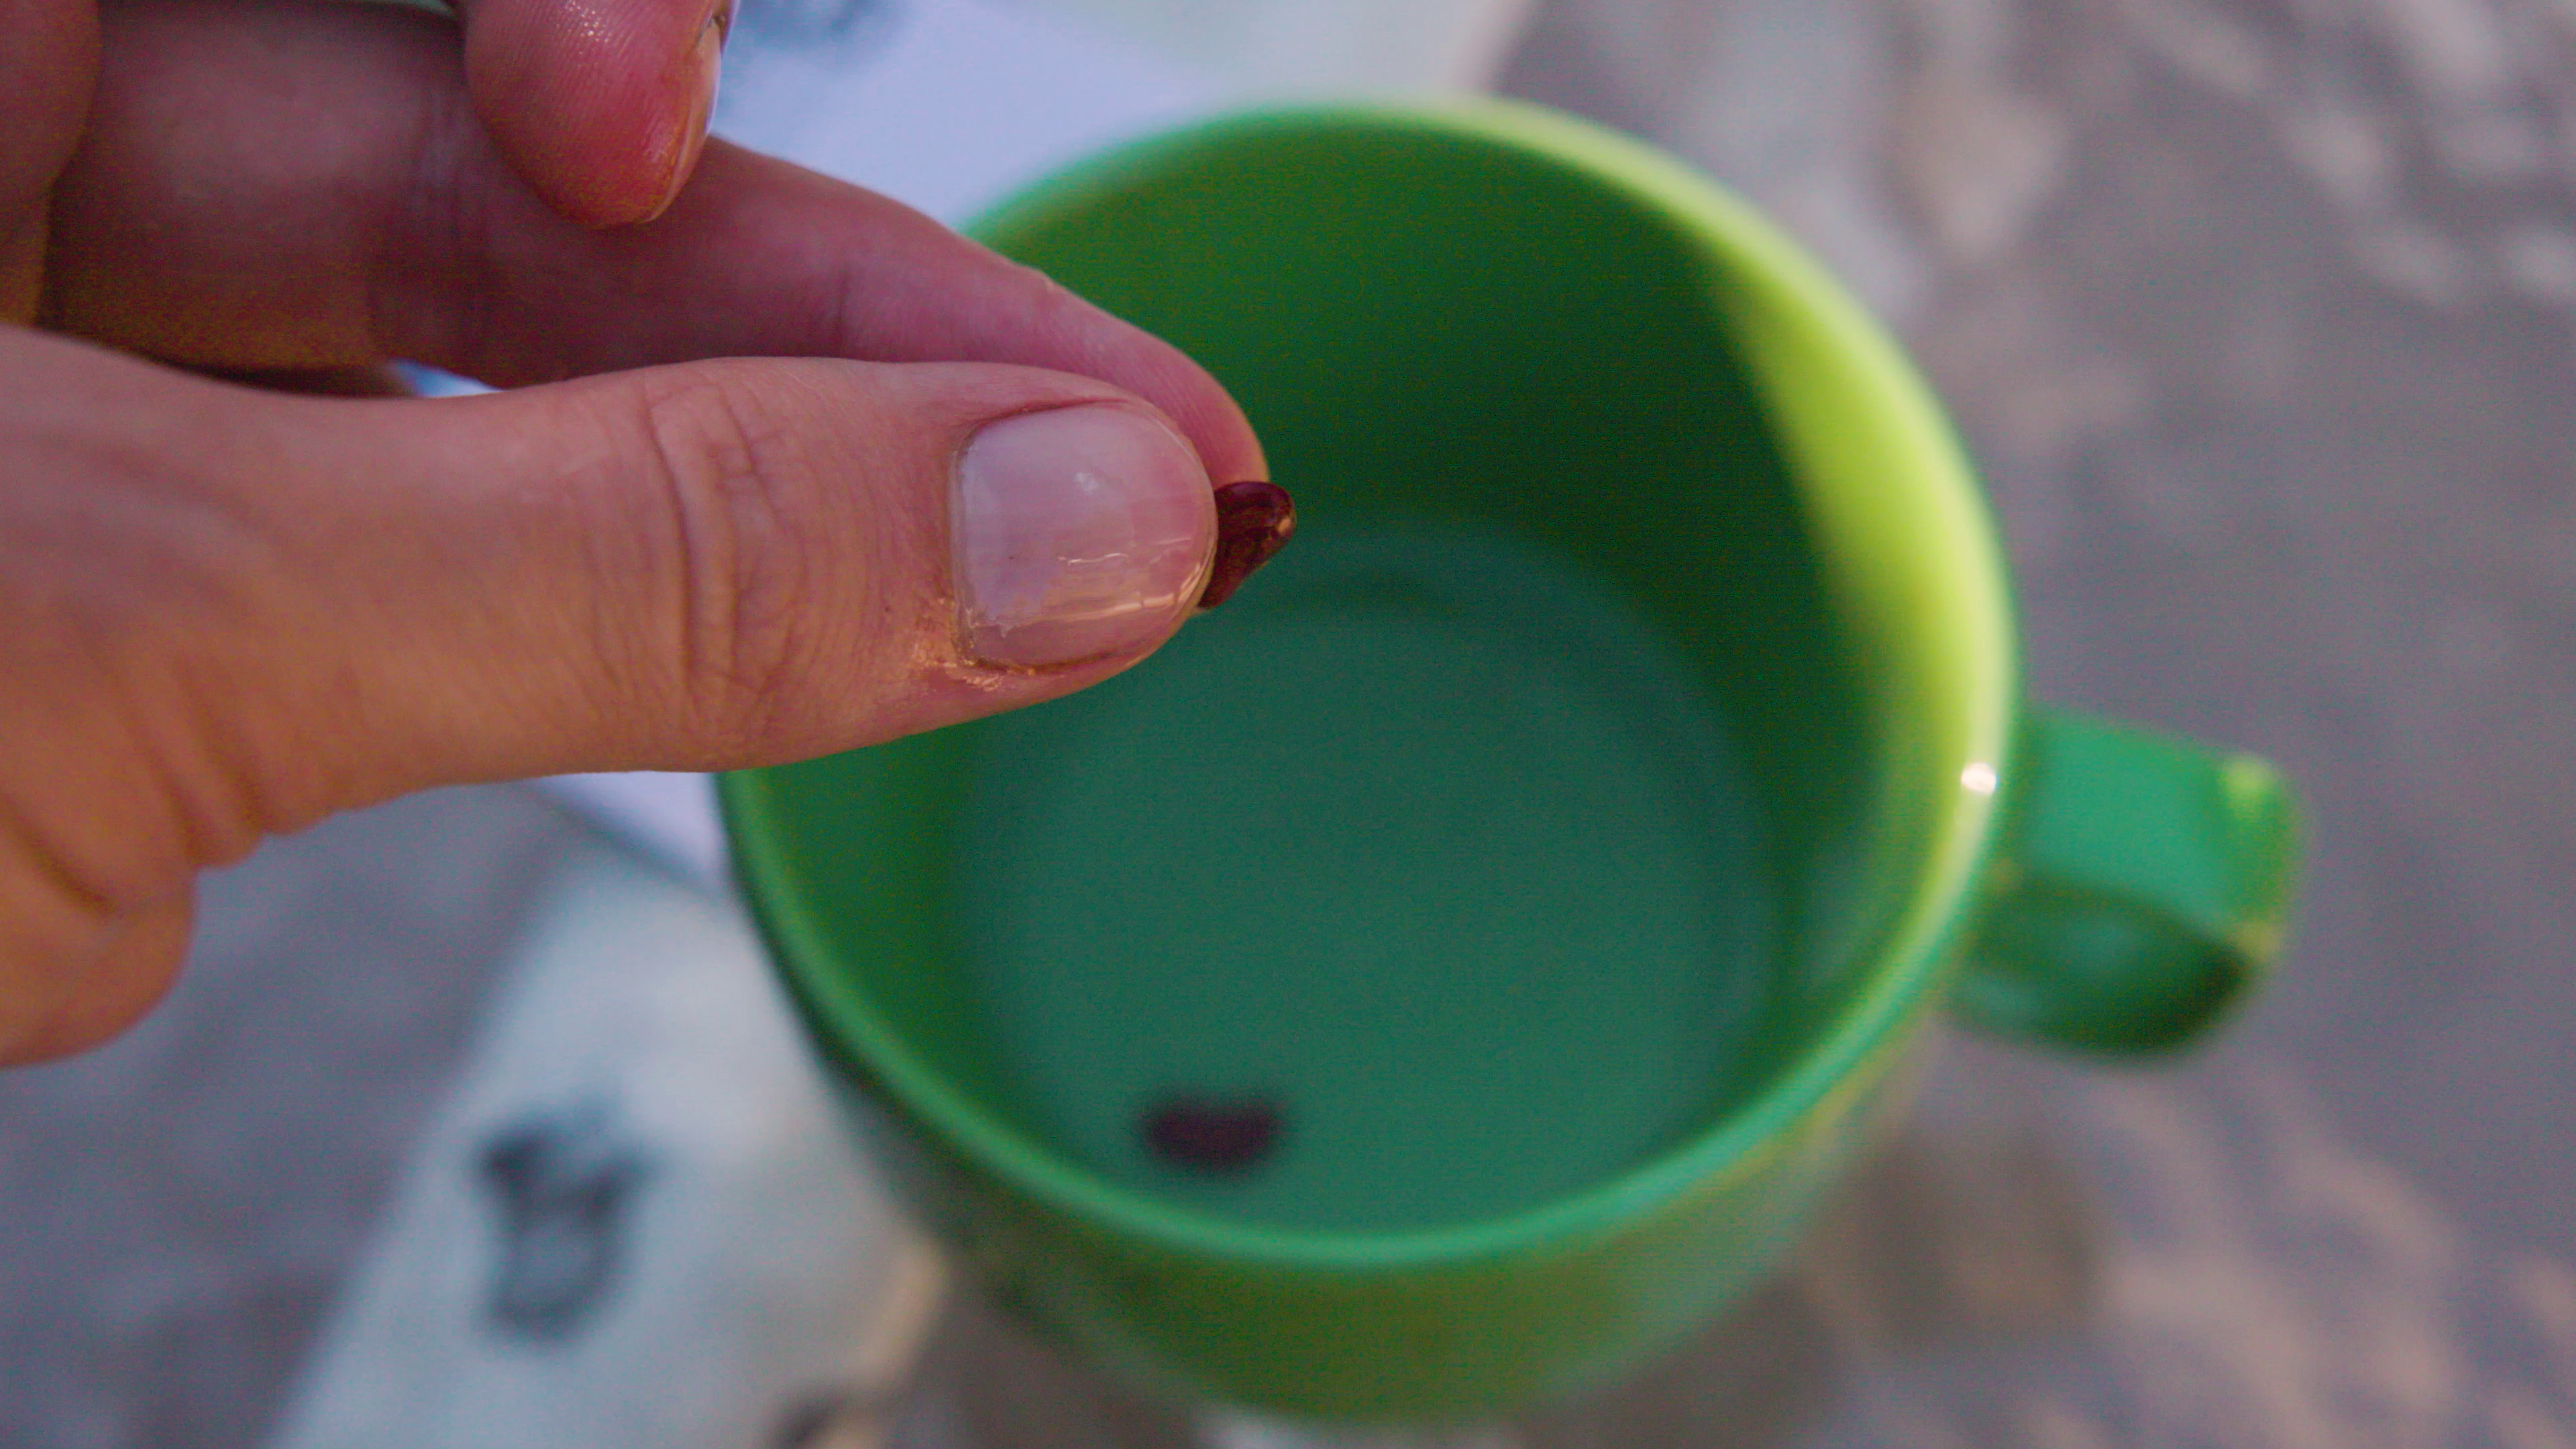
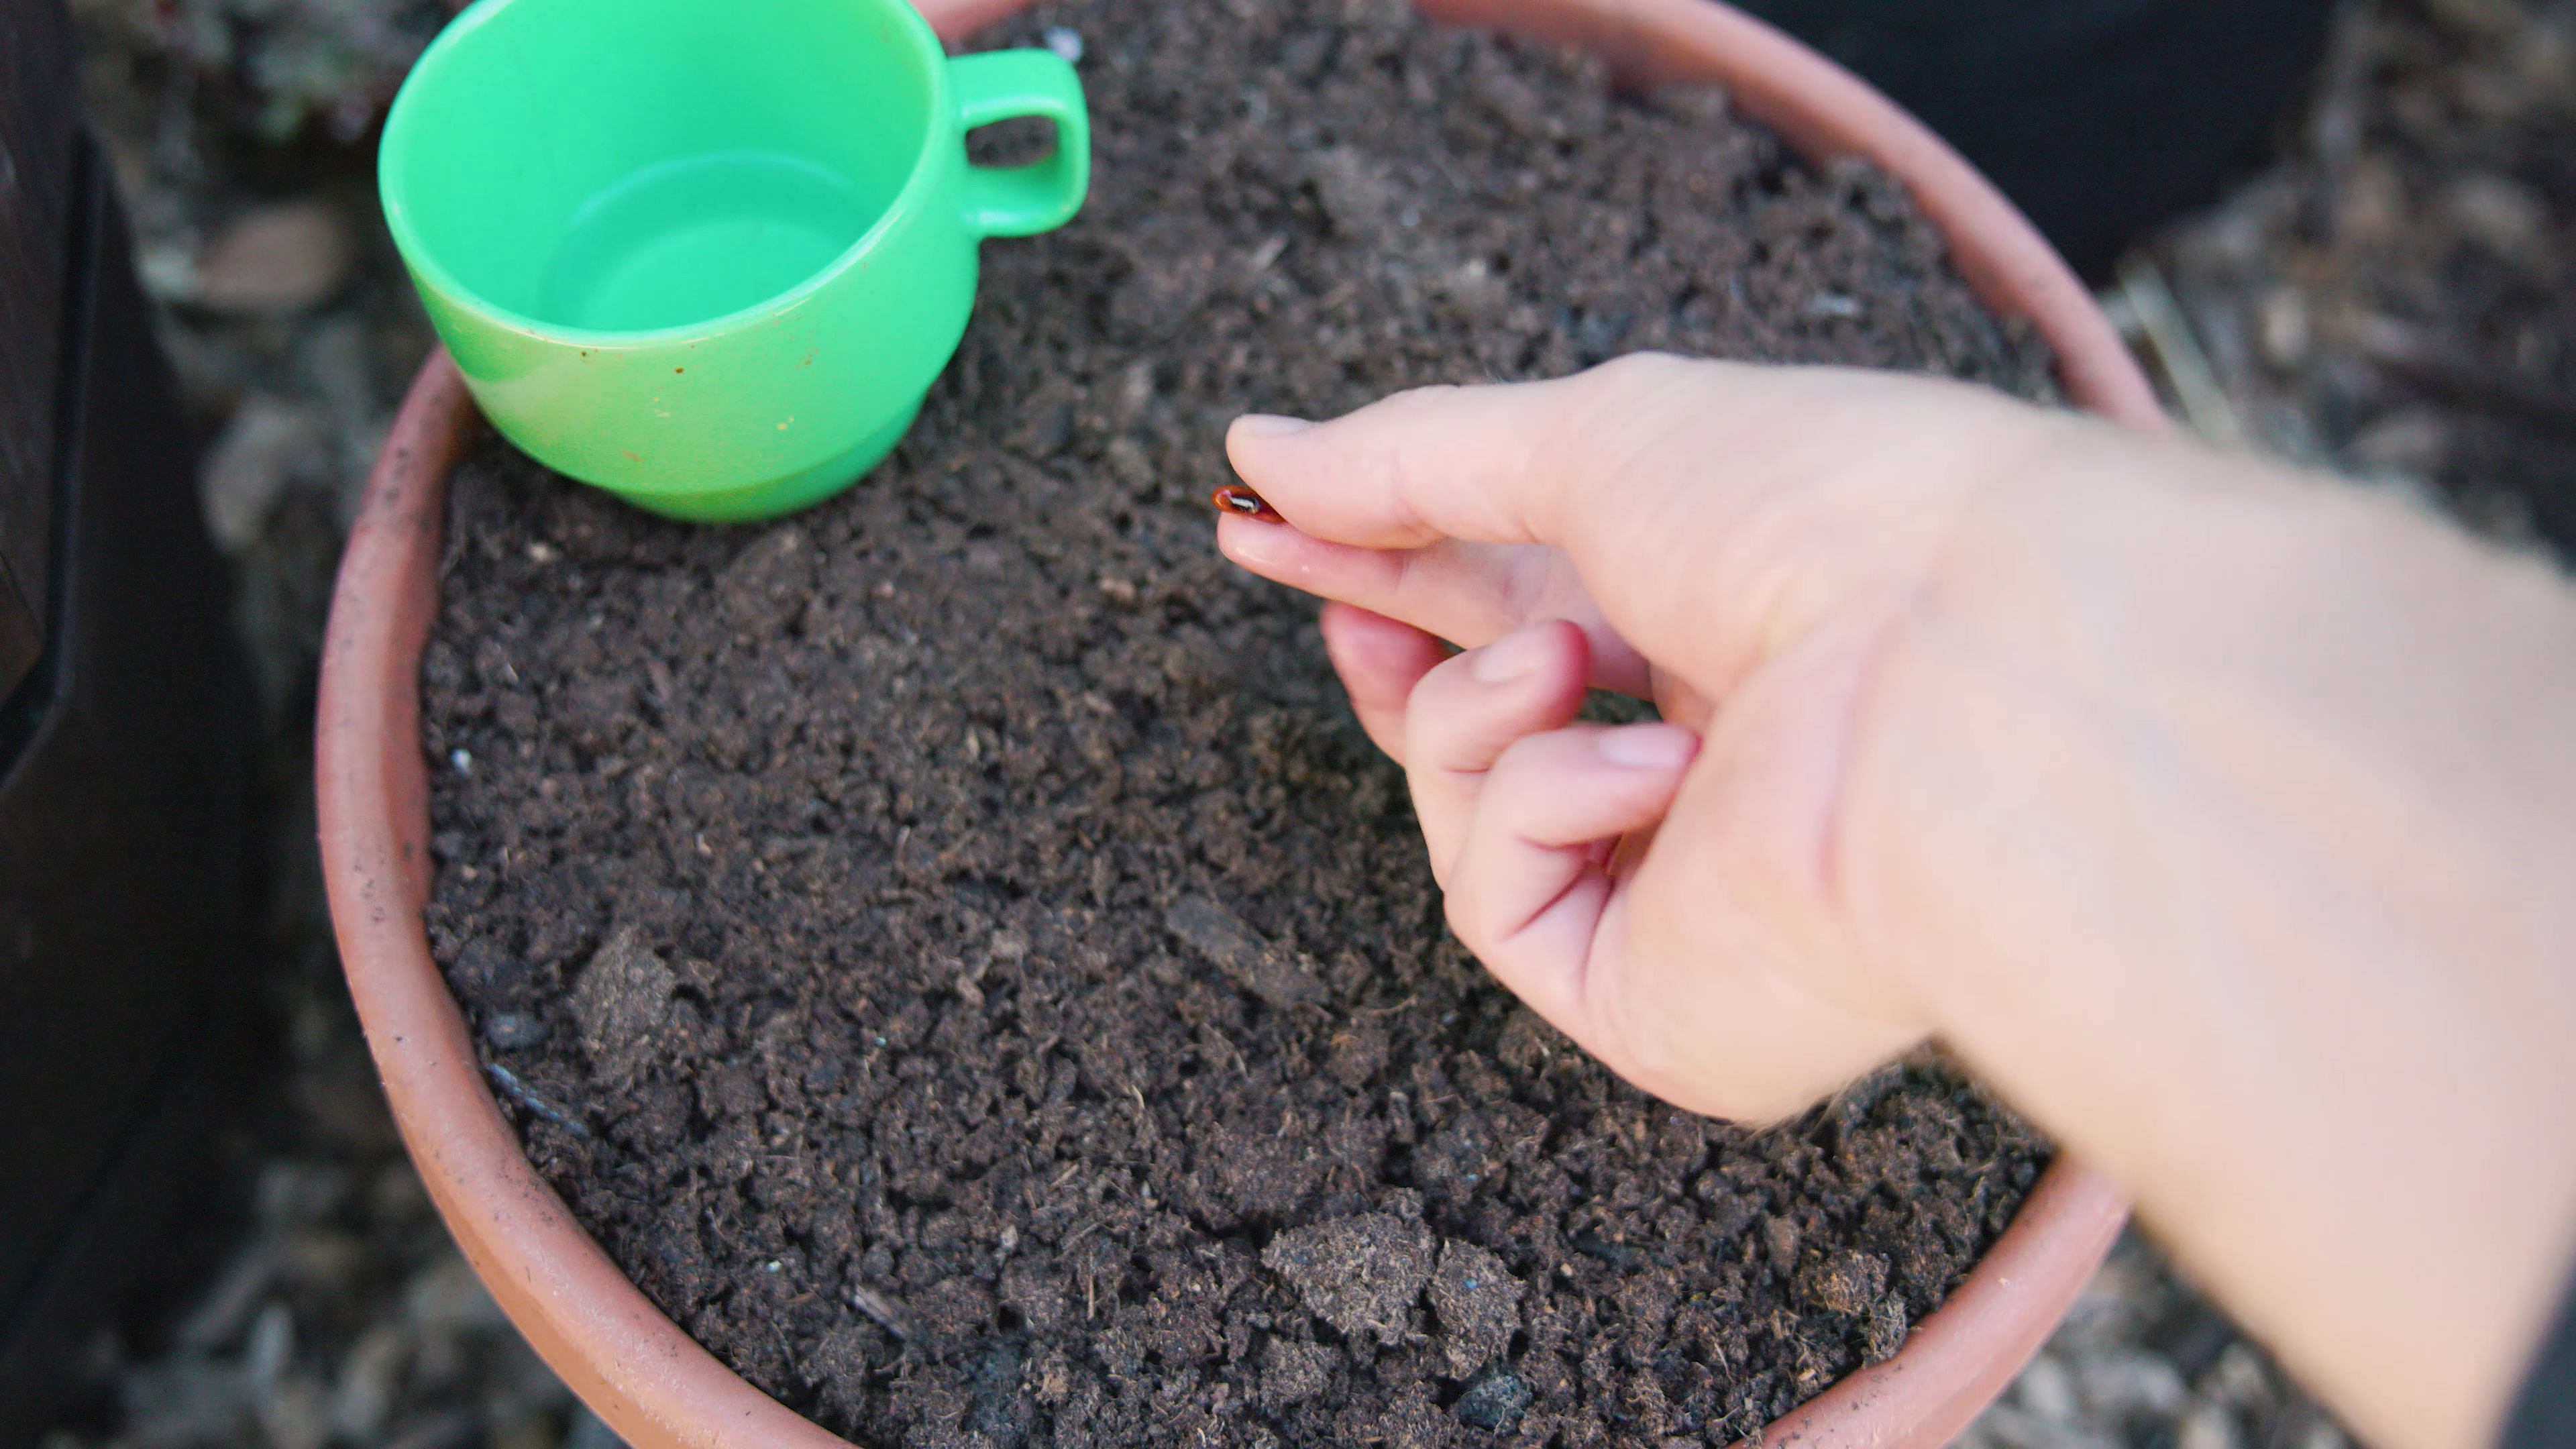
The easiest option is to plant beans directly into the container.
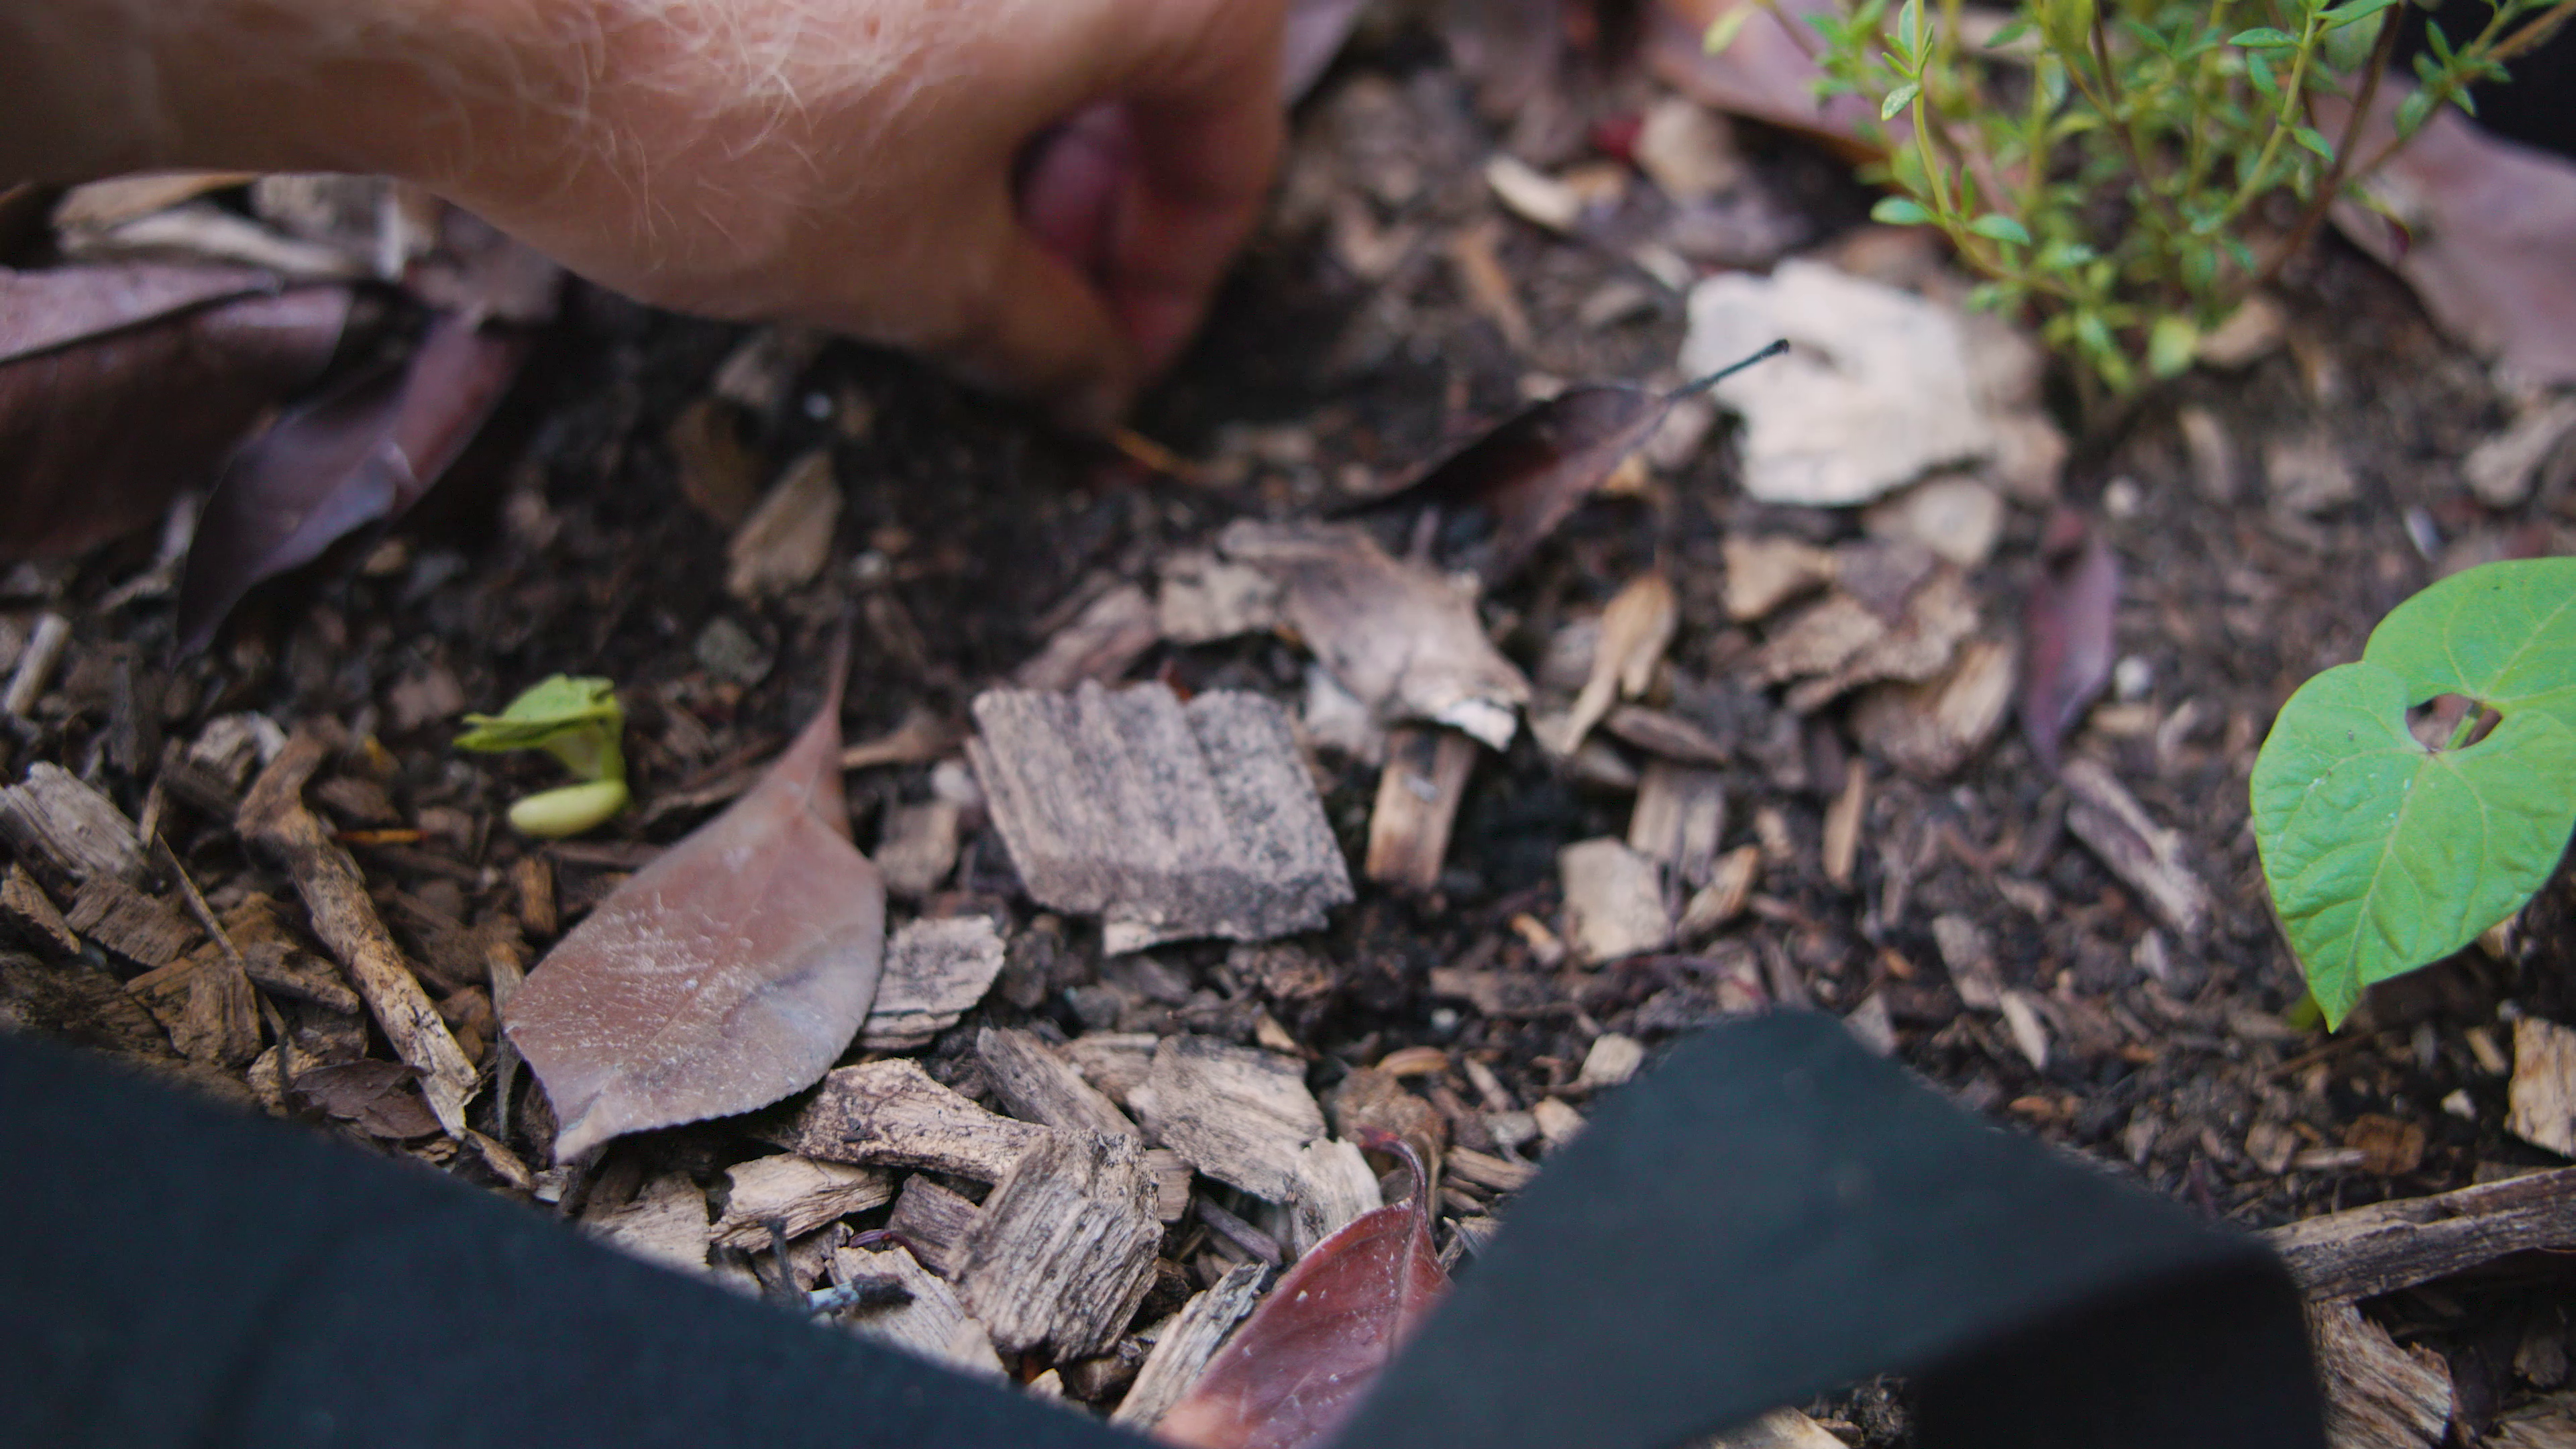
You want to plant the seeds about one inch deep with the little pucker or belly button facing down. Water them in a bit to ensure there are no air pockets in the soil.
Bean seedlings are strong enough to shoot through some light mulch, but don’t make it too hard on them with a thick layer of mulch.
Beans can successfully grow very densely. I like to grow three pole beans or four bush beans in a ten gallon container.
If you’re planting when the weather is extremely hot, your beans may not germinate due to what’s referred to as thermal dormancy. That’s why we switch over to starting most of our seeds indoors in seed trays by mid June. Beans germinate best at a maximum temperature of 30C, but you’ll still see some germination up to 35C.
If you need to start your beans inside, you’re in luck because beans don’t need a premium seed starting mix with a very fine texture like fussy tomato or pepper seeds. Regular potting mix is just fine..
After planting, place the seed tray on a heat mat until they pop up.
After they germinate, get your beans into the sun or under a grow light right away and transplant them into their permanent container home soon.
They grow so quickly that it’s easy to stunt them by leaving the seedlings in the dark after germination or letting their roots get rootbound. Both of which happen in just a couple days in small seed starting cells.
6. Fertilizer for Beans
Beans are nitrogen fixing legumes and therefore need only really minimal fertilizer. The nitrogen they capture plus what’s in the manure and compost is sufficient for lots of growth. The good news keeps on coming!
Later on, when they’re a bit bigger, sidedress with a little vegetable fertilizer so they’ll have potassium available to set flowers and fruit. But only once they’re about ready to set fruit and only once every month or so. More is less with beans.
7. Trellising Bush and Pole Beans
If you opted for bush beans, congratulations, you can either not trellis your plants at all or just tie them to a short sturdy stake to keep the plant from collapsing under the weight of its own glorious harvest.
Pole beans require much more structure though. My favorite option is to grow my beans in containers along a fence with a nylon net that is fixed to the ground about 1/2 foot away from the fence.

My second favorite option is to create a living trellis with large flowers like sunflowers and giant zinnias or even large cosmos
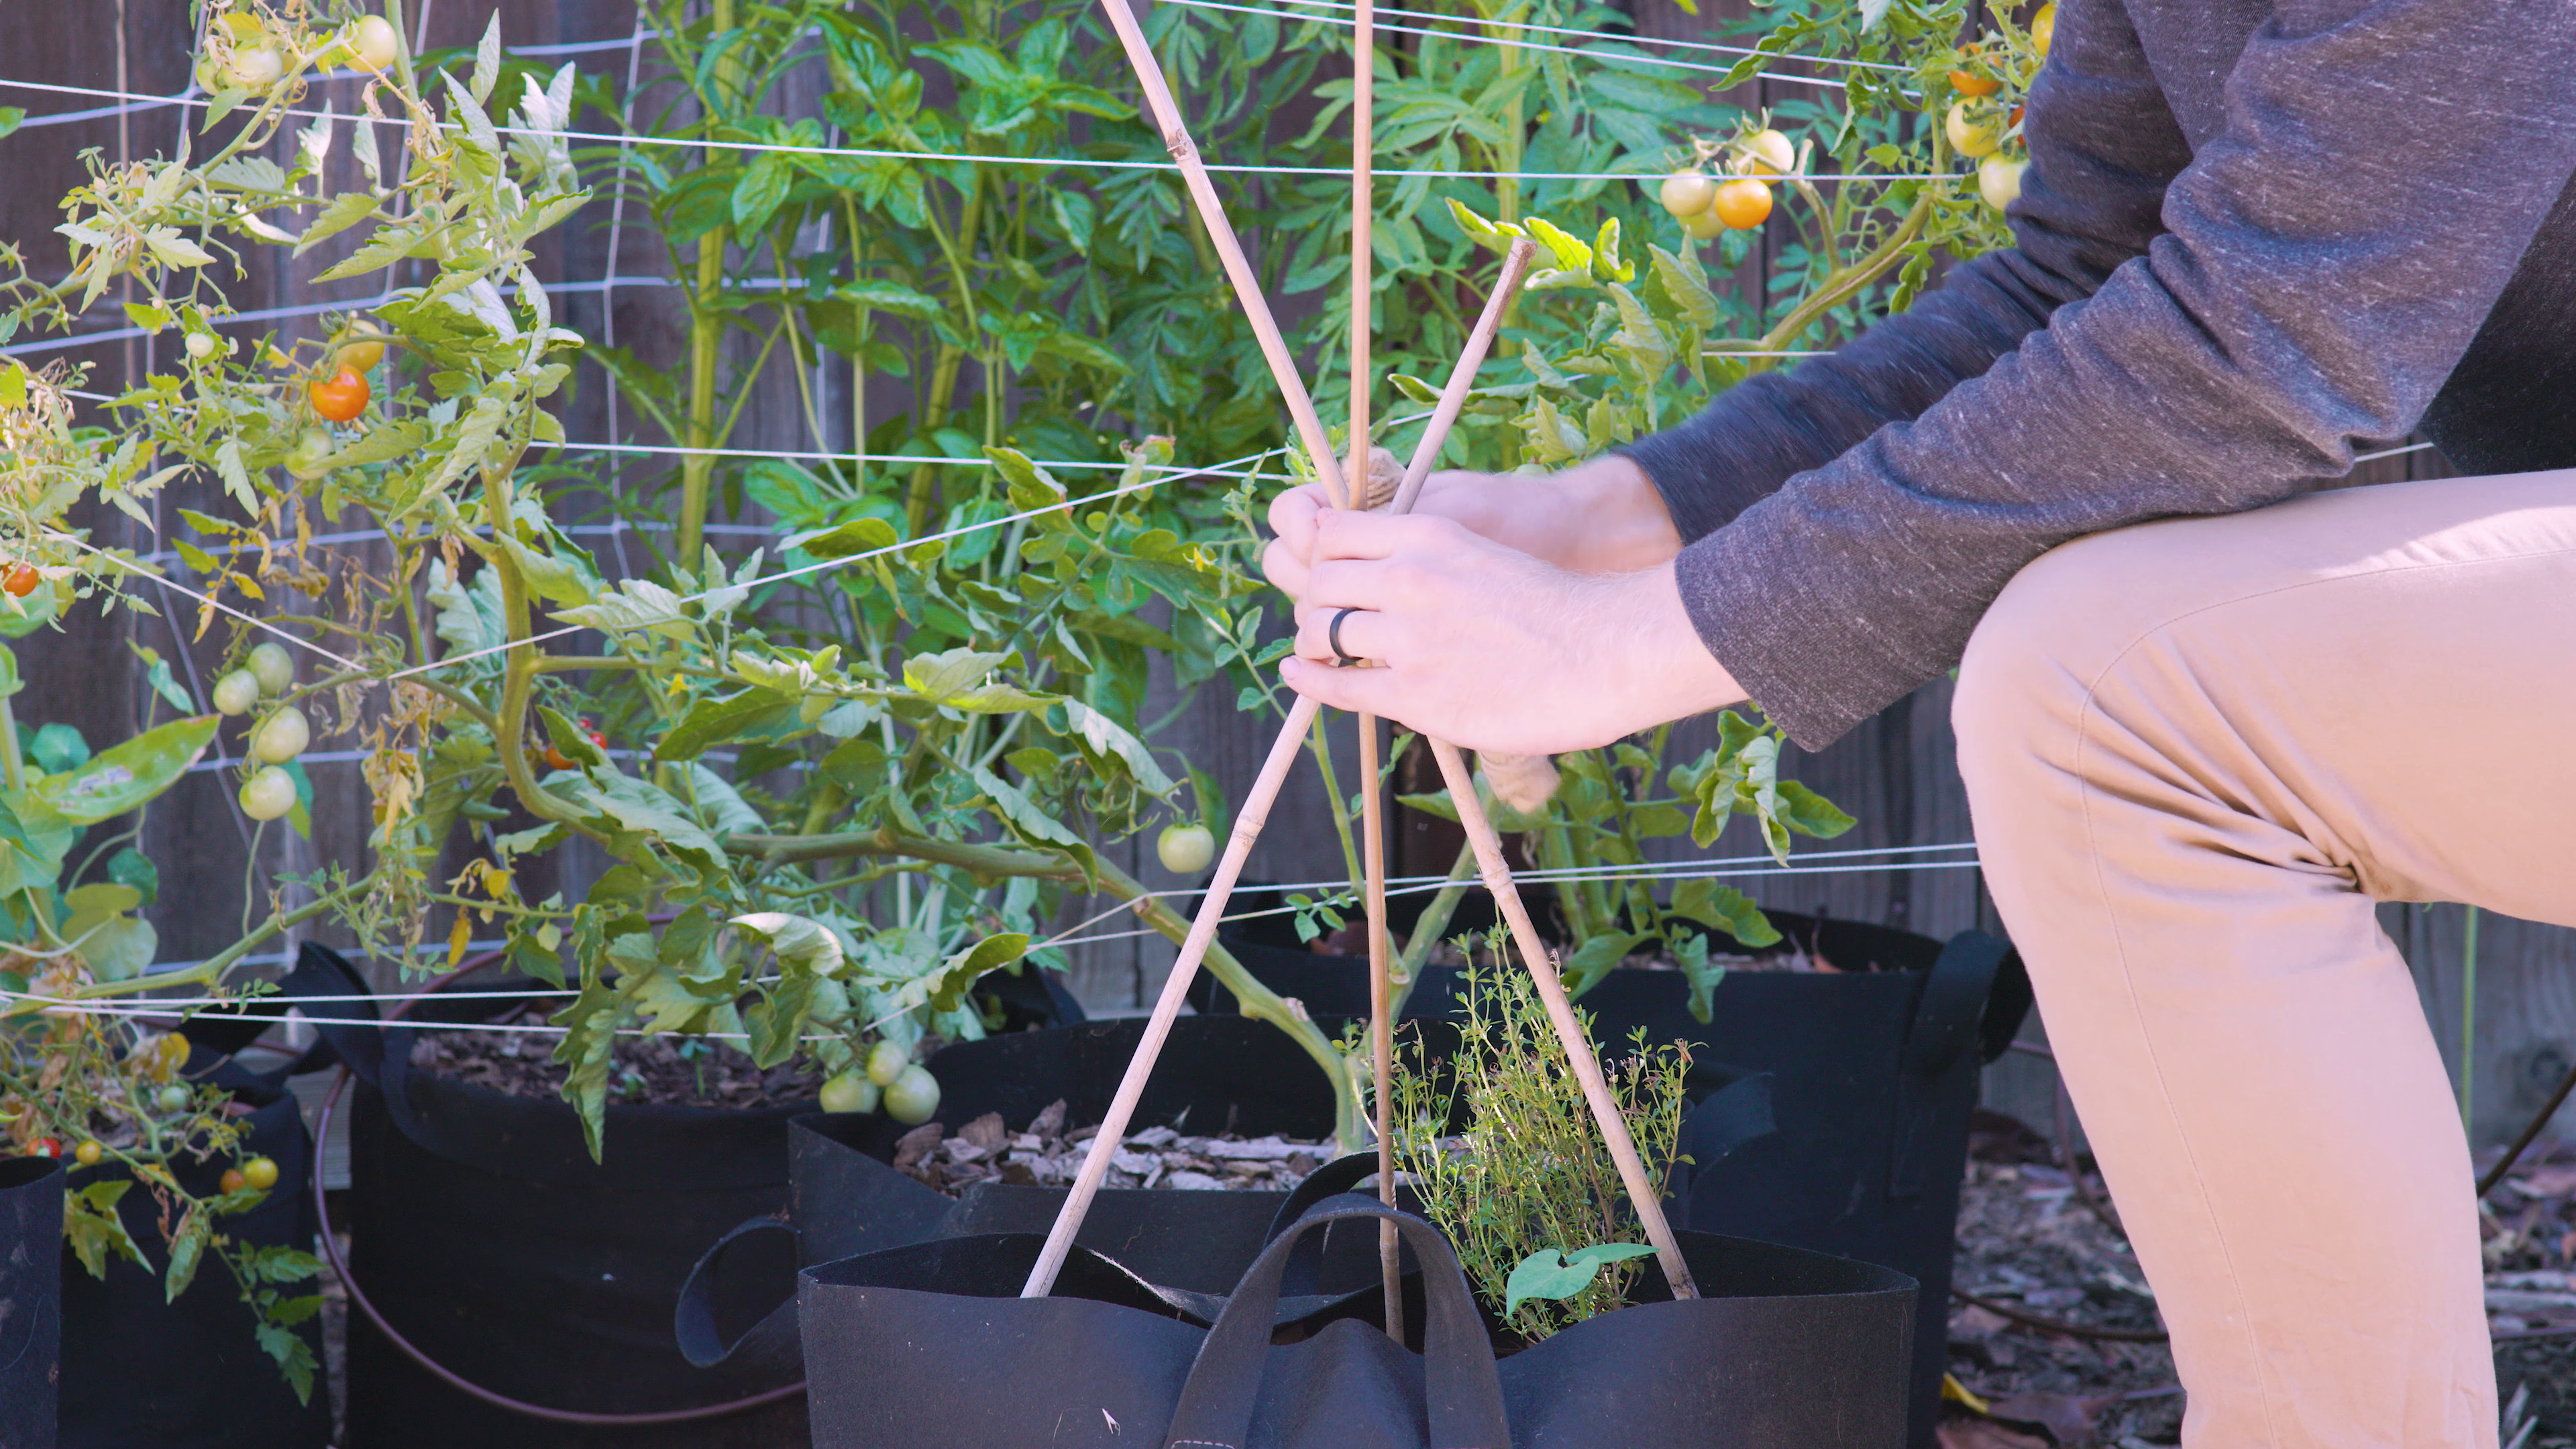
A third, more traditional, option is the stake teepee. To make one, gather three to five long stakes, drive one end into the soil and tie them together at the top creating a strong but very open cone shape.
This one is too small for beans but you get the idea.
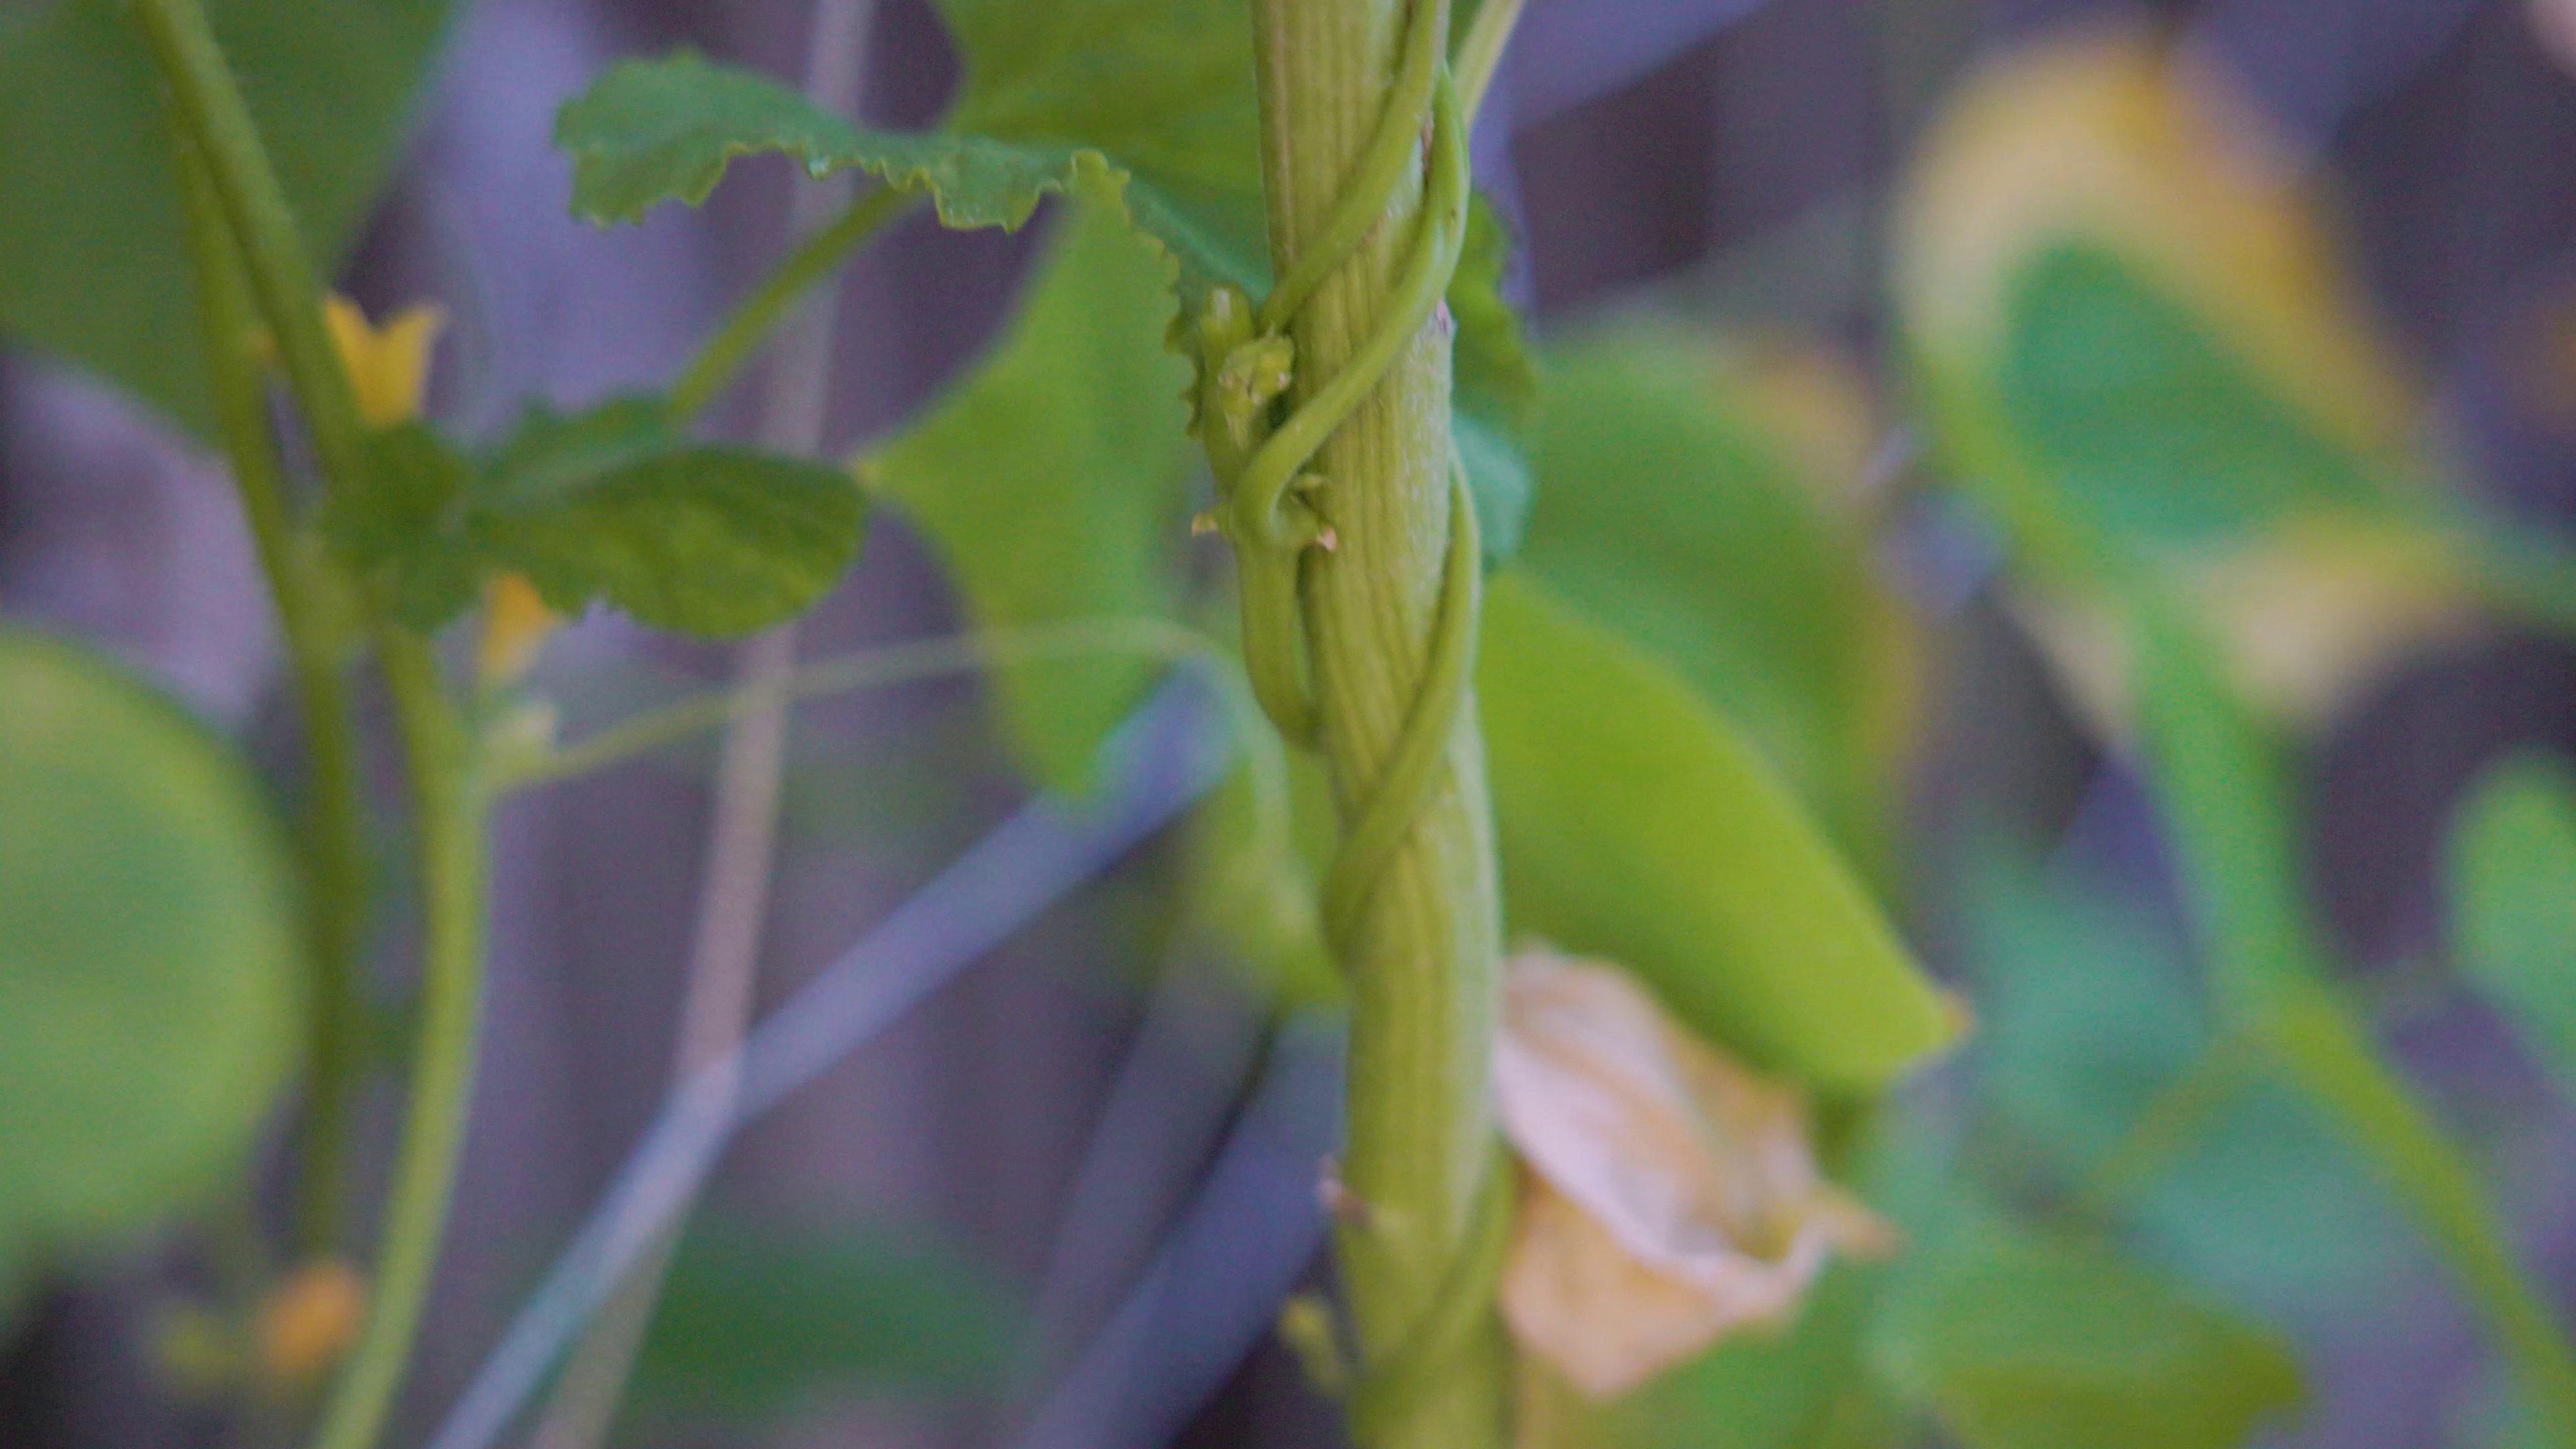
When your pole beans reach the height of the trellis, which they will, you have two options:
- prune the runner tips to encourage the plant to grow horizontally
- manually direct the runners horizontally or even downwards
8. Harvest
Most beans produce perfect flowers and are self-compatible or self-pollinating. Which means they don’t have separate male and female flowers and they can fruit without other beans nearby.
They’re also pretty good at setting fruit and don’t generally need manual intervention.
Harvest often to encourage new fruit to set and get much higher yields.
If you planted determinate bush beans, it’s a good idea to prep some new seedlings ahead of time to replace the originals after they’re done fruiting. This strategy is called succession planting and is really easy with beans.
You can even transplant the new seedlings in at the base of the more mature bean plants a couple weeks before your target harvest date to save space.
Make sure you check some of the fun beans recipes while you are snacking on them. We hope that with these suggestions you too will have a plentiful harvest and discover the magic of beans in your own garden!