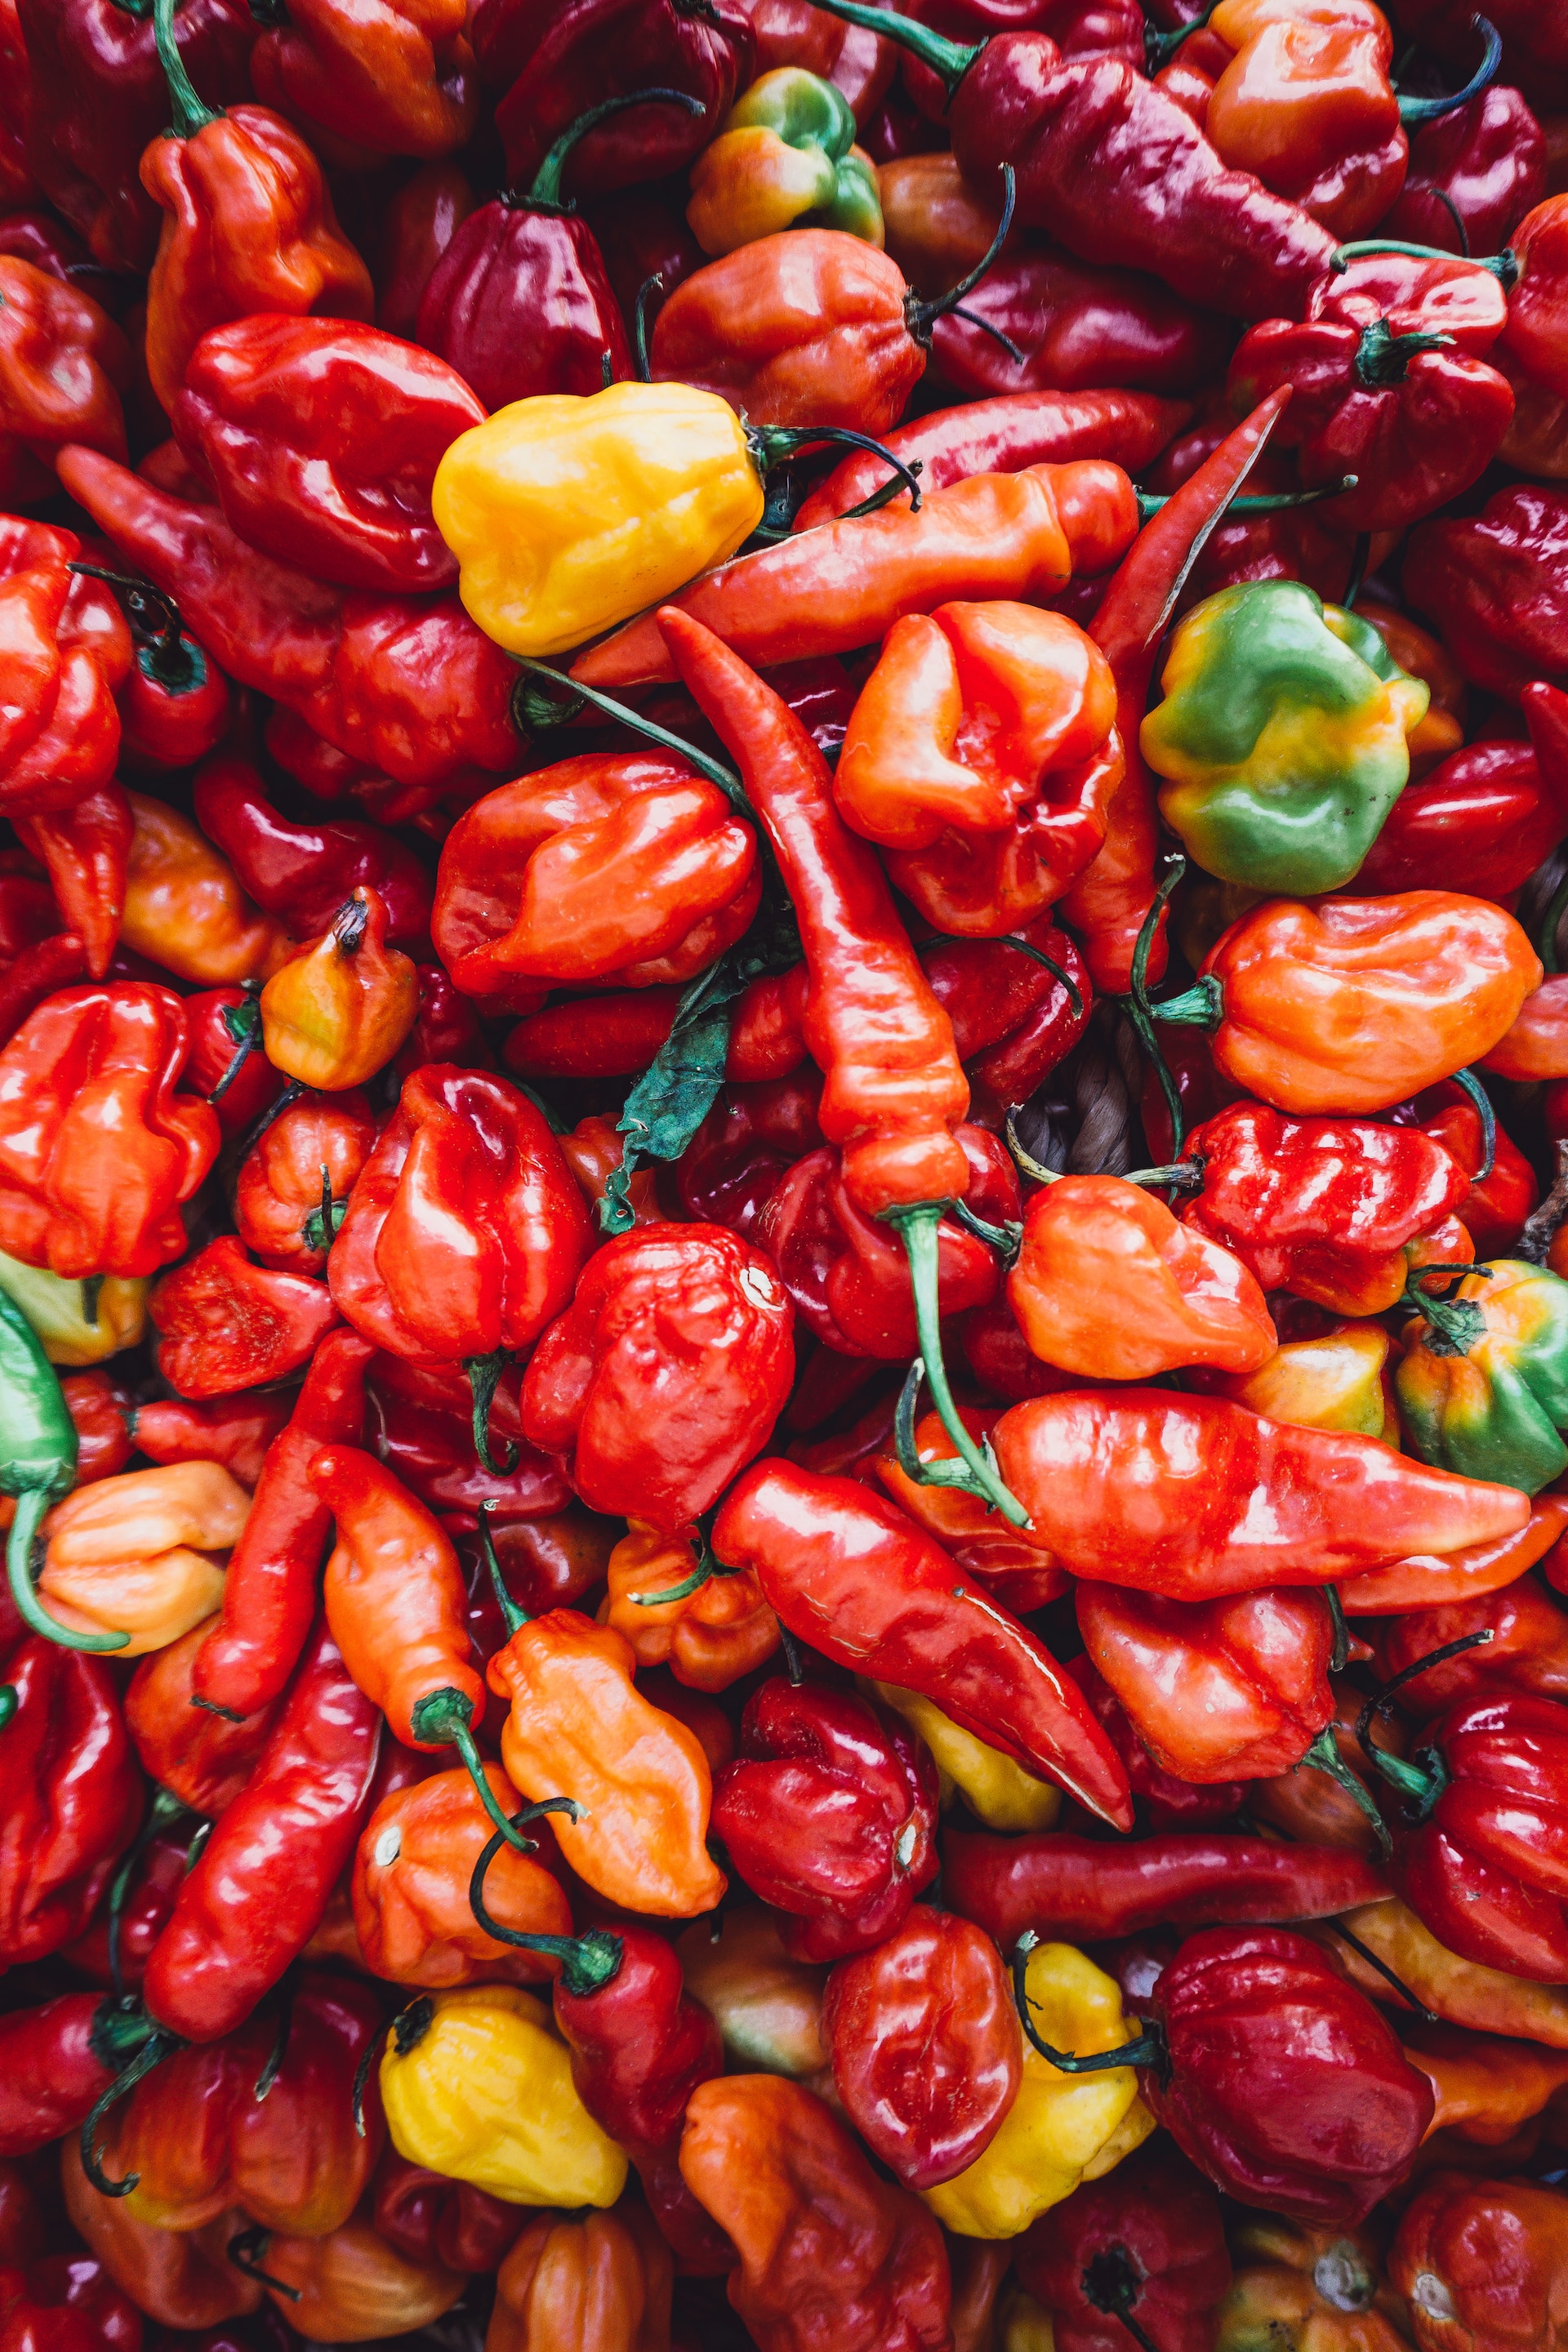
What if you could harvest hundreds or even thousands of peppers throughout the season by growing just a handful of plants in just a few containers?
Well with the right pepper strategy, you can! Sweet pepper or hot pepper, it doesn’t matter because they both grow marvelously in pots. Let’s look at how to do just that, from seed to harvest.
Select An Incredible Pepper Variety
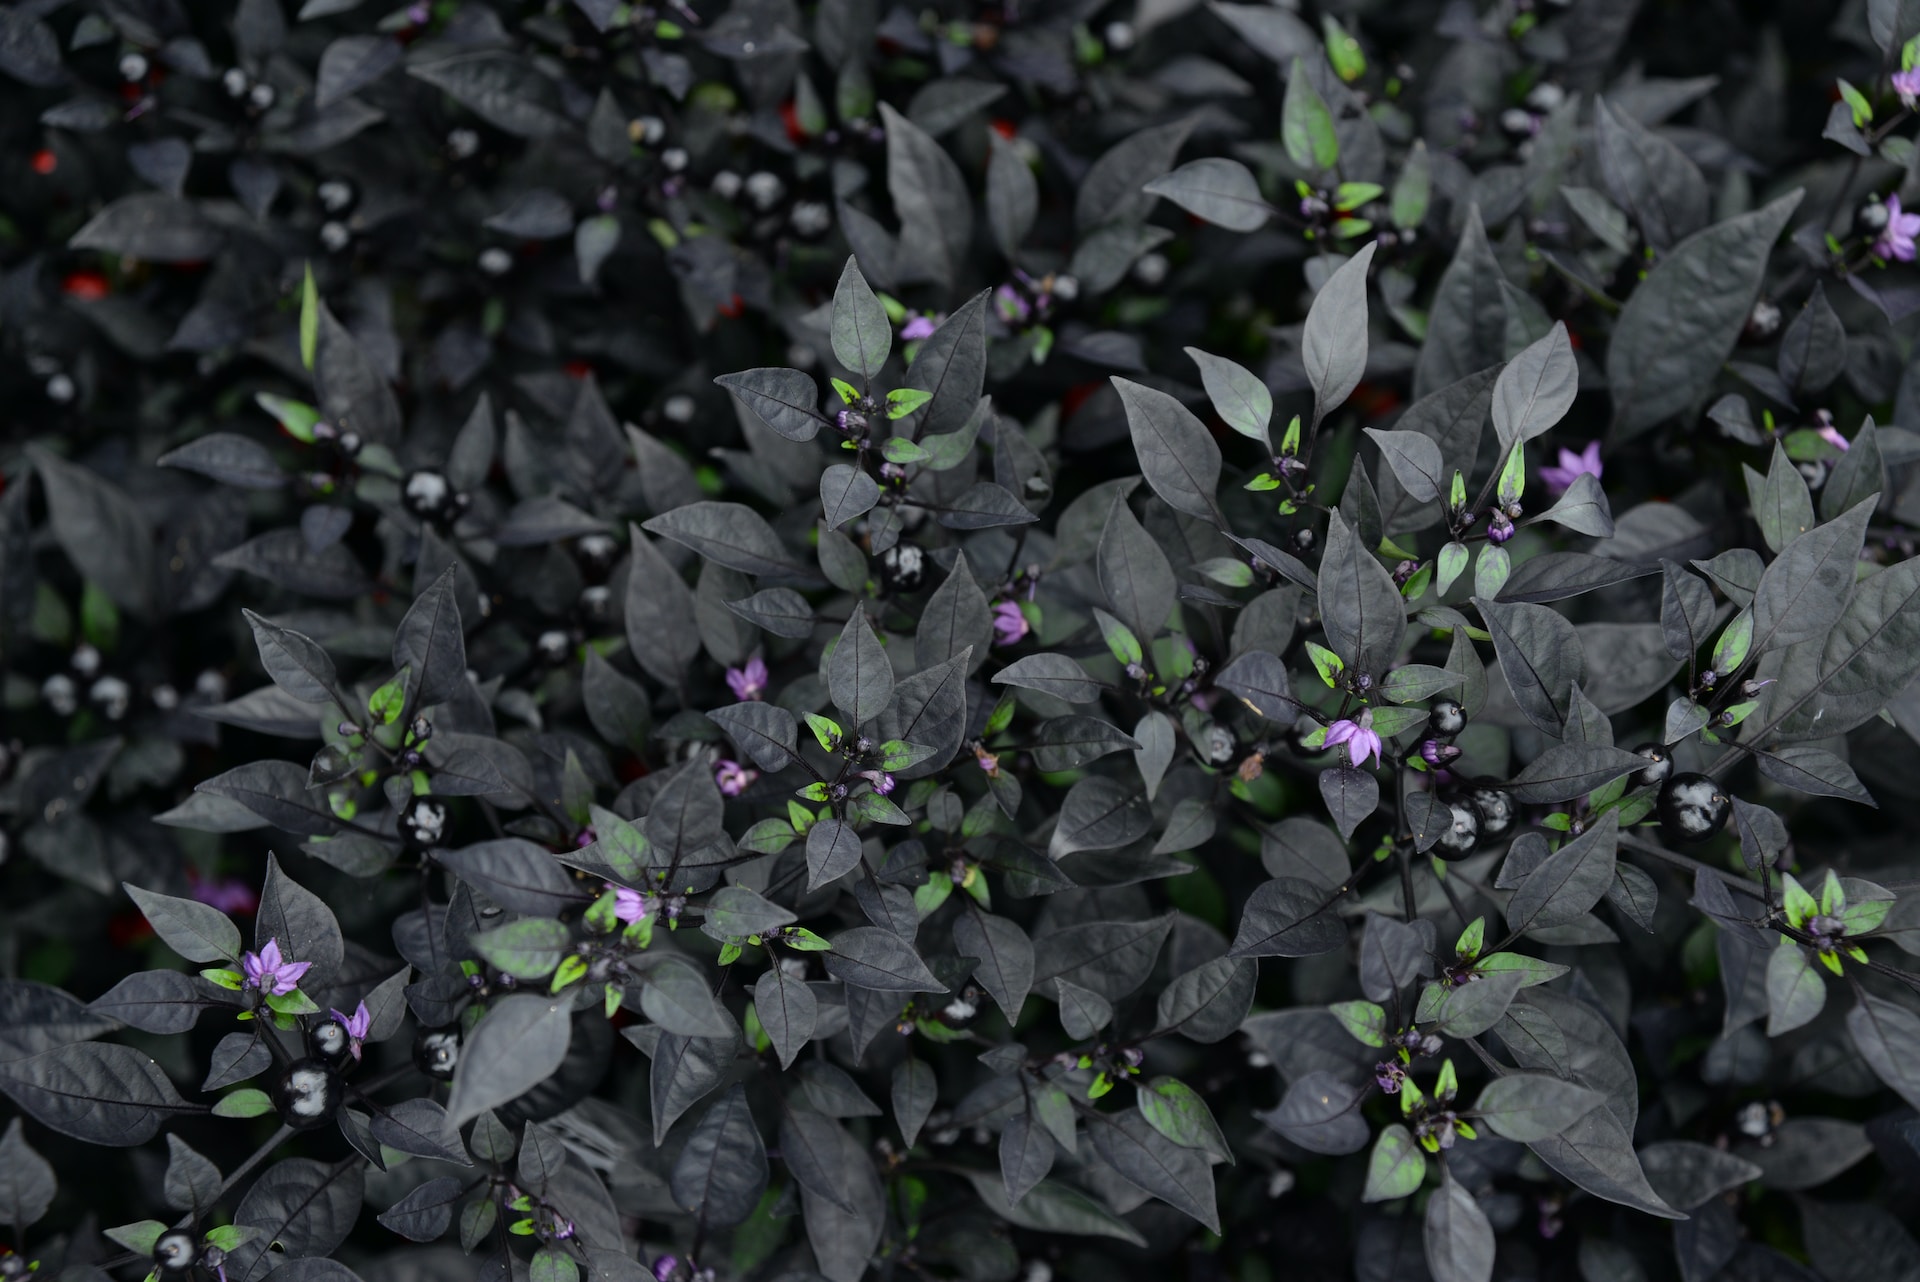
Start with a packet of seeds from a pepper variety you’re spectacularly excited to grow. There are so many fun varieties of peppers, so choose something awesome.
My favorite hot pepper varieties for containers are peruvian aji lemon drop and super thais. They both taste great and produce tons of peppers on small, compact plants.
And my favorite sweet peppers are hands down the jimmy nardello.
Jimmy nardello peppers are sweet, somehow creamy and can do everything a bell pepper can do, but better.
If you can’t find any jimmy nardello seeds, these corbaci peppers from Turkey and corno di toro from Italy are great alternatives.
By the way, if you need a visual reference for any step in this guide, feel free to pull up the companion video:
How to Start Peppers from Seed
Pepper plants prefer soil temperatures of around 65 degrees fahrenheit (~18C). They’re kind of between an eggplant and a tomato in terms of cold hardiness. So to get the absolute most out of our pepper growing season, start your pepper seeds 8 weeks before your local temperatures typically start staying above 50F (10C) throughout the night.
Be careful with relying on planting calendars because they can sometimes recommend planting too early. Even if there’s no danger of frost left, it can still be too early for peppers.
Tomatoes can go out a bit earlier but we can still plant peppers and tomato seeds at the same time because peppers don’t grow quite as tall or quickly as tomatoes. Just transplant your peppers outside two to four weeks after tomatoes.
Alternatively you can skip the hassle of starting seeds in winter and plant your seeds after it’s already warm out as long as you have enough summer left. You’ll need between 3 and 4 months before the frost hits depending on the variety, so check the seed packet.
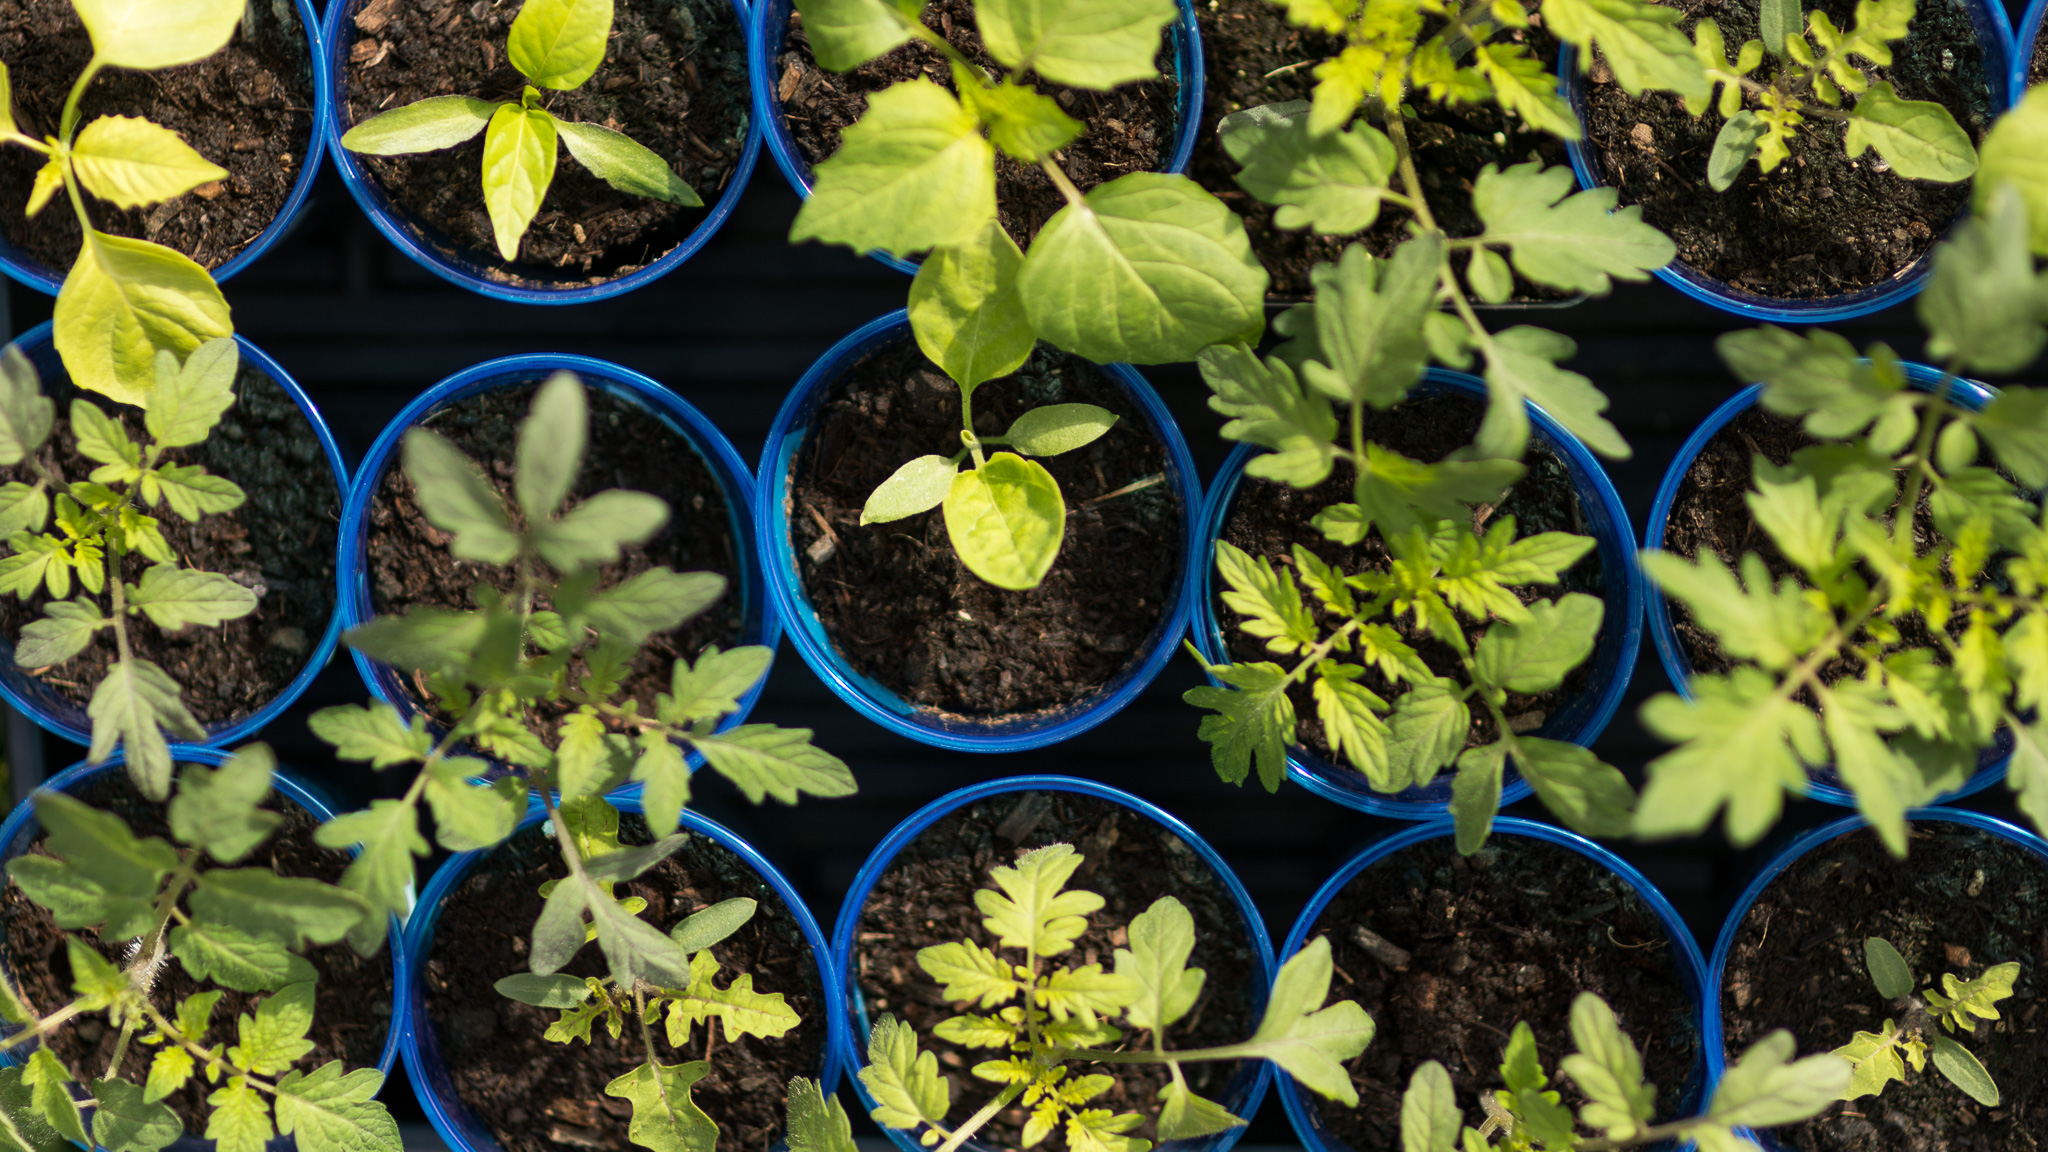
Since pepper seeds are small and a bit finicky, plant them either in a purpose-made seed starting mix or a potting mix. If you go with a potting mix, sift out any of the bigger bits so the small seeds don’t get blocked.
Fill your container with pre-moistened soil. I like to use seedling trays but any small plastic container with drainage holes will work. Plastic takeout containers are great for this.
Make a shallow indent with your finger, place two seeds in each depression, and pinch over some soil. Just a few hot pepper plants is plenty for us. Especially because these thai chillies can produce literally hundreds of peppers per plant. Really, they can and it’s very cool. Why wouldn’t we want thousands of thai chillies? Plant as many seeds as you want!
After the seeds are in, we will gently water overhead to get rid of any air pockets.
Place your container with the seeds into something that can hold onto water.
Place your seed container on something warm like a seedling heat mat or even a windowsill. The warmth is important because seeds germinate based on temperature and the ideal temperature for pepper seeds is in the high 70’s to low eighties Fahrenheit (21-27C). At those temperatures it will only take about a week. They will still germinate at much colder temperatures, just much slower.
Until the seeds germinate, all we need to do is watch for the soil to start drying out on the top and when that happens, add half an inch of water to the container beneath. Try not to water from above because that can harm germination.
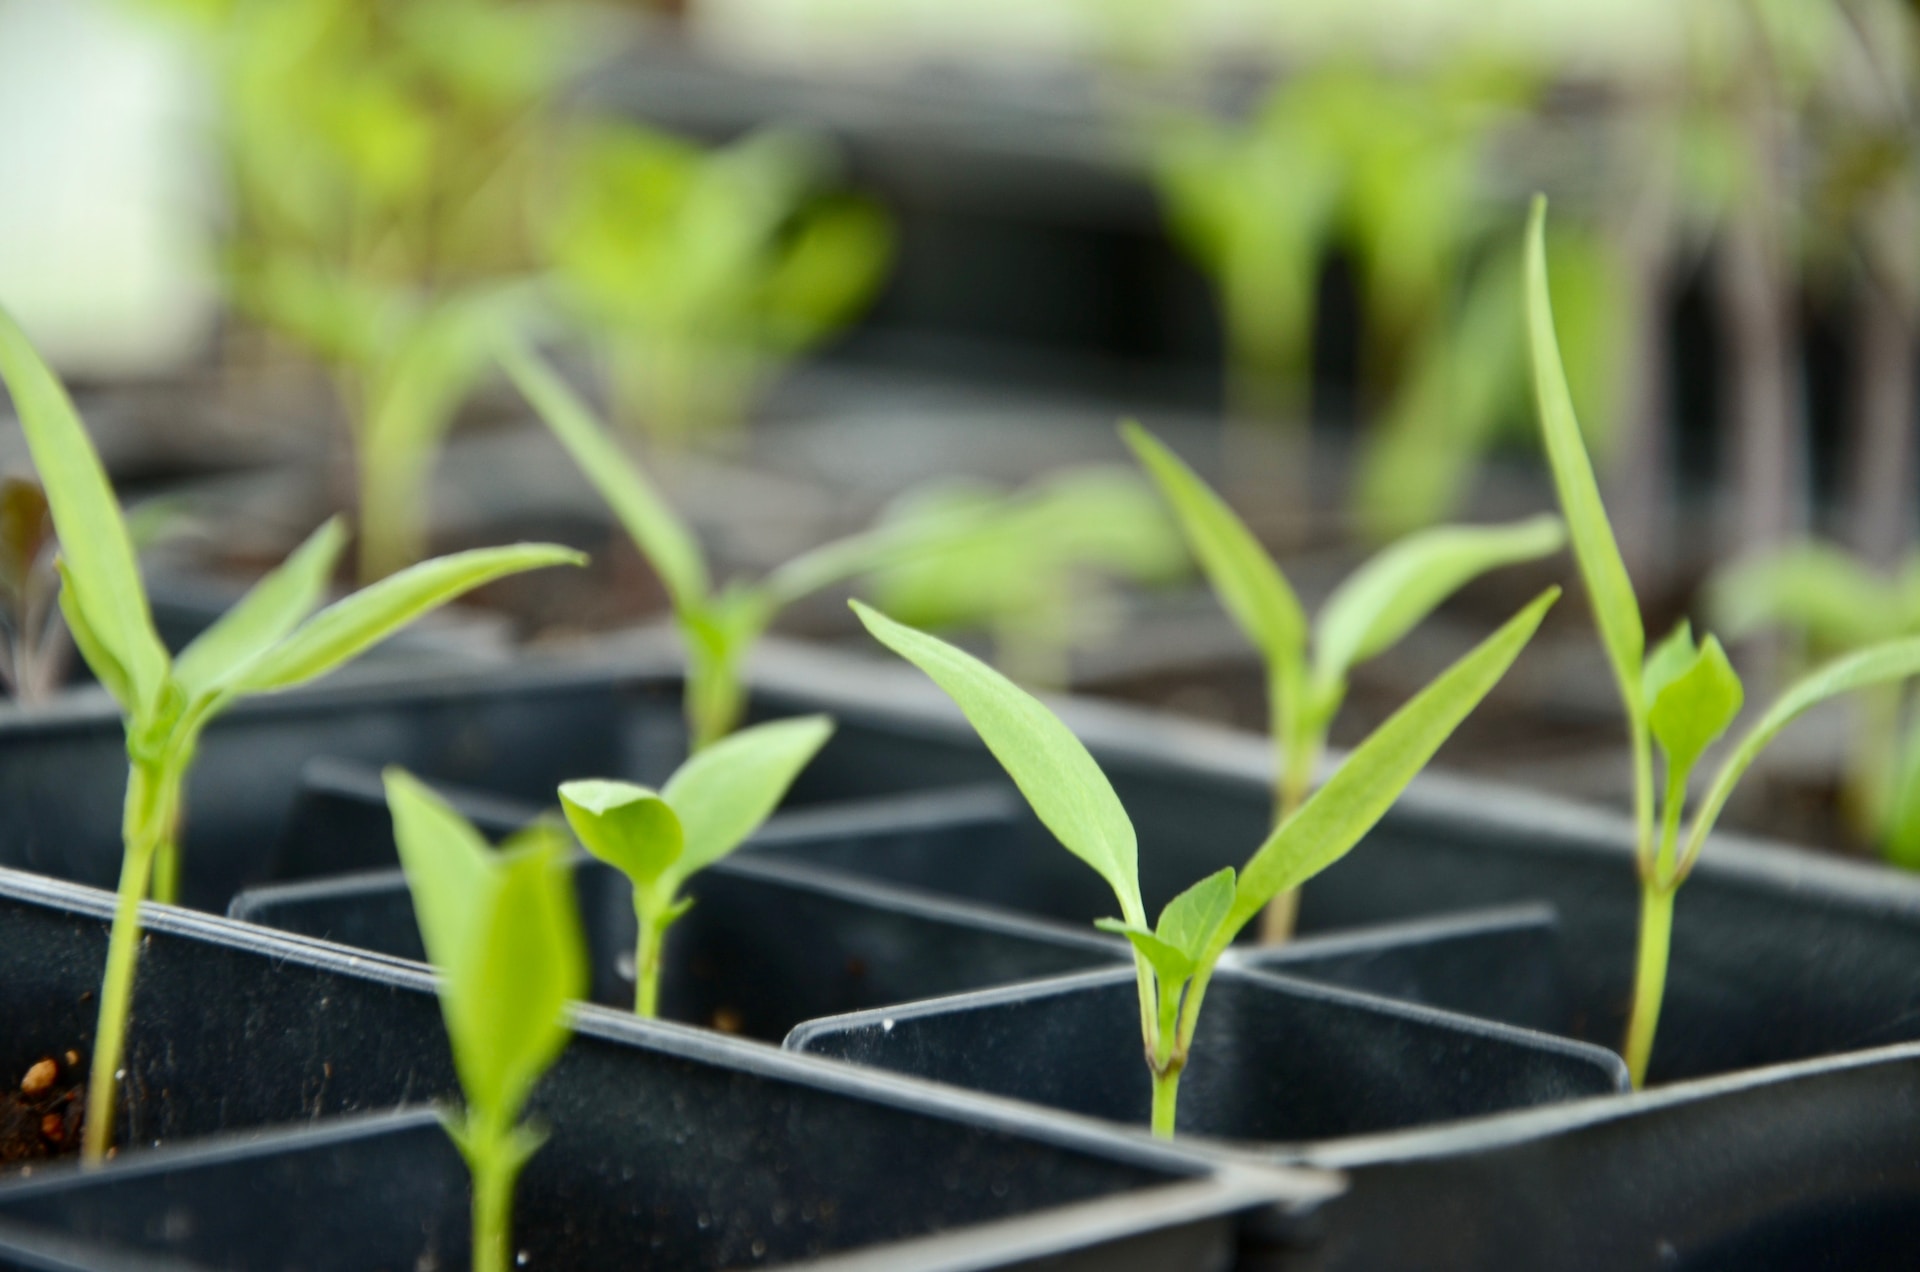
Pepper Seedling Care
When the seedlings pop up, it’s very important to move them somewhere with strong light immediately. And that means you’ve got two options:
If you started later in the season and the weather is nice and warm, plop your seedling containers into the sun right from the get go. If nights are cool, you can bring them inside at night.
If it’s too cold out for the seedlings to grow outside (below mid 70s F), keep them inside either under grow lights - here is my guide to putting this setup together - or put them on a windowsill.
Real talk, window sills are tough to make work for peppers, and I just want to be honest with that. Definitely doable, but without a killer, sunny south facing windowsill and long enough days, your peppers are likely going to be a bit stunted. Even this tree out here blocks the light too much to make this one usable.
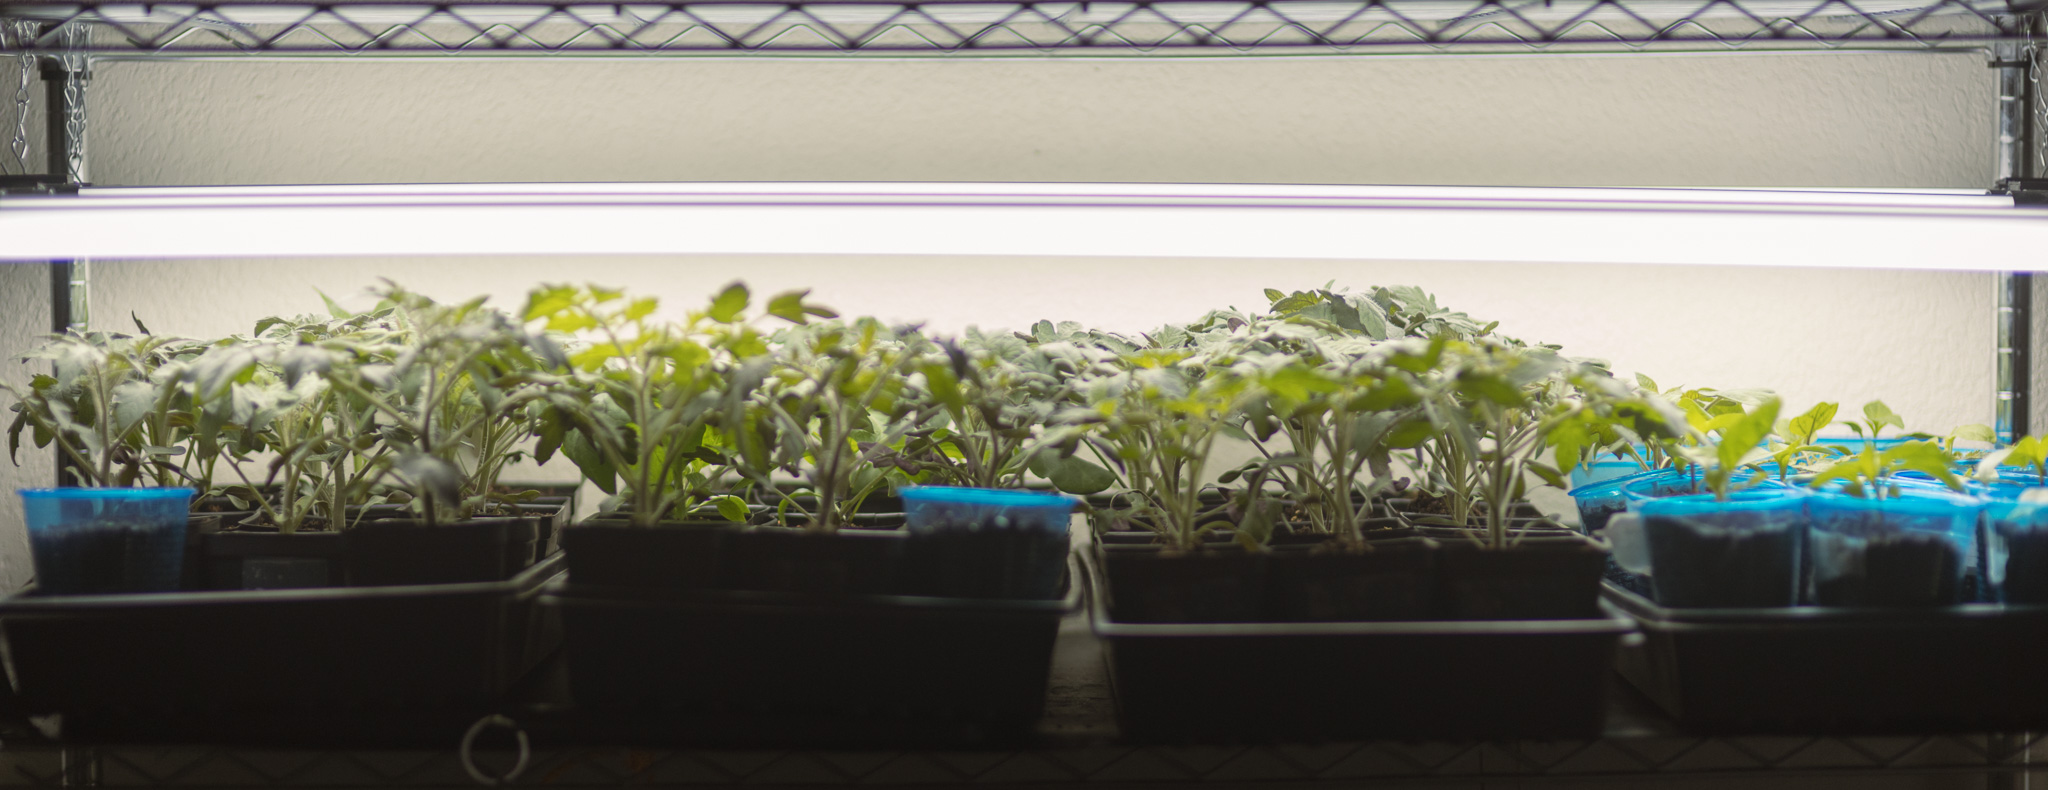
Besides, a seed starting rack is a really nice way to take a cheap, simple hobby like gardening and make it satisfyingly expensive and complicated.
If you are growing your plants indoors under lights or on a windowsill for a while, go ahead and pot up each seedling into a 4 inch pot OR a simple plastic drink cup with drainage holes punched in the bottom when they have two sets of true leaves.
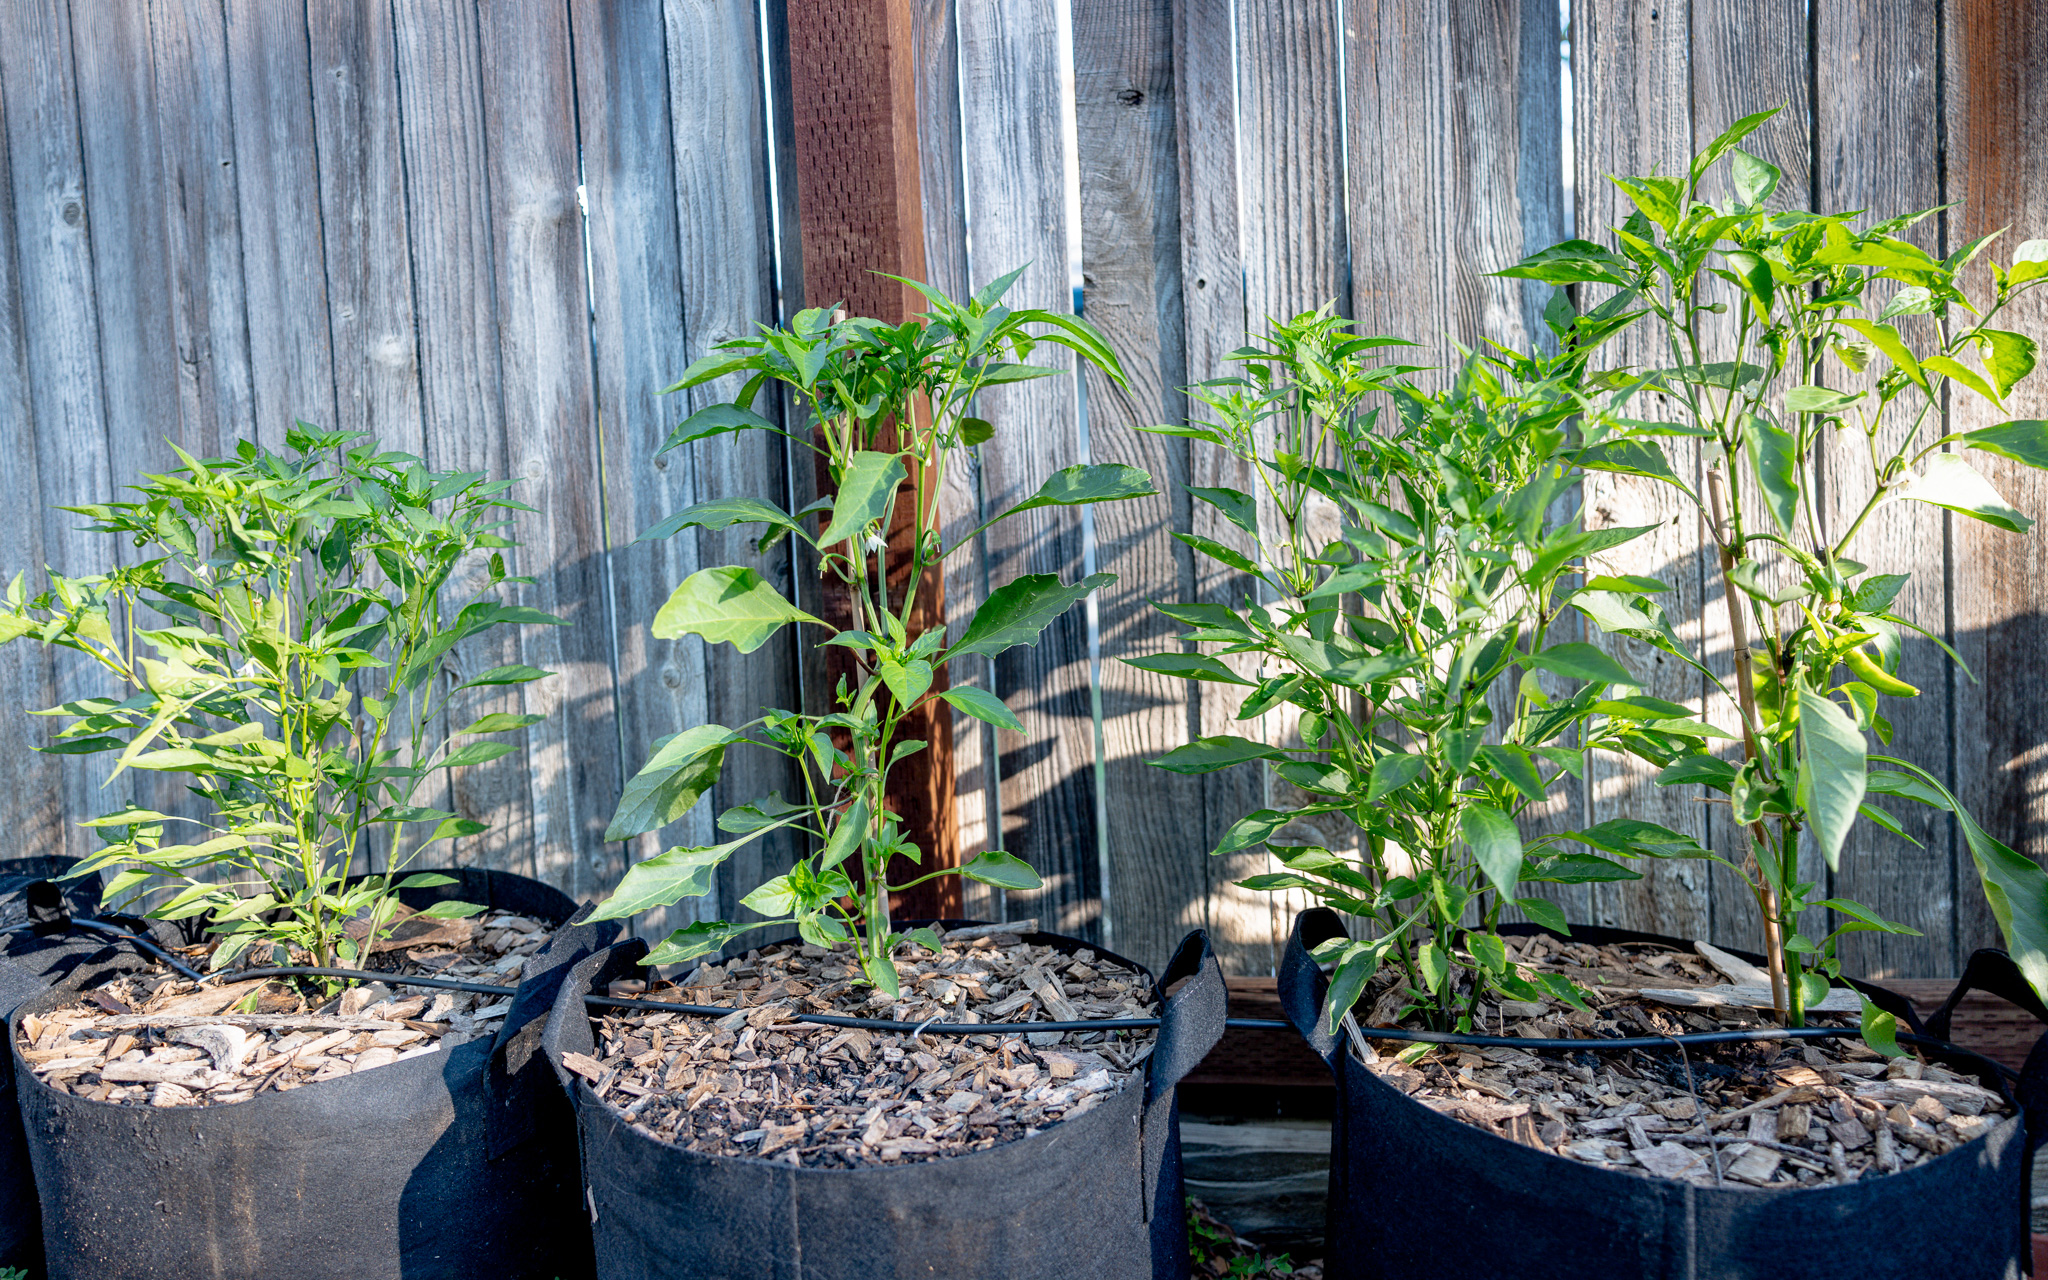
Choosing an Ideal Pepper Container Size and Type
It is now time to get your container ready. An 8 inch pot is about the smallest we can get away with, but a 5- 7 gallon container would be even better. We used 10 gallon containers to allow for the peppers to grow even bigger. If you have a ten gallon container and want to maximize the number of pepper plants you can grow, I think you’ll be happy with the results of doubling up too.
If you don’t have a pot yet, I recommend that you go with a fabric grow bag. They’re not only the cheapest container type if you wait for a sale on amazon but they’re so perfect for nightshade plants like peppers. They make everything easier.
Pepper Container Soil (Potting Mix)
Peppers will thrive growing in any good quality potting mix, but unless you only have one small container to fill, that’s going to be a super expensive option.
A more economic option is to mix together 60 percent compost, 20 percent sphagnum peat moss, and 20 percent wood fines for drainage to make our own soil. I also mix in a half cup of organic vegetable fertilizer which I’ve found is crucial for peppers.
You could totally swap in aged steer manure instead of compost for a cheaper option, coco coir instead of peat moss, and perlite instead of wood fines for a longer lasting option.
The Best Location to Place Your Container Peppers
Peppers love the heat but burn in temperatures in the high 90s and 100s F (over 36C). So we’ll put our containers in the sunniest spot we can manage unless you’re in a very hot climate, in which case put them somewhere with an hour or two of shade in the afternoon.
The other thing to keep in mind is wind. Pepper leaves are fragile things and they get stripped off in high winds. More so than tomatoes, tomatillos, eggplants, etc., I like growing mine in the backyard with wood fences that block the wind.
The beautiful part about growing in a container though is we can move it around and try different spots.
Transplanting Pepper Seedlings
Once our temperatures are consistently hovering around 55F or higher overnight, it’s time to transplant out. If you put your seedlings out in the sunlight from day one, they should have two sets of true leaves in a week or two. At that point they’ll be ready to transplant into the big container.
If they’ve been babied indoors for the last two months though, make sure to slowly harden them off so they can get used to life outside gradually - here is my video on how to do that. Seriously we have to harden off pepper seedlings, they do not recover well from shock. They’re much more dramatic than tomatoes in that way.
Transplanting peppers is really simple. First, I mix in just a quarter cup of fertilizer in and around the planting hole. Then plant them at the same depth as they were in their last container, no need to bury them deep like a tomato.
I do like to mulch them right away to help regulate soil temperatures but, fair warning, it is possible to add insects that will eat these little seedlings with natural mulch like wood chips.
Watering Pepper Plants
Water in those seedlings deeply to minimize shock from the transplant process. It also helps to collapse any air pockets that will block root growth.
From here until you start seeing flowers, water as needed by checking the soil.
Take a finger and get in there about an inch. If it’s dry, water, if it’s moist, hold off. We can start slow when the weather is still cool and the plant doesn’t need water for creating pepper fruits. This also helps encourage the plant to grow roots down and out instead of just at the surface.
Watering with peppers is actually a bit tricky, I think. If you water too little, the fruit will be bitter. But they’re probably the most sensitive nightshade in my experience to overwatering as well, so keep an eye out for yellowing leaves, which is usually a good sign of too much moisture.
This is where growing in fabric grow bags really helps. They’re much harder to overwater because they drain and breathe so well!
Pruning Pepper Plants
One thing we don’t have to worry about is pruning. The only thing I do is remove some of the older dying leaves.
Nope, no need to top them or trim off suckers or any of that. There’s not really good evidence that it helps. Here’s our full guide to pepper pruning if you want to learn more.
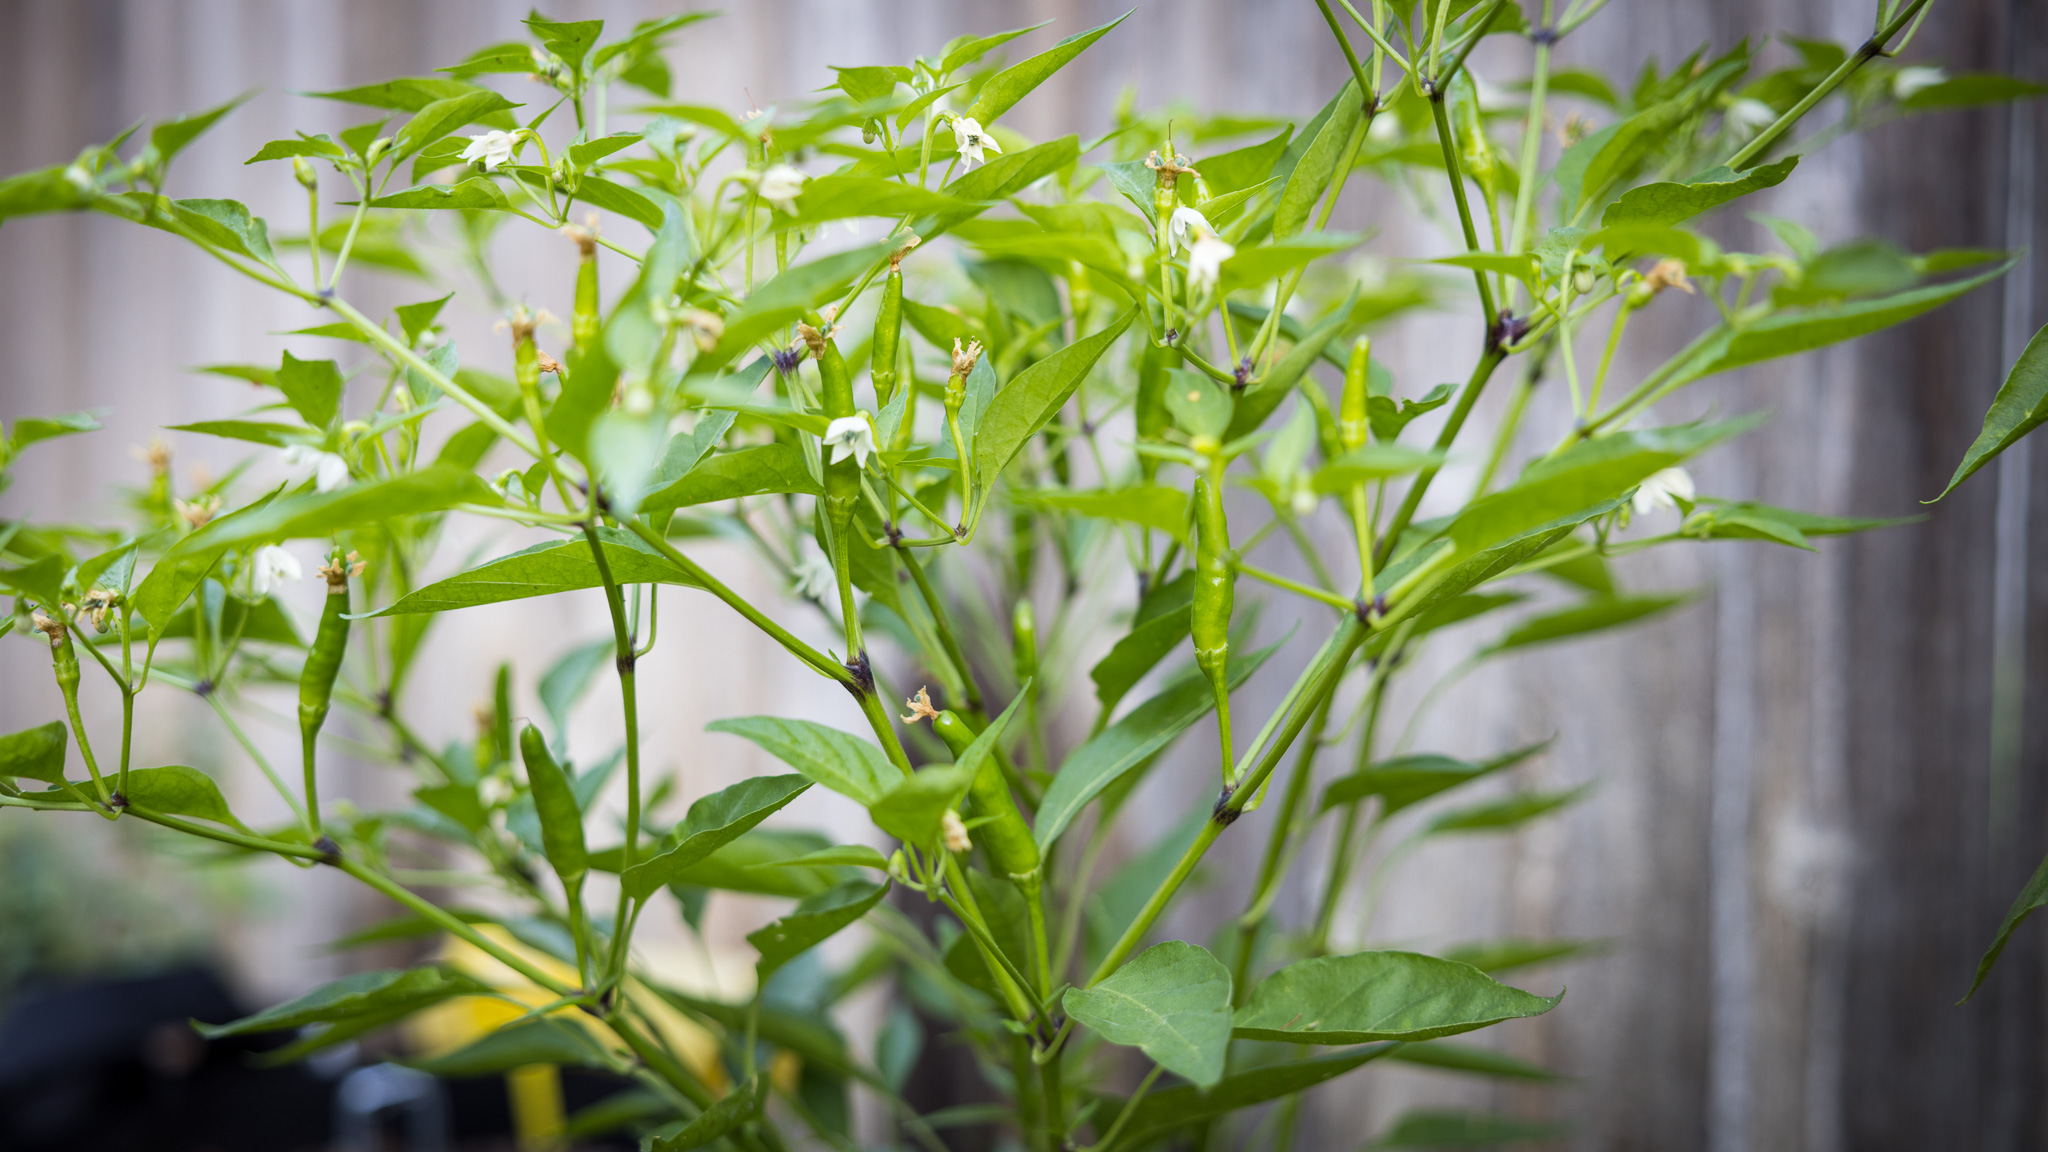
What to do when you see flowers
After weeks of babying your little plants, it is so beautiful to see the pepper flowers appear. They’re also a super important signal to do a few things to keep our plants growing healthy.
Flowers mean fruit and fruit production requires water so start giving those plants some extra moisture to make sure the peppers taste good and not bitter.
Similarly, fruiting requires nutrients, so this is a great time to side dress with a half cup of organic vegetable fertilizer. Create a shallow circular divot around the plant, scratch that fertilizer in and cover back up. From here on, it’s best to fertilize every two to three weeks or at least after you harvest a bunch of peppers to help the plant recover and set more fruit. If the soil line has sunk down a bit, fill it back up with compost and then add more mulch.
Most pepper plants will require staking and it’s better to do it early. Put a strong support such as a bamboo pole an inch and a half or two away from the plant and tie it to the plant 6 inches up and then every 8 inches or so as the plant grows.
Some bushier varieties, especially if you’re growing in a container that is in a space protected from the wind are OK without a stake. It’s a risk though.
Finally, we need to pollinate these flowers. Peppers, like tomatoes and eggplants, produce perfect flowers which means that both the male and female organs are present in all these flowers. All they need is a little vibration to dislodge some of the pollen. Insects and the wind will do that for some of them, but for the best fruit set rate, we need to tap the open flowers every day or press an electric toothbrush to the flower truss for a moment to mimic the vibration of a bumblebee. This really works wonderfully!
How to Harvest Peppers the Right Way
The How of Pepper Harvesting is simple, just gently remove the fruit by hand or snip them off with a pruner. You’ll know they’re ripe when they fully transition to the color on the seed packet.
But the when is tricky. Because there are a lot of variables: the species and variety, how you plan to use the pepper, and how much warm weather you have left.
First off, know that peppers are not cold tolerant plants and tend to stop ripening long before the plant actually dies from a frost.
Now, the fruits that have reached what’s known as the breaker stage, where you can visibly see their color changing should continue to ripen off the vine so you can snip them off and let them ripen inside in a warm location. Sometimes they will have reached the breaker stage before changing color, but it is hard to know in that case, right?
Before they’ve begun to change color, it depends on the specific species whether they’ll actually ripen indoors or just basically get more mushy. If you want to read more about that, look at climacteric vs non climacteric fruits.
What’s more, some peppers are intentionally picked unripe such as jalapenos, which is mostly because that helps the plant to keep producing more peppers, just like with a cucumber plant. Or they are picked only partially ripe, which is pretty common with thai hots because it results in a nice balance of flavor, texture, and heat.
The moral of the story is that your ideal amount of ripeness will vary and may sometimes be out of your control. So try harvesting a single fruit out at various stages to see which you like best. And remember that an underripe pepper is still very good.
Common Pepper Growing Issues
When it comes to problems, peppers are kind of interesting. They’re vulnerable early in the season to cold, wind, and not enough light, but if they make it to the warmth of summer in a good state, they’re pretty resilient.
One common issue though is blossom end rot where the bottom of the fruit starts rotting. Basically the cell walls collapse and create a mess. That’s a physiological problem caused by environmental stress. It’s also more common in containers. So if you’re seeing it, don’t panic, just make sure you’re watering enough and not underfeeding. The best remedy for blossom end rot is time, it usually resolves itself.
Another one is blossom drop where a flower opens but doesn’t set a fruit. Two big causes there:
If temperatures are consistently in the high nineties, the pollen will go bad and the plant needs a bit of shade in the afternoon to start fruiting.
Low potassium, so again make sure to fertilize. These containers can really end up running low on nutrients after a lot of watering.
Peppers luckily tend to deal with fewer pests and diseases than eggplants and peppers. Small insects like aphids and whiteflies can cause physical damage and spread diseases though. There are of course insecticide options you could use for those but we don’t use any as a rule, not even neem oil. So if things get a bit gnarly I’ll isolate the plant and blast the underside of the leaves with water and put up yellow sticky traps. Definitely not perfect, but we’re willing to take the hit in order to not put anything on our plants.
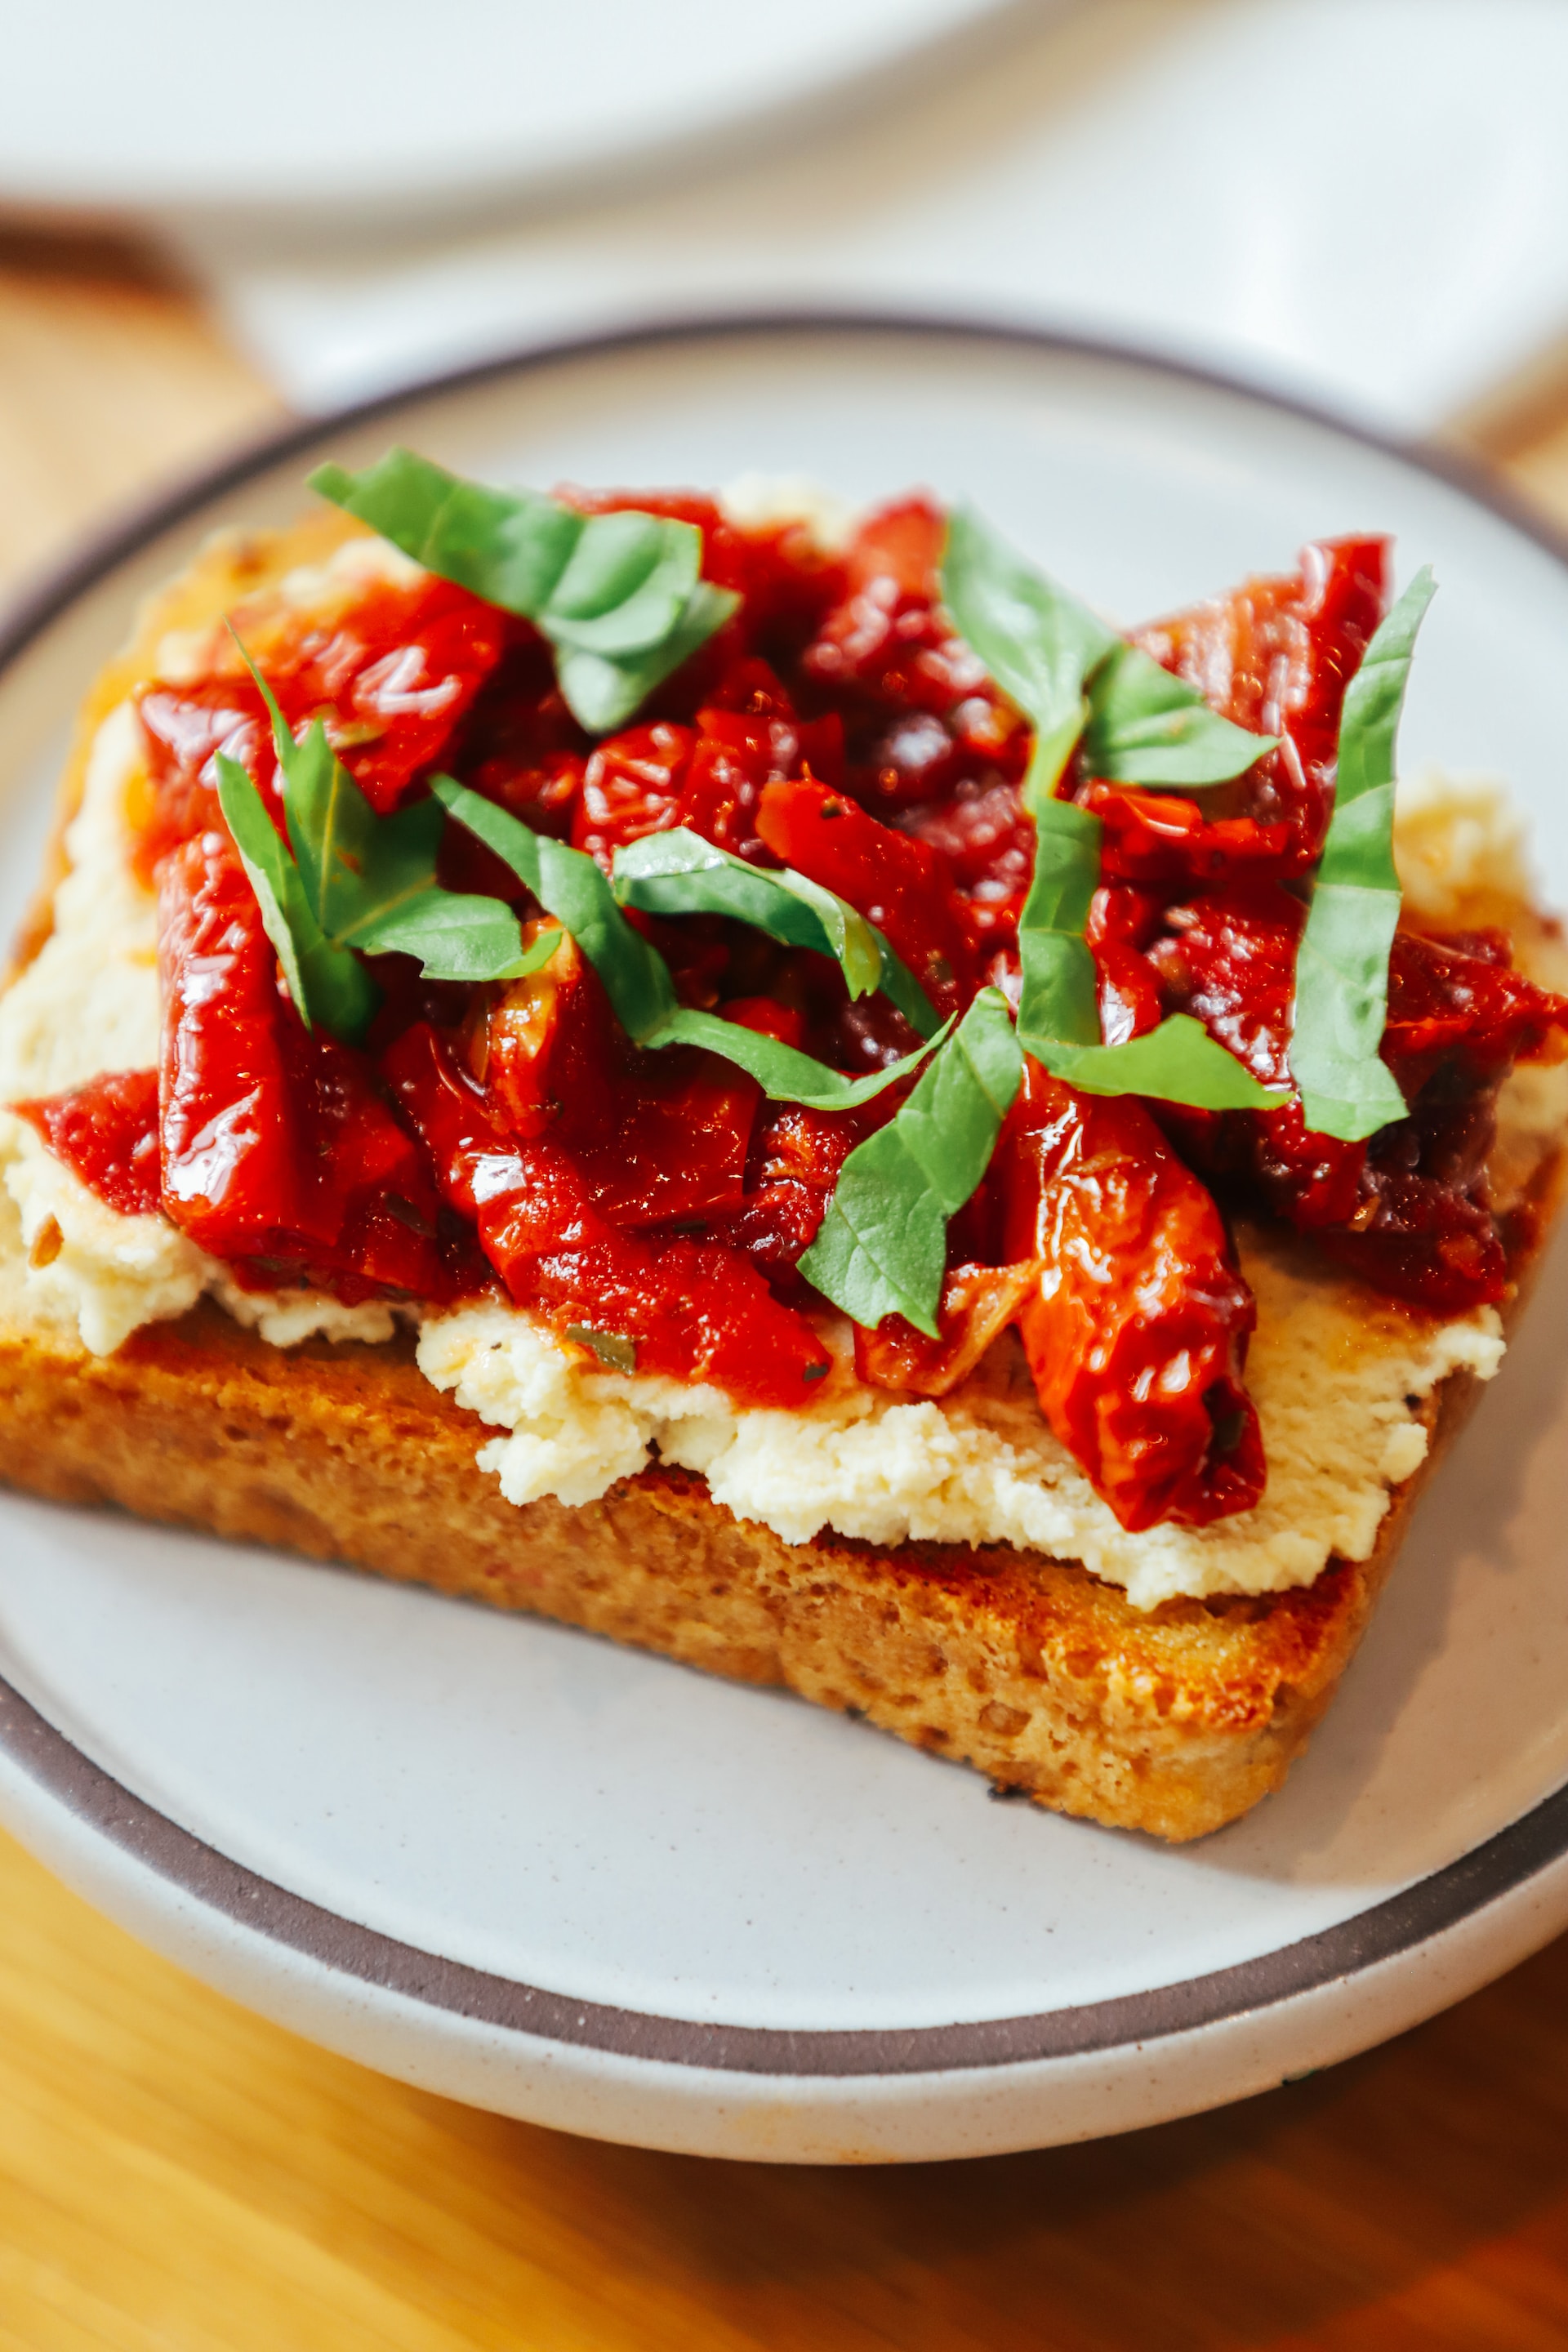
I hope this helps you grow a beautiful bunch of potted peppers and that you have more than enough to try out some of our favorite pepper recipes:
- Stuffed sweet peppers
- Roasted red pepper sauce
- Muhammara dip
- Roasted red pepper soup
- Homemade hot sauce
- Hot pepper jelly
- Hot pepper relish
- Kung pao chicken/ tofu/ meat
- Hot pepper mango salsa
- Hot pepper vinegar
Happy Gardening!