Fall is just around the corner, bringing with it Halloween and Thanksgiving (for our readers in the U.S.) and all things pumpkin. If you’ve got fond childhood memories of hitting the local pumpkin patch, let’s bring that feeling home!
Don’t worry if you don’t have a big garden patch or giant raised bed to plant in. While pumpkins are a large vining plant with notoriously deep root systems, they can absolutely be grown successfully and produce large fruits in simple grow bags. Grow bags, or smart pots as they’re sometimes called, are extremely affordable cloth containers that provide surprisingly effective homes for our plants.
What Size Grow Bag Do I Need to Grow Pumpkins?
Pick up a 20 gallon or larger grow bag to plant your pumpkins in. There’s just no getting around the fact that pumpkins have big root systems and are hungry plants. In a 20 gallon or larger bag, you can successfully grow Jack-O-Lantern pumpkins or even culinary varieties like the Cinderella pumpkin I’ve gone with in my grow bag this year.
If you only have a 10 gallon bag available and are determined to give it a go, do it! Buy seeds of a small pie variety like New England Sugar Pie or the outrageously adorable Jack Be Little for the best chances of success.
How Do I Plant Pumpkins in Grow Bags?
Pumpkin seedlings very quickly grow out of seed trays, so while it’s possible to start them indoors and transplant, I suggest skipping right to planting your seeds directly in the grow bag. As always, plant 2-3 seeds to ensure at least one germinates, but leave only the most vigorous plant unless your container is massive.
Pumpkin seeds are large and need to be planted deeper than most seeds, so make sure you’re watering the soil in your bag sufficiently to allow for germination. This will be a longer watering than you might be used to if you typically plant in seed trays. Luckily, they don’t require super high temperatures to germinate so starting the seed in your pot outdoors shouldn’t present a problem.
What Kind of Soil do Grow Bags Need to Grow Pumpkins?
Avoid planting your pumpkin seeds in very dense, compact soil. While true for most plants, pumpkins in particular prefer a looser, fast-draining soil. This means those of us with a clay heavy native soil will need to purchase potting soil or a raised bed mix.
A quality organic raised bed mix or potting soil will work great! Don’t worry about using a seed starting mix with such a large container, just remove any large sticks from the top layer and make sure that you don’t compact down the soil too much. Seeds need oxygen to germinate.
No matter the soil, leave space above the soil to layer on an additional two critical ingredient: compost and mulch. A one inch layer of compost added to the soil once the plant is a few inches tall will feed the soil. And a few inches of mulch once the plant is six inches or taller (being careful to leave space around the stem) will keep the soil from drying out.
Proper soil maintenance is even more important in an isolated environment like a grow bag so don’t skip these two ingredients!
Where Should I Place my Pumpkins in Grow Bags?
One of the benefits of planting pumpkins in the grow bag is the flexibility to set them in the absolute best spot possible. So utilize that flexibility to place your grow bag in an area of full sun receiving at least six hours of sunlight a day, although a little more is even better.
That said, if you simply don’t have a full sun spot available, don’t give up. Pumpkins are more tolerant of a little shade than many other popular fruiting plants in the garden; it’s still worth it to place them in an area of dappled sun or even a spot that receives less than six hours a day.
How Much Water Does My Pumpkin Plant Need in a Grow Bag?
There are a few things to keep in mind about watering pumpkins in a grow bag:
Pumpkin plants have deep roots, need water to produce healthy vines, and need tons of water to create fruit. This means they’re a relatively thirsty plant all the way up until the pumpkins begin to near maturity when you’ll want to start decreasing watering to prepare for harvest. Water slowly and deeply.
Pumpkins, with their enormous leaves, are pretty good about letting us know when they’re thirsty. Pay attention to the leaves and whether they’re drooping from lack of water.
Water gently around the base of the plant and try to prevent a lot of splashing up onto the stem and leaves. Pumpkins are susceptible to disease, but that’s much less likely to be a problem if your watering is slow and gentle. The mulch helps a lot to minimize splashing and disease spread as well by creating a barrier between the soil and the leaves.
How do I Feed my Pumpkin Plants?
In addition to being thirsty plants, pumpkins are hungry too. Those are some awful big fruits they have to make after all.
If you’re comfortable with somewhat smaller yields as I am, skip the store-bought fertilizer and let the compost feed the soil and in turn the plant.
If you know you want to maximize production, pumpkins will benefit from a lower nitrogen mix like 5-15-15 once a month after the flowers have appeared.
Whether you decide to add fertilizer or not is ultimately up to your production goals. If you have the space, it can be a lot of fun to run two plants at the same time, adding fertilizer (in addition to compost) to only one of them and compare the outcomes.
How Do I Make Sure My Pumpkins Pollinate?
Pollination is one way that growing pumpkins in a container can be a little trickier than in a large garden. That’s due to the fact a grow bag is often placed in an isolated spot away from flowers that would naturally attract beneficial pollinator insects like bees.
If you’ve grown pumpkins or other squash varieties like zucchini in the past, you’ll recall that each plant has both male and female flowers. Your pumpkin will need both types to be present at the same time to properly pollinate and set fruit. The good news is it’s pretty easy to help the process along.
First, you need to be able to differentiate the male and female flowers. Female flowers will have what looks like a miniature fruit right beneath the flower on the stem. They also tend to be on stockier stems, whereas the male flowers will be on longer, thinner stems.
For the best production, use a q-tip to very gently collect pollen from the male flowers and transfer it onto the internal pistil of the female flower. If you don’t have a q-tip handy, you can actually remove the male flower from its stem, peel off the petals and use it to directly transfer pollen onto the female.
When Should I Harvest my Pumpkins?
With healthy soil, sun exposure, and plenty of water, the time will come to finally harvest your pumpkins in time for Fall holidays. Depending on the variety, fruits will mature in 90 - 120 days from planting (or from transplanting).
Of course, there’s plenty of wiggle room on this estimate given the number of variables at play. So instead of relying on the date, monitor the fruits themselves for a few signs they’re ready to pick:
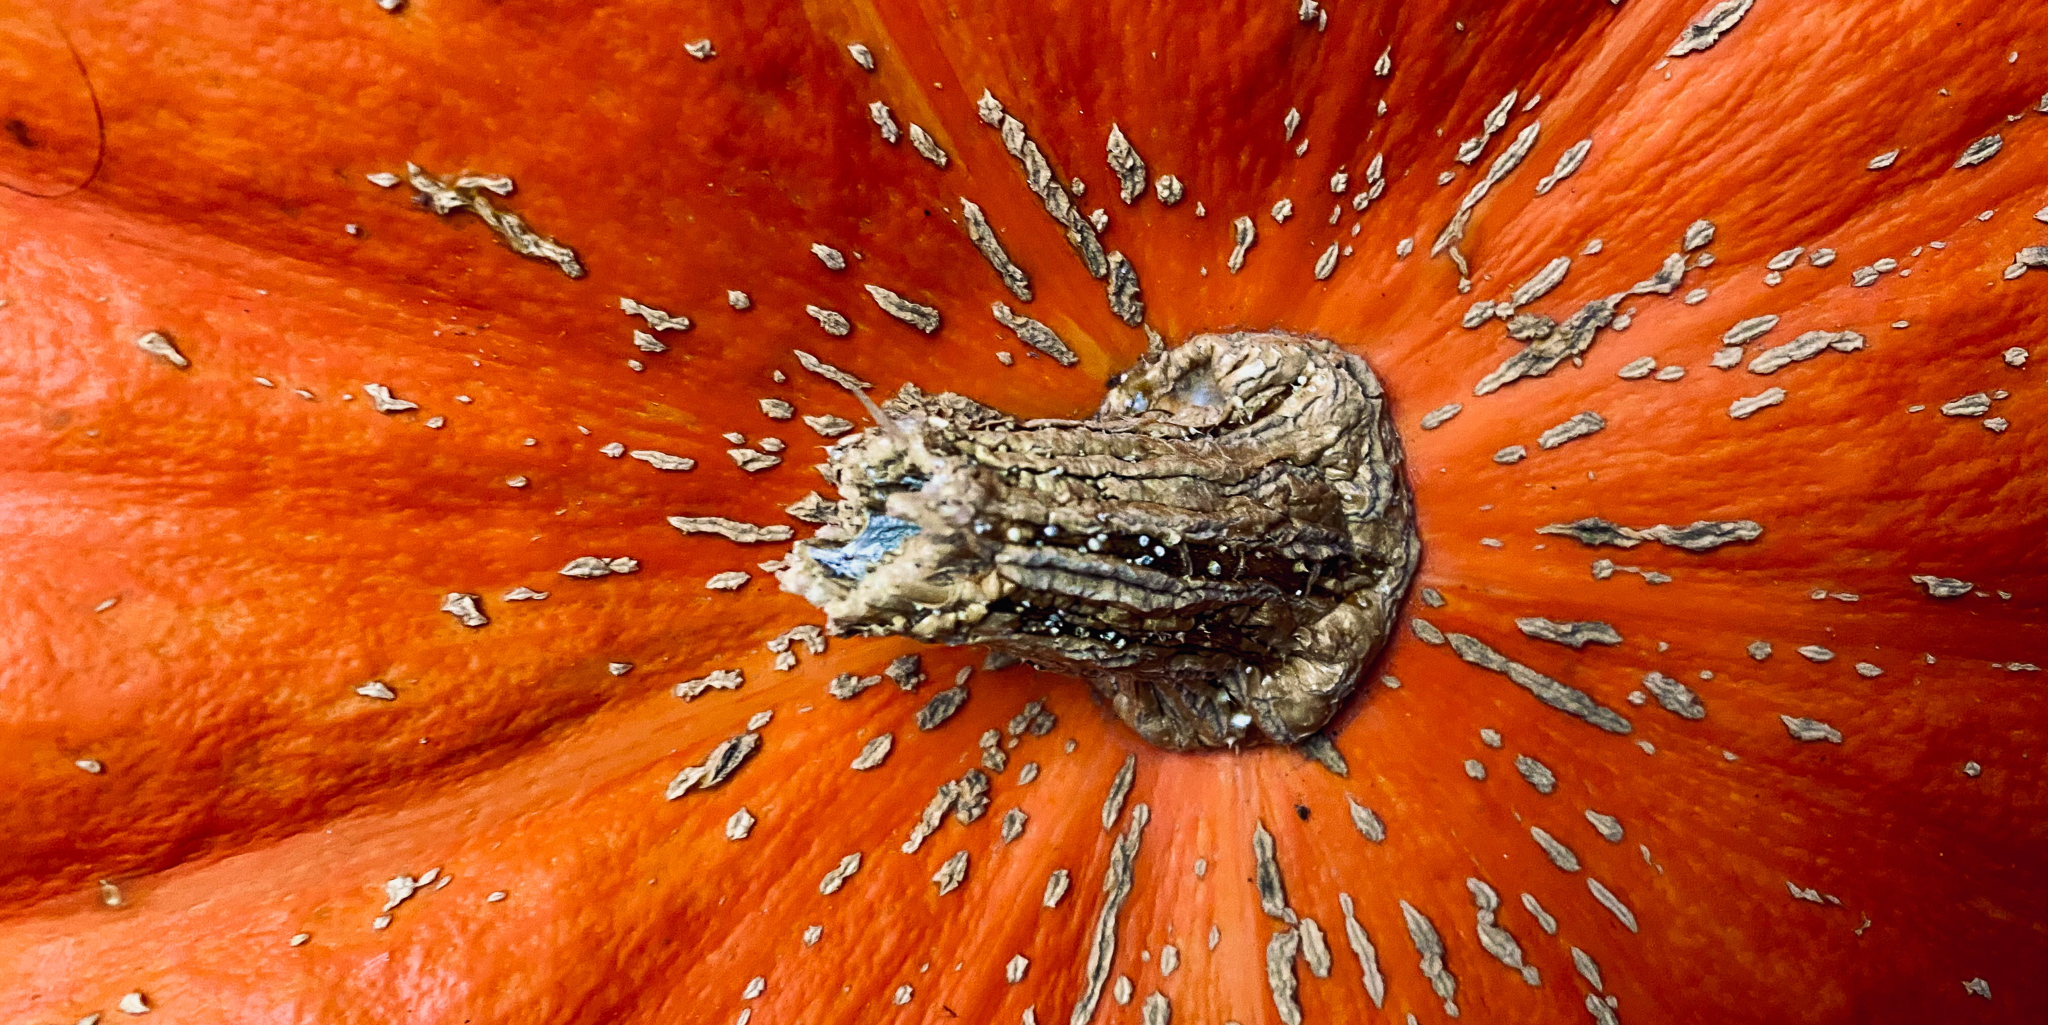
The fruit has finished ripening to its final color. Quickly compare your pumpkins to the photo on your seed packet to be sure. The rind of the fruit has become firm to the touch and not easily nicked. The stem right above the fruit should be woody and hard
And that’s it! Happy planting.