Clay soil is probably not what you wished for when dreaming up your garden. It can be a real challenge and one that is often ignored in gardening guides. Luckily, there are some straightforward principles and tactics we can show you to turn your clay soil into a plant growing machine!
In this article, you’ll learn about the chemical and logistical challenges that clay soil presents and how you can overcome each of them today with a quick trip to your local hardware store and a few bucks in materials.
Because it can be a dense (pun very much intended) topic, we’ll break it up into six bite-sized challenges and remedies.
Clay Soil Challenge #1: Small Particles = Dense Soil
If you wet down a bit of your clay soil and rub it between your fingers, it will feel smooth rather than coarse or grainy. That’s because the particles that make up clay soil are extremely small - 1000 times smaller than the particles in coarse sandy soil in fact.
And that texture is directly related to the water retention capacity of the soil. Tiny particles result in smaller pockets of space, or pores, between themselves, and that results in dense and close texture with a high capacity to hold onto water.
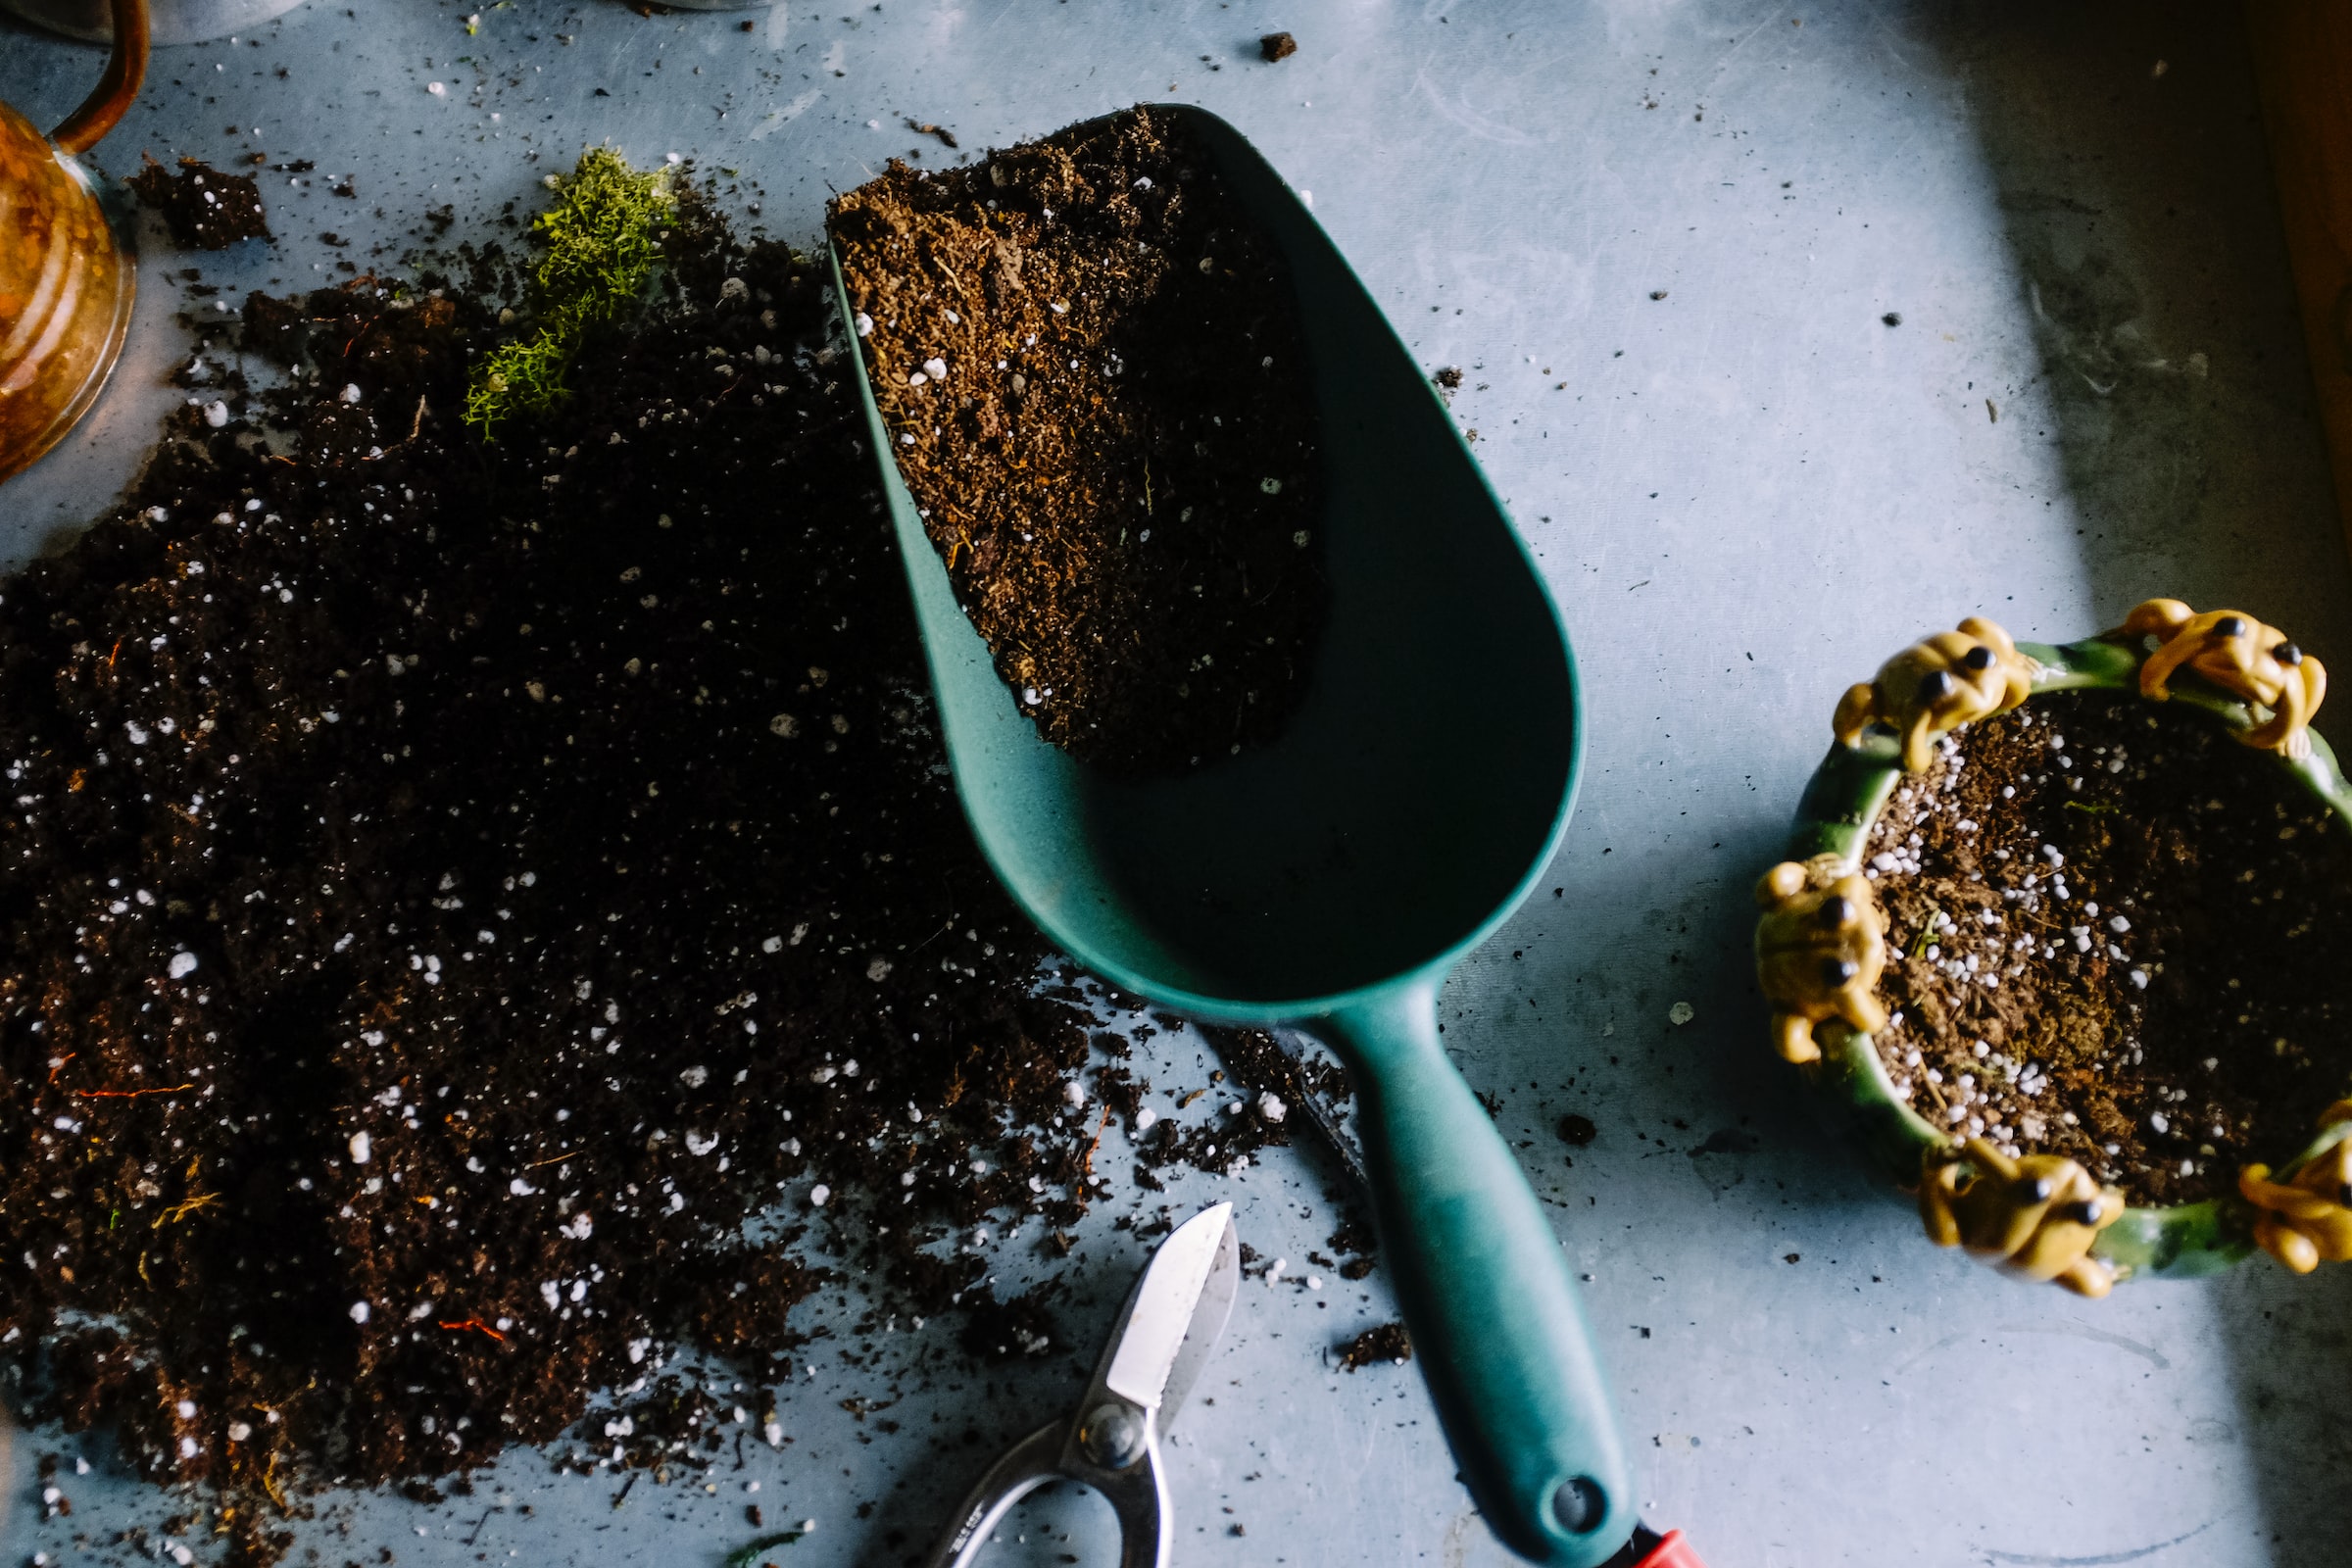
To combat that close texture and water retention - which stops root growth in its tracks - you need to introduce organic materials to the mineral-heavy clay soil to produce a loamier mix.
My favorite way to do that is:
Dig a deep planting hole, placing half of the native clay soil into a wheelbarrow or large bucket and the other half into another container to discard elsewhere. I like to use my extras to level out future garden plots. The planting hole should be at least one foot deep and wide and even bigger for large plants like melons.
Mix a little more than 1/2 cubic foot of aged manure or compost into the wheelbarrow with the native clay soil.
I personally like to use steer manure because it’s cheaper than chicken manure or straight compost and our goal here is to add a high volume of organic materials affordably. Chicken manure and compost are much more expensive by volume than steer manure because they’re richer in plant nutrients. Which means I’m good with quantity over quality for this step!
- Break up any big chunks in these two soils and mix them up thoroughly.
Clay Soil Challenge #2: It’s Often Alkaline
Many of the most popular annual garden plants like tomatoes prefer a moderately acidic environment to grow in. Most clay soils, however, are moderately alkaline.
To combat this, add sphagnum peat moss, which is extremely acidic, into the mix.
Do your best to break up the sphagnum peat moss and wet it down before incorporating it. Dry sphagnum peat moss out of the bag is quite hydrophobic so you really need to wet it thoroughly.
If you don’t want to use sphagnum peat moss due to environmental concerns or cost (it’s pricey!, you can consider elemental sulfur instead. The downside is that elemental sulfur takes many months to be broken down by the soil bacteria to create a more acidic environment.
Otherwise, you can skip this step altogether. The compost or manure will help to bring the soil closer to neutral anyways. Neutral is fine for most plants except our acid lovers like blueberries.
Oh, and they’re less common but some plants like lavender do actually prefer alkaline soil!
By the way, if you’d like to see us follow any of these steps in real time, we made a companion video to this article:
Clay Soil Challenge #3: It’s Low in (Some) Nutrients
If you Google “clay soil benefits”, you’ll find a lot of references to how it is high in nutrients. Which is true… but it has some important caveats.
We need to talk a little about chemistry to really get into the why.
The particles that comprise clay soils are predominantly negatively charged, so called anions and because of that negative charge they have the ability to prevent positively charged ions, or cations, from being washed away.
Luckily for us, many plant nutrients in the soil including calcium, magnesium, and potassium are positive cations. In other words, clay soil does a good job retaining many important nutrients!
But it doesn’t just hold onto them - those nutritious cations are replaced or exchanged with other cations constantly and as that happens they become available for plants to draw up via their roots.
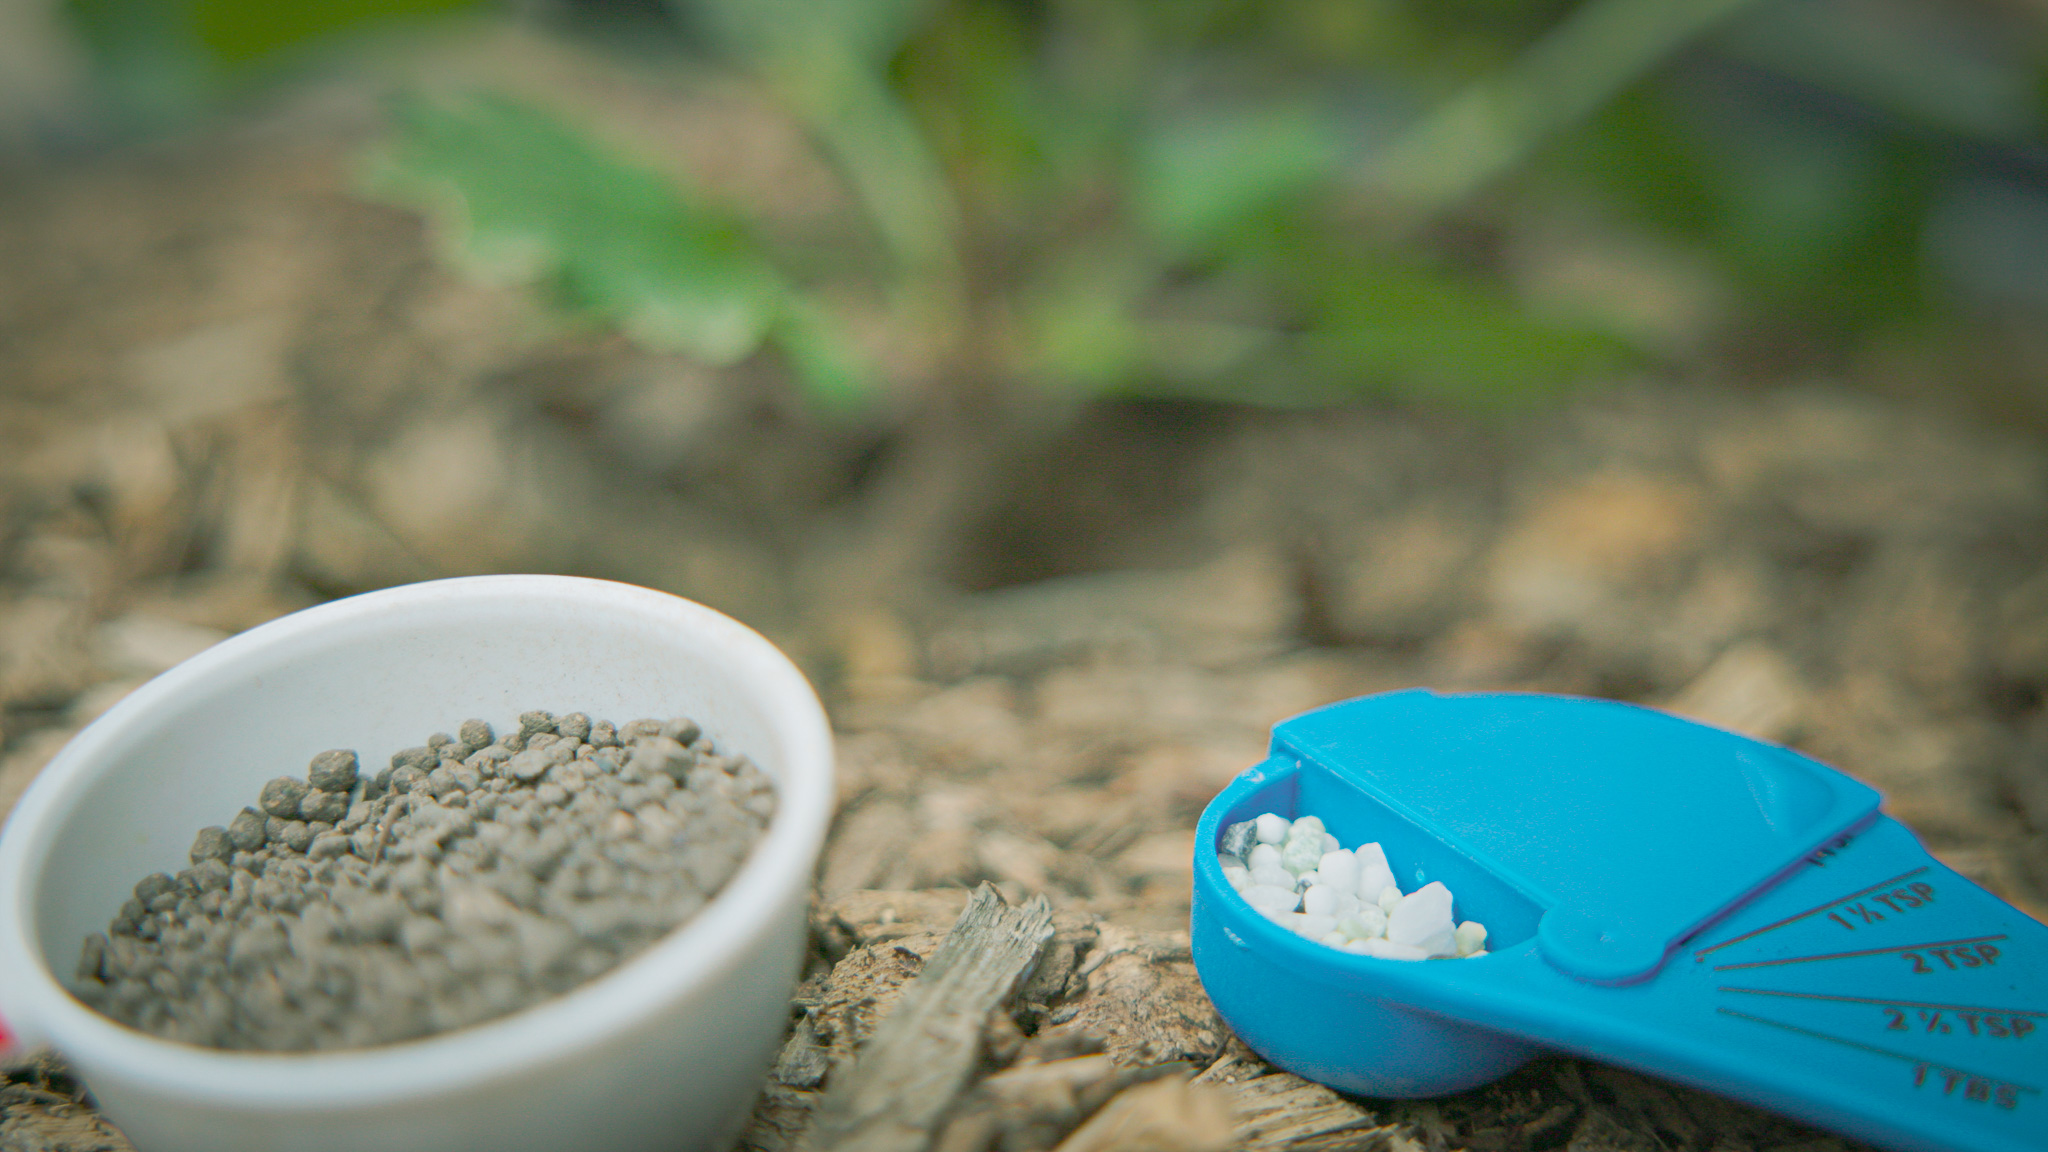
However, notice that I didn’t mention a pretty important nutrient: nitrogen. Fertilizers usually contain nitrogen in urea, ammonia, ammonium, and nitrate forms, which convert into each other in that order under the right conditions. While the ammonium form of nitrogen is positively (+1) charged and is held onto by clay, the urea and nitrate forms are negatively charged (-1) and easily washed away from soil.
And none of that is to say that your soil is actually high in nutrients, it just has the capacity to effectively retain some nutrients. Very often, clay soils in home gardens with no topsoil left are actually pretty low in nutrients overall. The steer manure helps replace some of that important plant food but it’s very mild stuff and takes time to break down and become available to the plant.
At the end of the day, all of this means you should probably mix additional granulated fertilizers into your soil at the time of planting. It’s up to you whether that’s synthetic fertilizer or organic, but it’s worth keeping in mind that too much synthetic fertilizer can impair the microbiome we need to grow in order to turn our clay soil into productive loam soil in the long run.
By the way, if you want to check how much heavy metal content is in your fertilizer of choice, I’ve got a super quick video on how to look that up.
Clay Soil Challenge #4: Poor Drainage = Low Oxygen
All that water retention in your clay soil is very likely causing low levels of oxygen too. And low oxygen is, you know, not great for plants.
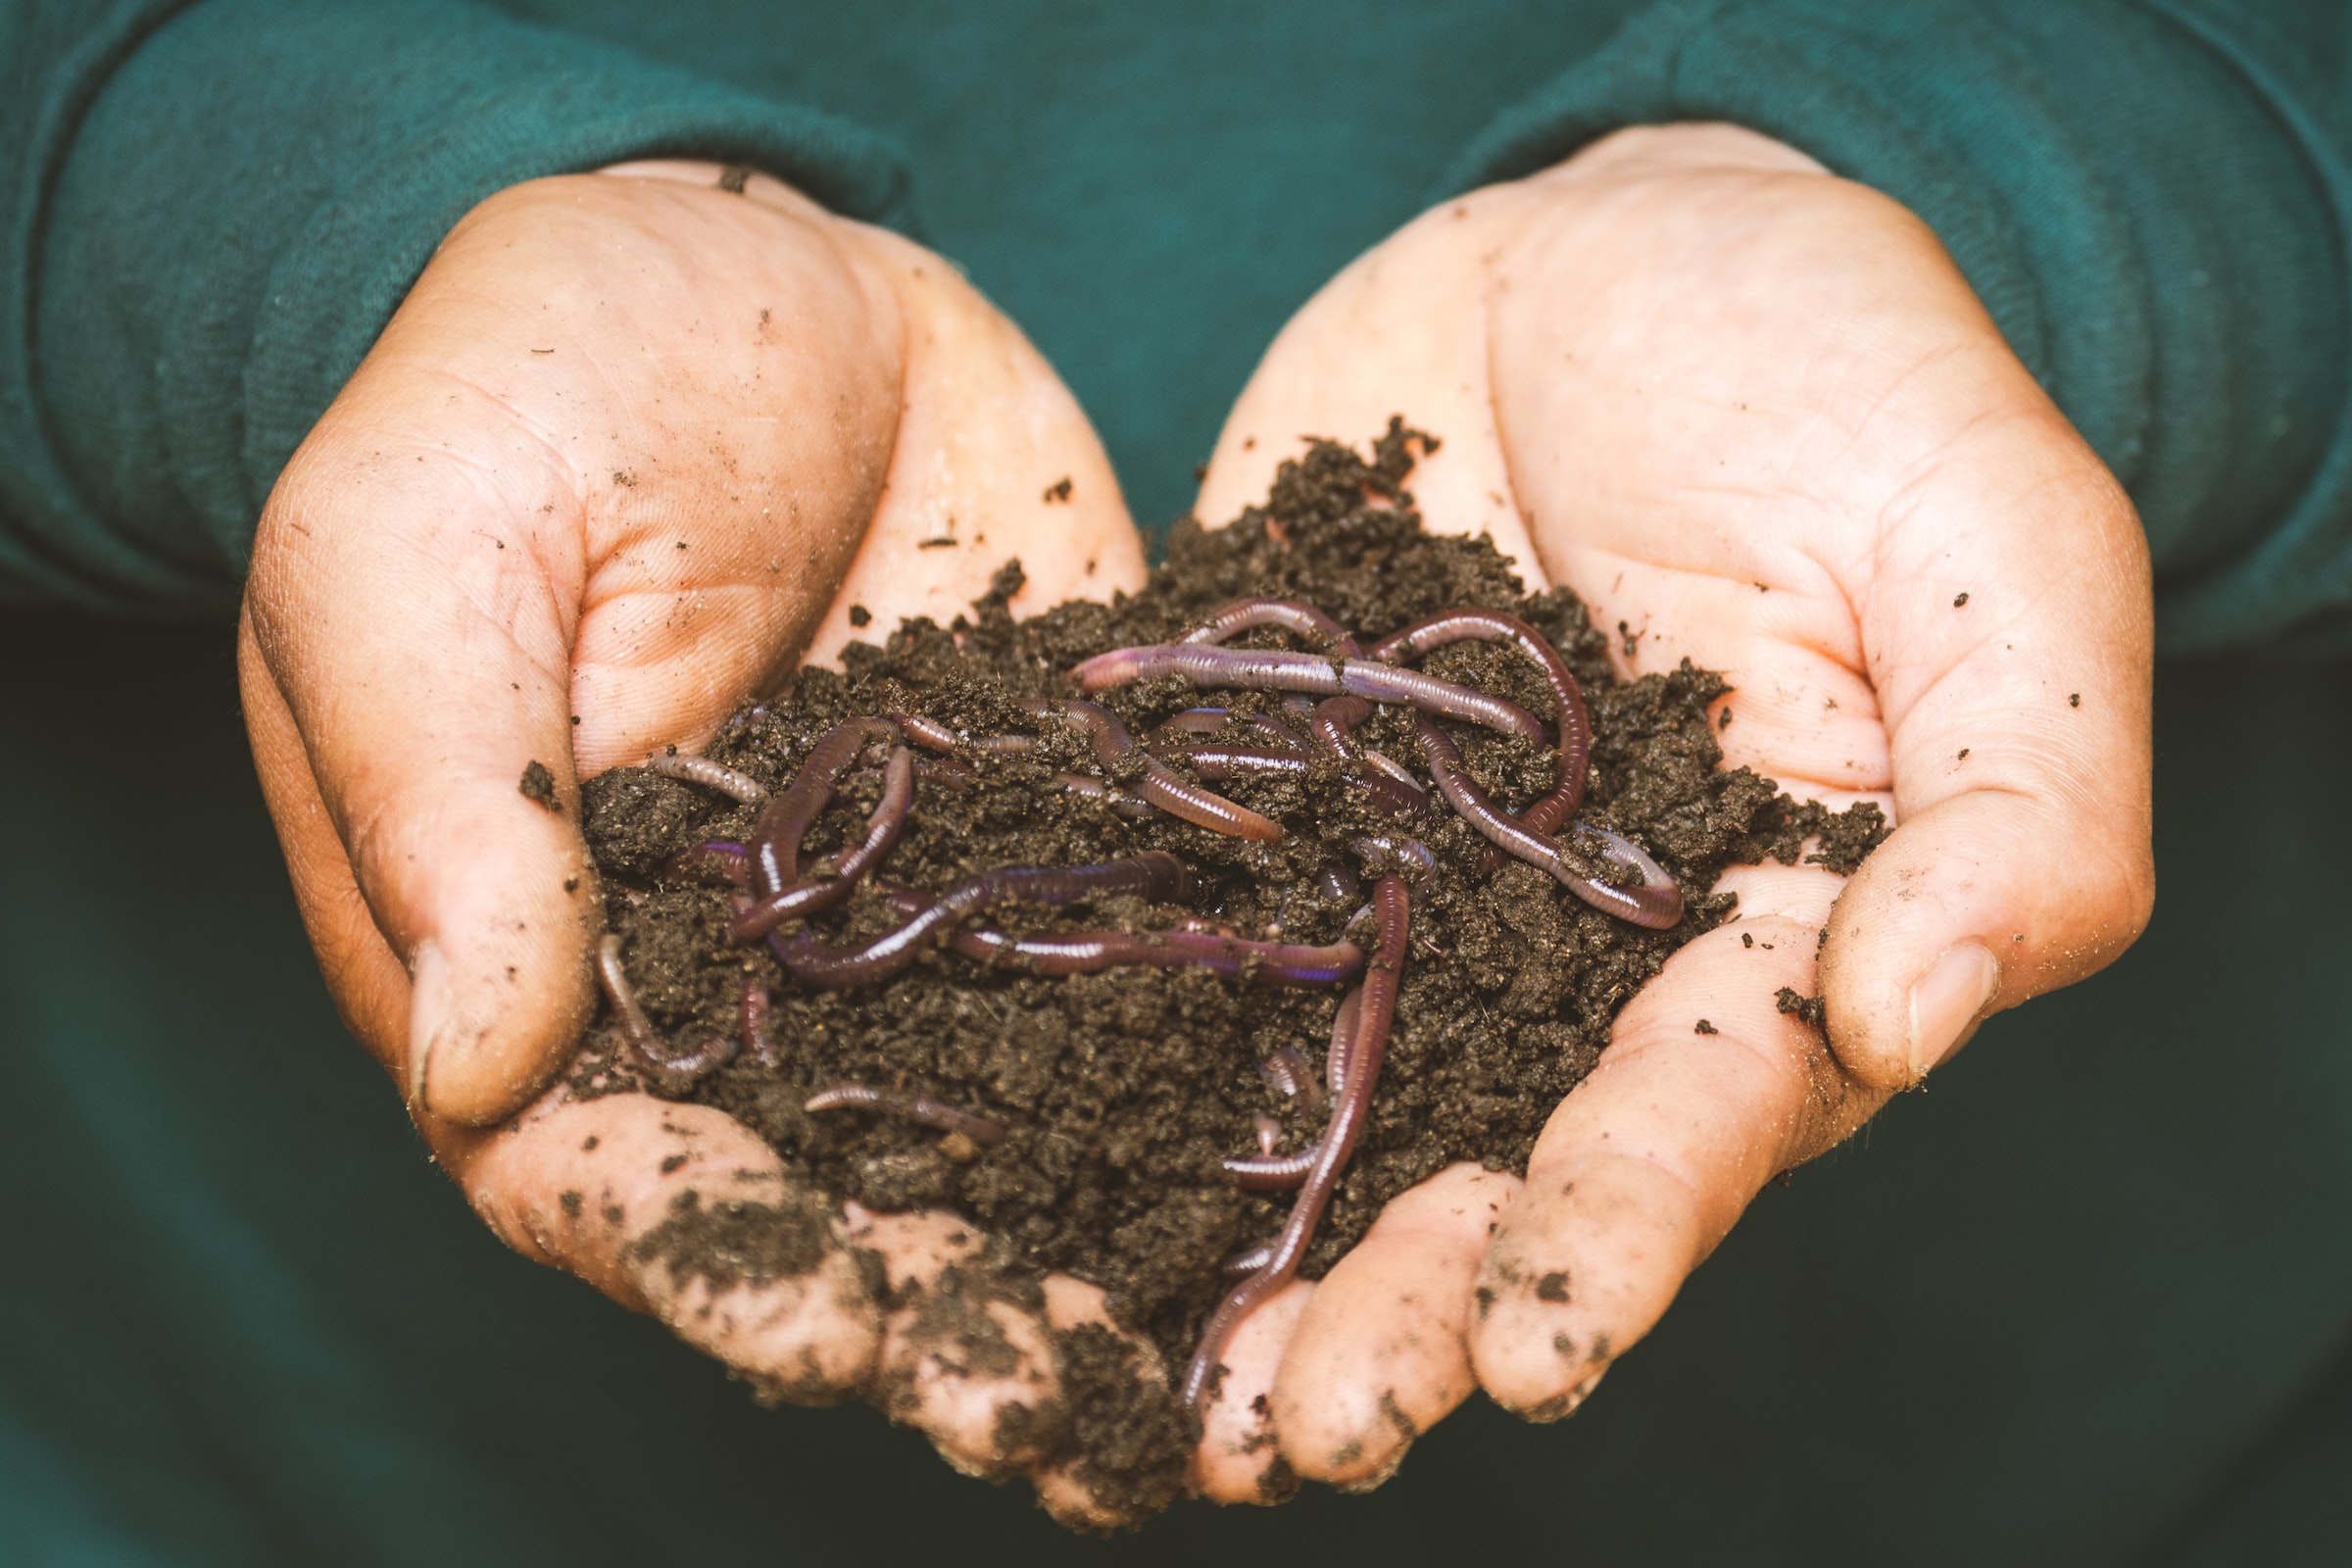
Luckily, all the steps we’re taking today help on this front, but one specific measure to improve aeration is introducing worms. We use Red Wiggler (Eisenia fetida) worms but other worms great for composting include redworms (Lumbricus rubellus). These worms are incredibly effective little soil aeration machines as they go about their day eating organic material and improving our dirt.
If you don’t want to directly introduce worms to your soil, you can easily attract earthworms naturally by adding organic materials and wood chip mulch on top of your soil. I’m always surprised how quickly they’ll move into previously uninhabited areas of clay dirt. It doesn’t take much to get their attention!
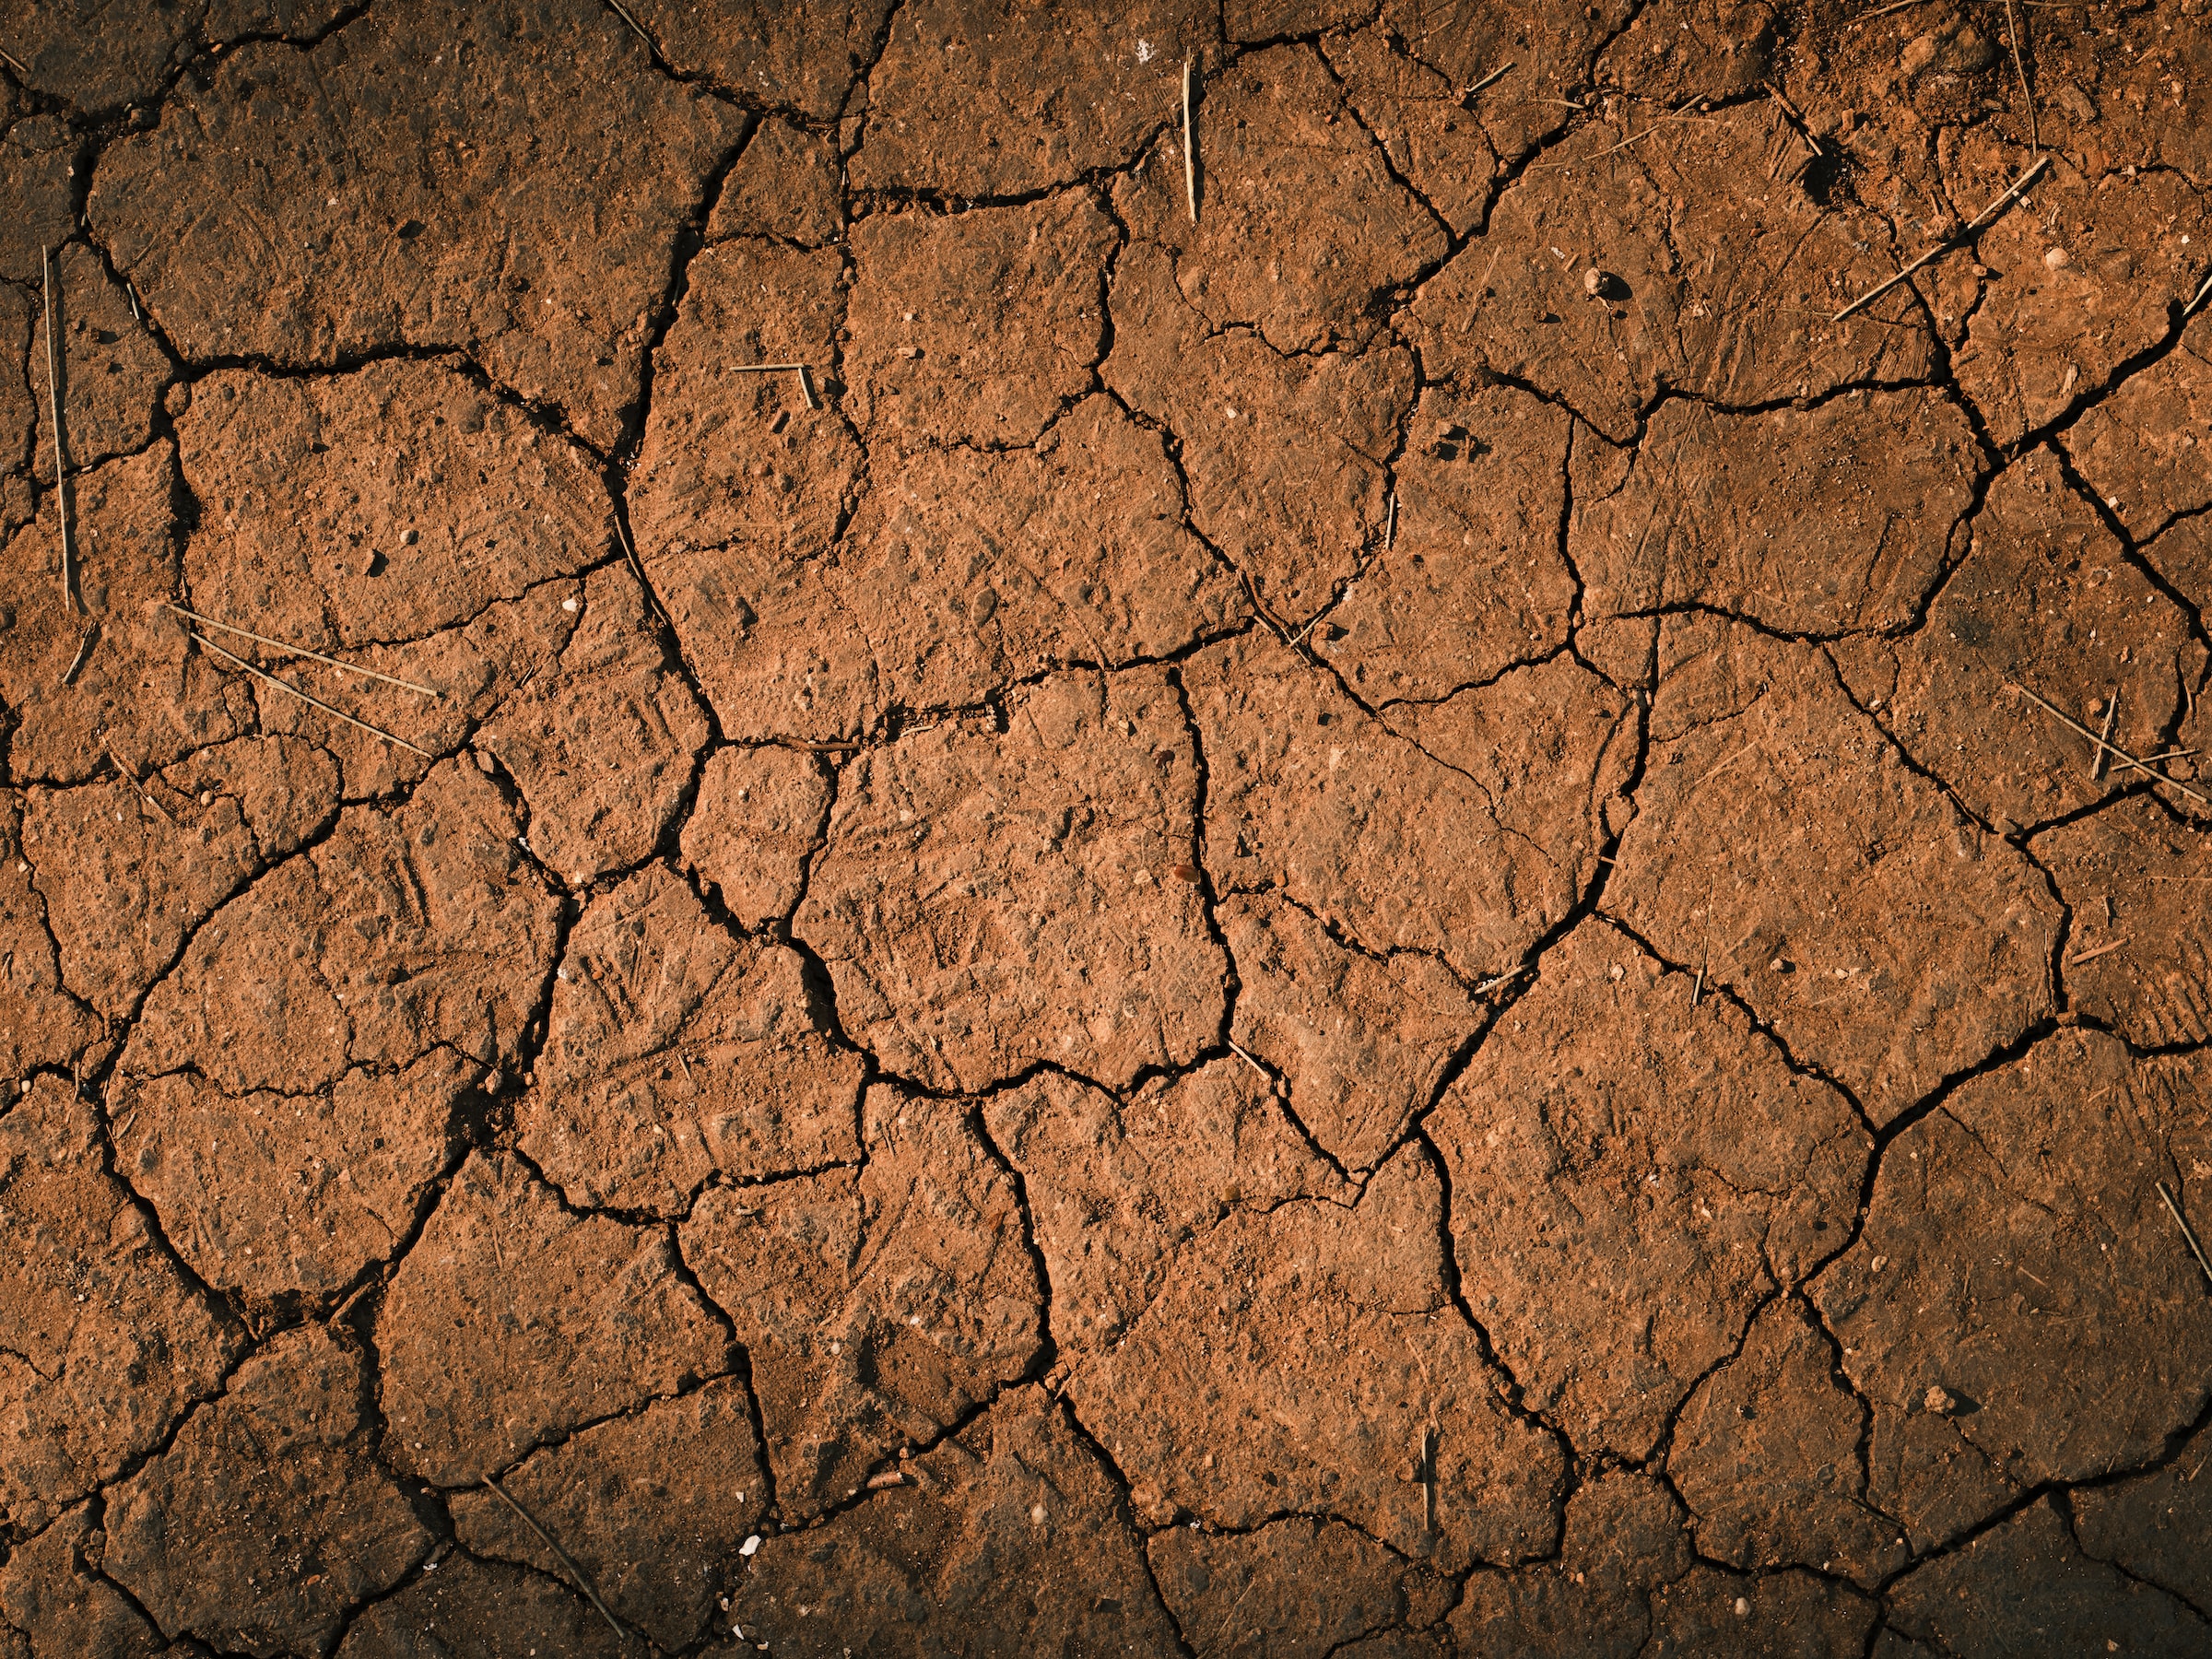
Clay Soil Challenge #5: Dry, Cracked, & Expansive
Have you ever noticed how your clay soil literally shrinks and cracks in dry periods and then swells like a balloon after rain? Check out the cracking we have going on in mid-summer in a spot where we have not planted anything yet:
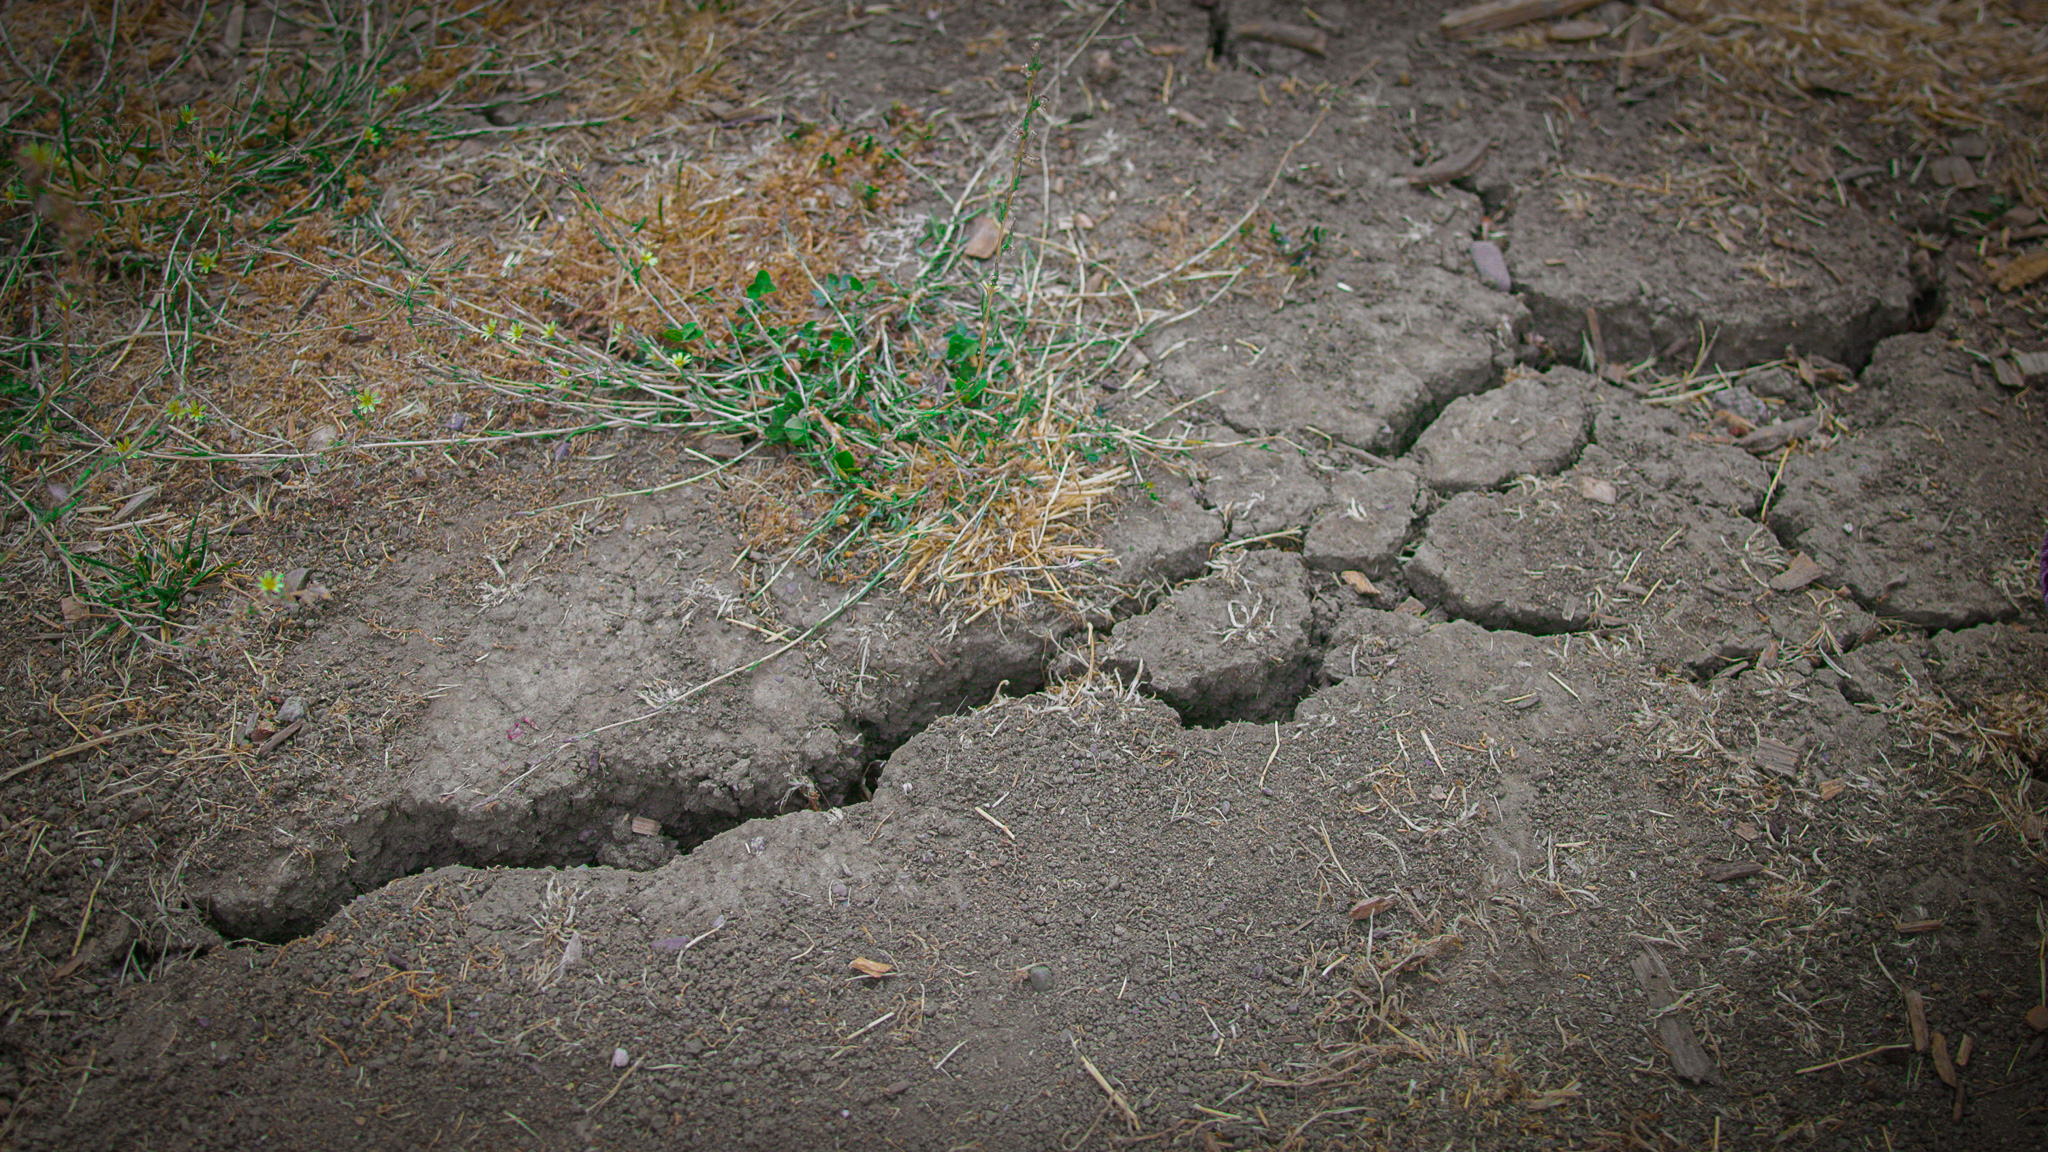
It is not hard to imagine why a crack I can literally put my hand into would be bad for root growth!
Luckily, good old wood chip mulch works absolute miracles when it comes to preventing clay soil from fully drying out. I cannot overstate how effective a thick layer of wood chips is in modulating that destructive cycle of expansion and contraction in heavy clay soil.
The other benefit to preventing those dry, cracked periods is it will keep the soil from becoming hydrophobic. Bone dry clay soil can be hard to water at first because the water will pool and dissipate on the surface until it’s wetted out. The mulch layer, along with good watering practices like irrigation, makes it much easier to keep the water where you want it throughout the season.
Clay Soil Challenge #6: Prone to Pooling
Because clay soil can be prone to pooling and evaporation, it’s more effective and efficient to water it very slowly. Personally, I find it much more practical to water my clay with an automated drip line so I installed a simple inline drip emitter over our new planting hole.
Ideally, install a low-flow drip emitter like one that releases a half gallon of water per hour. Low and slow.
Bonus Tip: Cover Crops
After going through the full six steps, your soil will be loose enough to not only grow lovely tomatoes, peppers and eggplants… it will be good enough to grow cover crops!
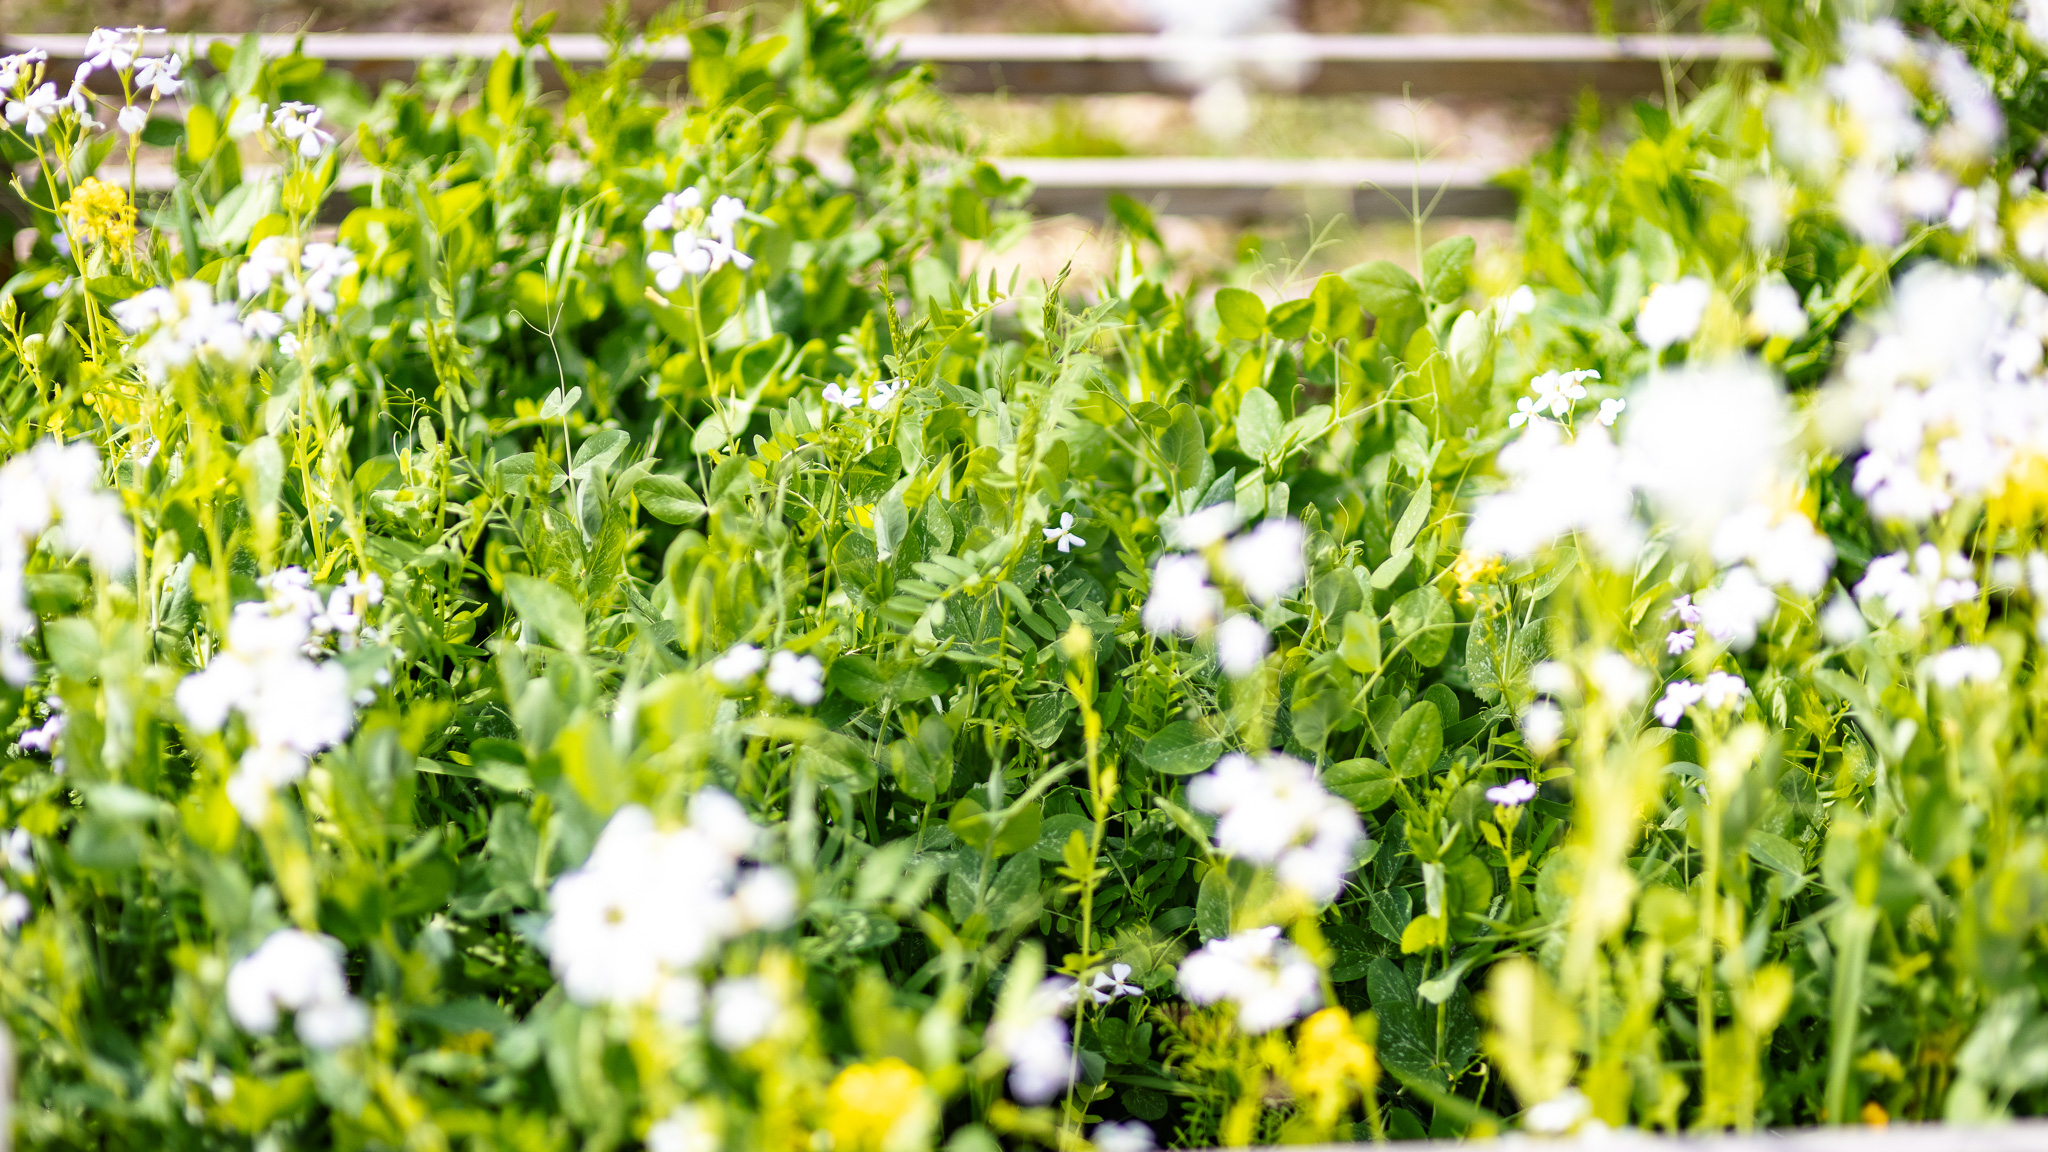
Clay soil will benefit from most of your traditional nitrogen fixing and fast growing cover crops like clover, peas, and alfalfa assuming that you cut them down before flowering and mix them into the top layer of soil to break down over time. But I also recommend trying some plants with very deep roots like Japanese Radish or Daikon. Dense Daikon plants keep your soil aerated even when you aren’t using the area for anything else. Plus Daikon is awesome to cook with.
As a final note, it’s probably best to not redo the steps laid out in this article every time you plant something new in the same spot. Instead, just top the area off with new organic material a few times a year and let the healthier soil you’ve created generate an active ecosystem that will benefit your plants more and more over time.
So get a crack on it and remove those cracks from your clay soil!