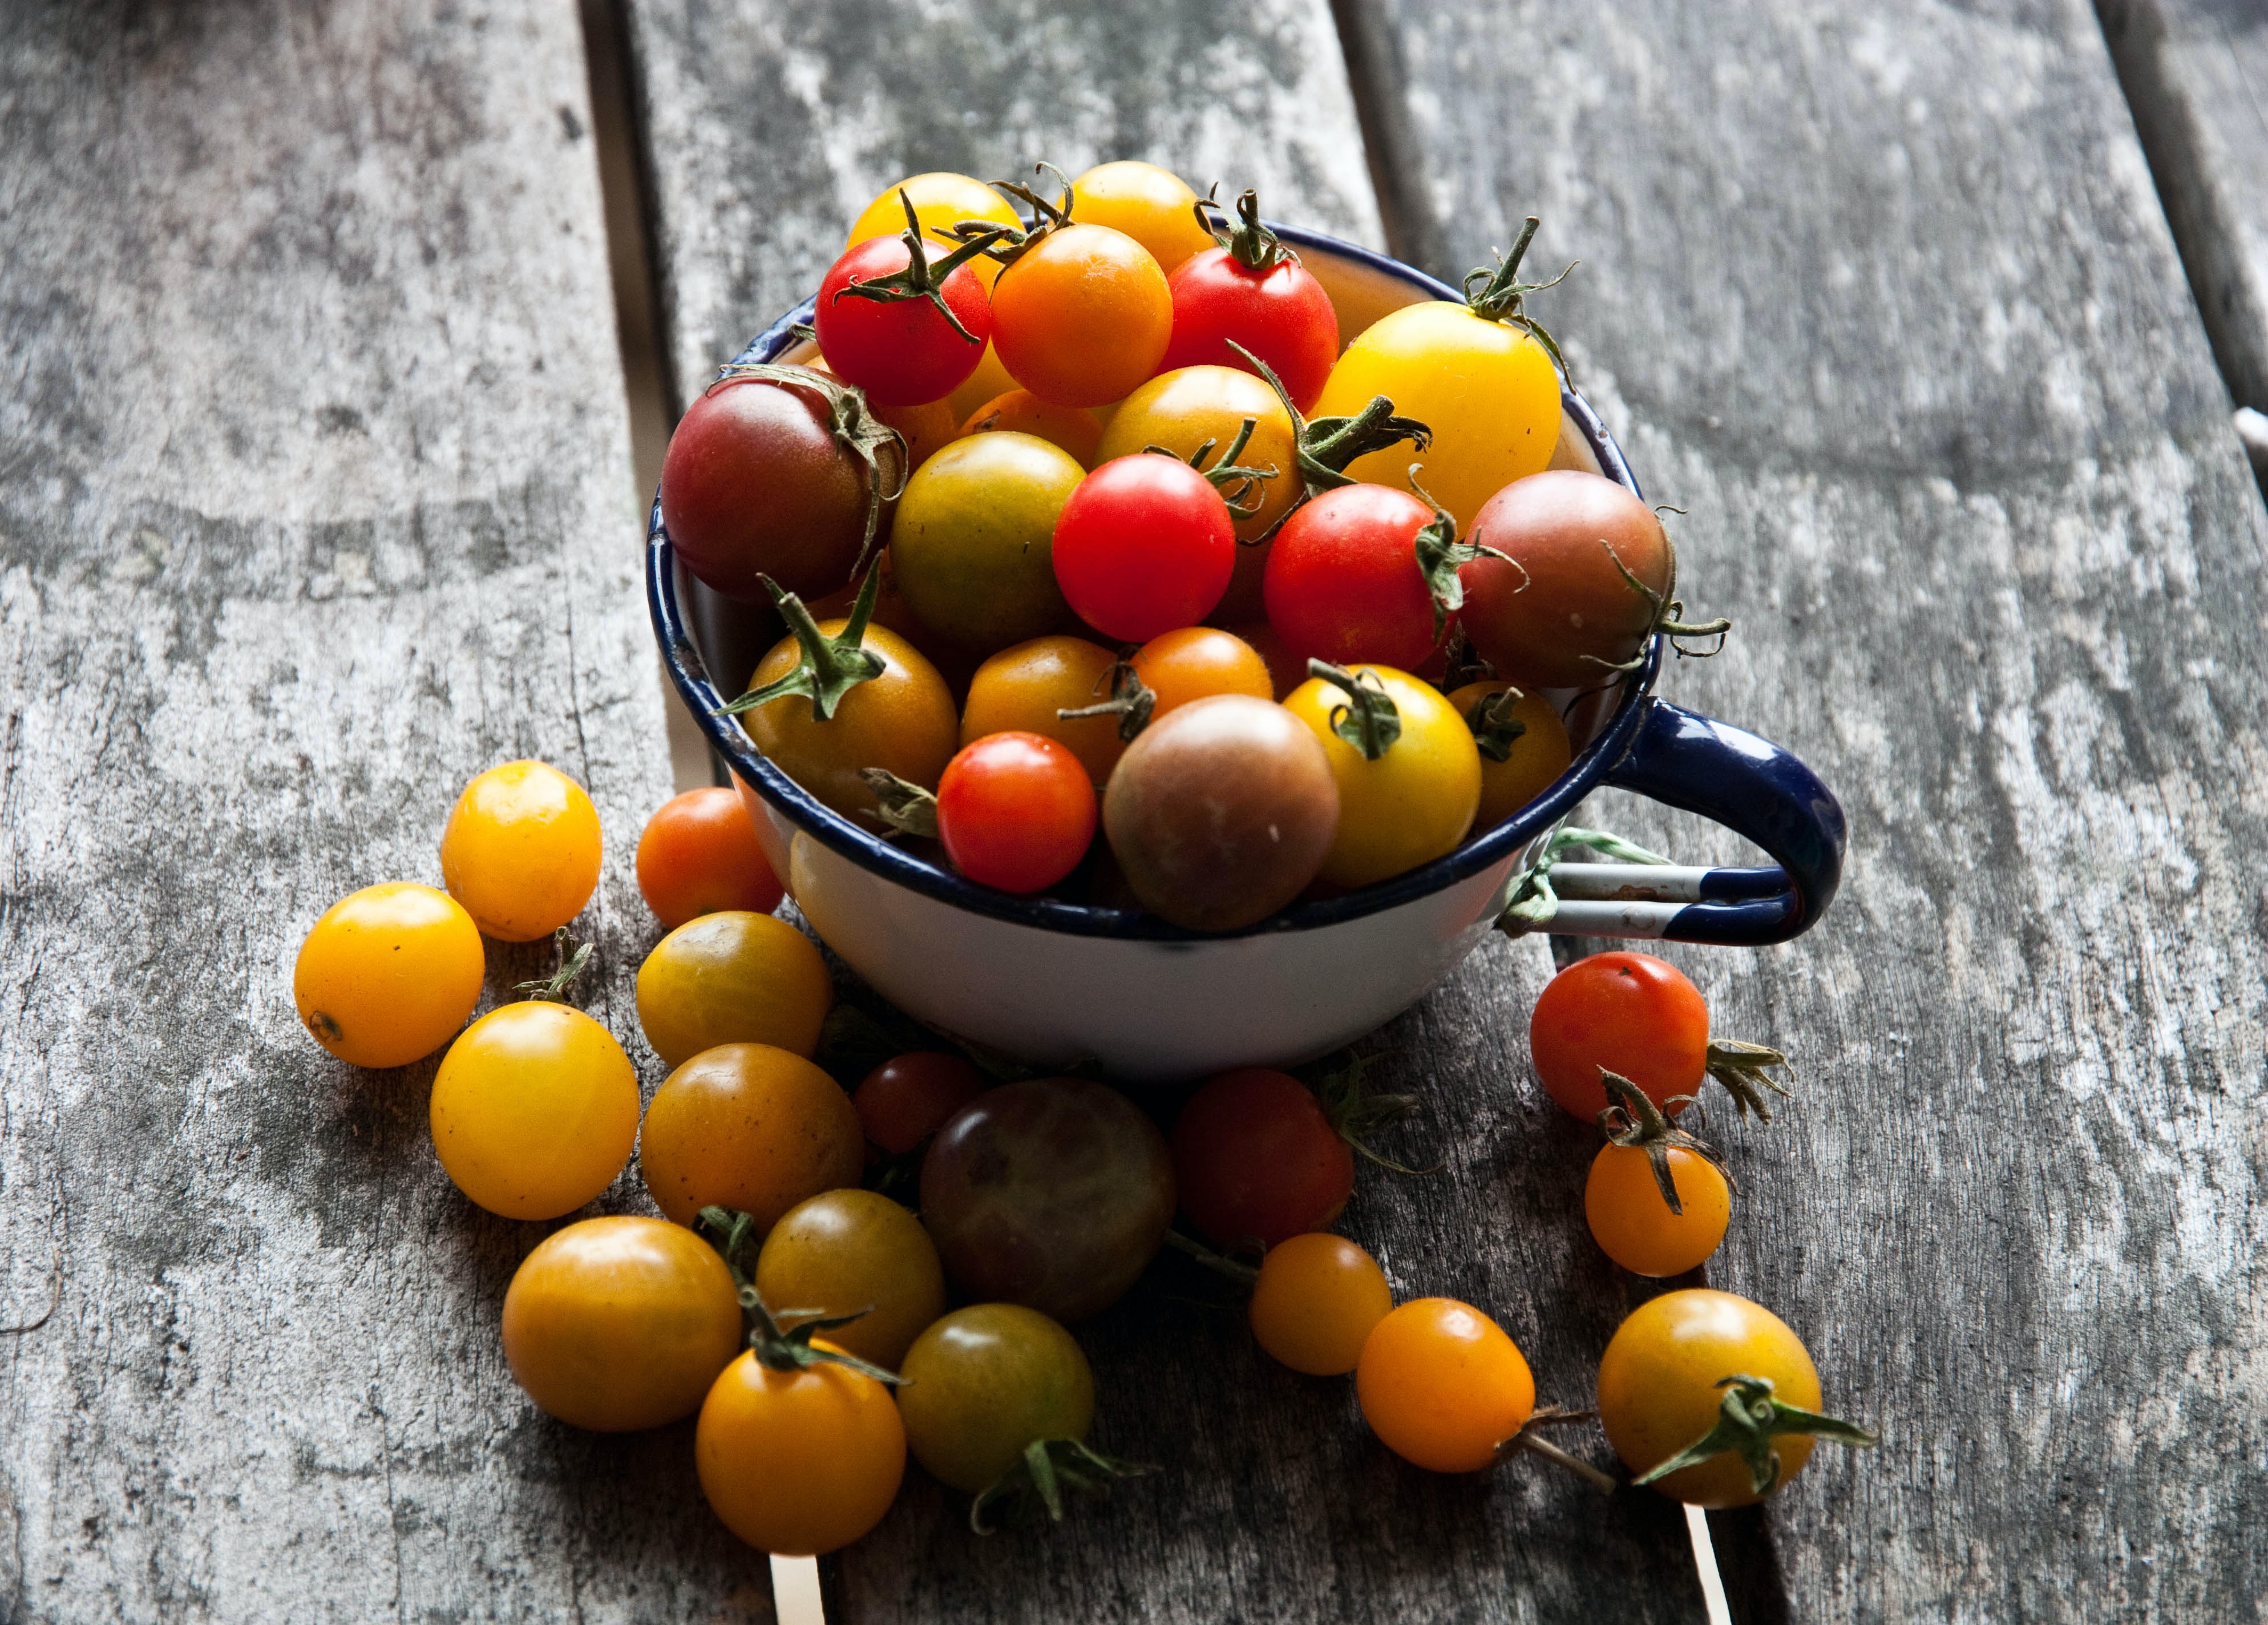
If you love growing cherry tomatoes and want to maximize your harvest with proper pruning, you’ve come to the right place.
My goal is to arm you with an evidence-backed cherry tomato pruning strategy that’s easy to employ in your own garden. Rather than try to cover every possible garden scenario and pruning method, I’ll describe to you how I actually prune my indeterminate cherry tomatoes and get straight to my recommendations!
Before we get started though, here are my assumptions about your gardening context:
- You’re going to trellis or support your tomato plants in some manner
- You’re interested in putting in a little effort - within reason - to maximize how much fruit you get from your tomato garden
- You are growing indeterminate varieties, not determinate (most cherry tomatoes are)
If you prefer to watch instead of read, we’ve covered these same points in a video here as well:
Pruning Task 1: Pruning flowers
Our first pruning task is a melancholy one. We need to snip off all flower clusters - sometimes called trusses - until the plant is about 18 inches high and about a month after transplant. Doing so allows the plant to focus energy and nutrients into root and vegetative growth. Counterintuitively, delaying your harvest in this manner results in a larger net harvest overall.
You probably don’t carry around a measuring tape so just get an idea of where 18 inches is on your leg. I know that 18 inches is about the bottom of my knee cap so I just use that for a practical reference.
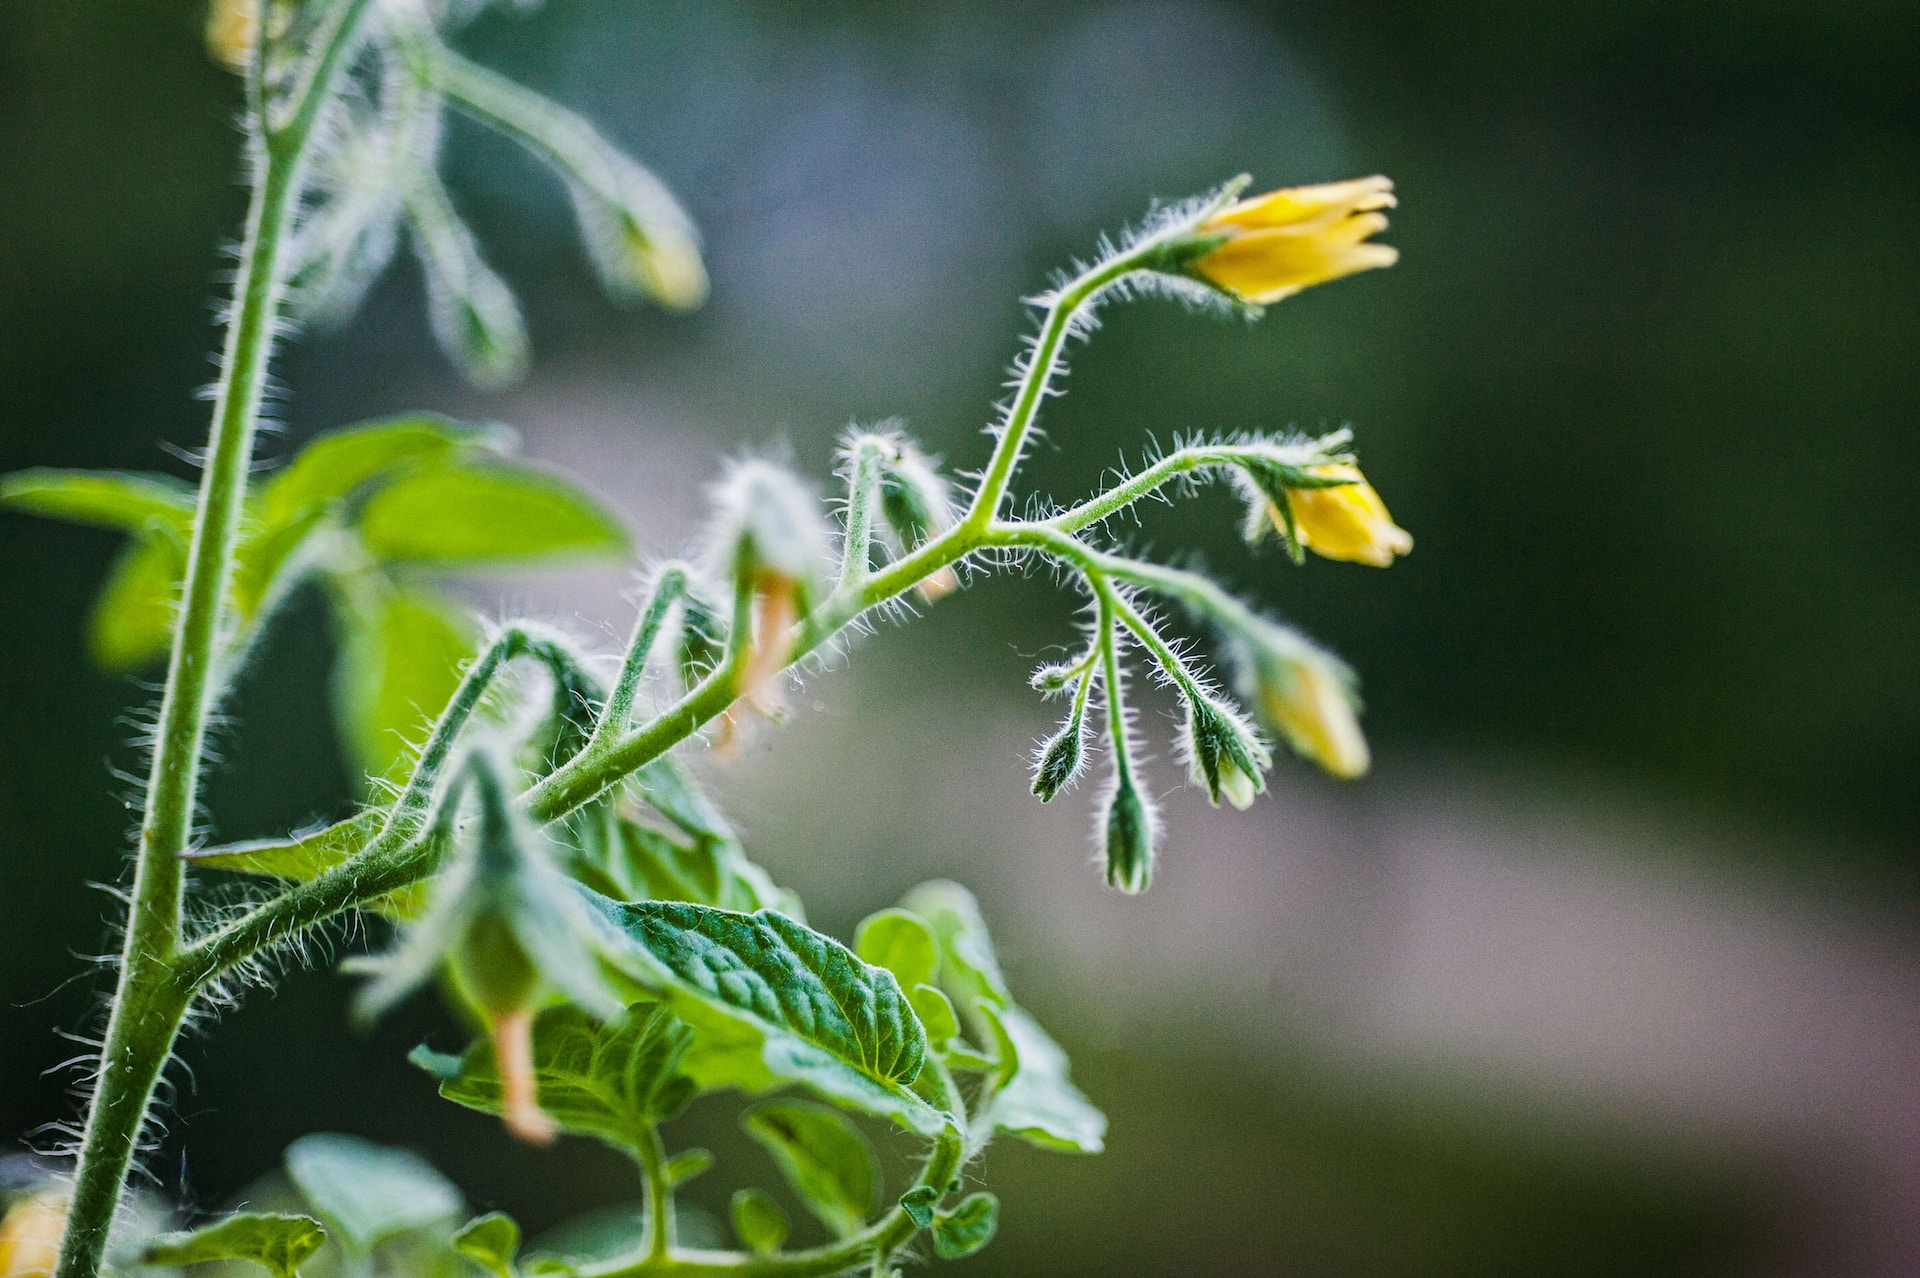
Understandably, many home gardeners skip this pruning step, but it’s a good recommendation as fruiting is energy intensive and fruiting too early on can result in significantly stunted plants.
Depending on conditions, early stunting can be a real waste for cherry indeterminates with all their potential for huge harvests over a long season.
Even if you wait for the plant to grow and establish before allowing it to flower and set fruit, it’s still possible for it to set more fruit than is optimal. I don’t generally intentionally thin out the number of fruit on any given flowering cluster, but doing so when the balance between vegetative growth and fruit gets out of whack can actually result in a larger harvest over the full season.
That’s just a lot of work for a home gardener or homesteader though!

If you’re not thrilled about waiting to let your plant establish before fruiting, go ahead and let a couple just do their thing and fruit early. Sometimes an early season tomato really is worth two later in the year when you have more than you can handle.
That’s what we do with what we call “the toddler garden” where it’s more fun to let plants grow a little wild. We just do it with the full understanding that the cherry tomato plants will be at least moderately stunted as a result.
Pruning Task 2: Lower Foliage
You’ve probably heard that it’s important to remove lower foliage to create an air gap between the leaves and the ground (where certain tomato diseases can live). And that’s 100% true! But before you whip out the pruners and go to town, let’s talk about when and why.
In our little homestead, we keep the lower leaves on a little longer than most gardeners. That’s intentional - we live in a dry climate and disease is not rampant early in our season. And while some important tomato diseases are spread from soil splashing onto the plant, most of our problem diseases are not. Plus, all the wood chip mulch we use provides an effective splash barrier between the soil and the plant too.
More importantly: these lower leaves are necessary for the plant to produce energy for growth and the initial fruit setting. It just doesn’t have that many leaves at this stage and the taller leaves have not begun to shade out the lower leaves yet… which means those lower ones are still a net positive for the plant.
And if your plants are at the point where they’re receiving intense sunlight over long days, the leaves also serve to protect the stem and fruit from burning. Although I find there’s a lot of variance depending on the variety on that front - some tend to be bushier and less prone to scalding than others.
For example, we had a black cherry tomato that was quite full relative to its height and a yellow pear tomato which was notably sparser and taller. Both plants grew strong and were healthy but their different growth habits meant we needed to be careful to create airflow on the very full black cherry and to not let the yellow pear burn.
However, at some point in their growth all the benefits of lower leaves will no longer hold true and they will become a net negative on the plant’s productivity. They also will start to shade out space where we can plant faster growing greens next to and between the tomatoes. The tomatoes are my priority in their area of the garden, but it’s nice to get more out of the space when I can.
Some commercial tomato gardeners actually maintain a specific ratio between the number of leaves and the number of fruits on the plant. Sometimes 1:1 or up to 3:1. I don’t have the time to do that in my food garden but it’s a helpful idea to keep in mind when you’re thinking about maintaining your plants over the entire growing season and not just a single point in time.
So, in conclusion, I do recommend pruning lower leaves and maintaining a consistent balance between the number of sun leaves and flower clusters, but I don’t recommend cutting them off right at the beginning of the season unless they’re physically touching the ground.
How to remove lower leaves
Ok, let’s talk about actually removing some lower leaves from our garden tomatoes.
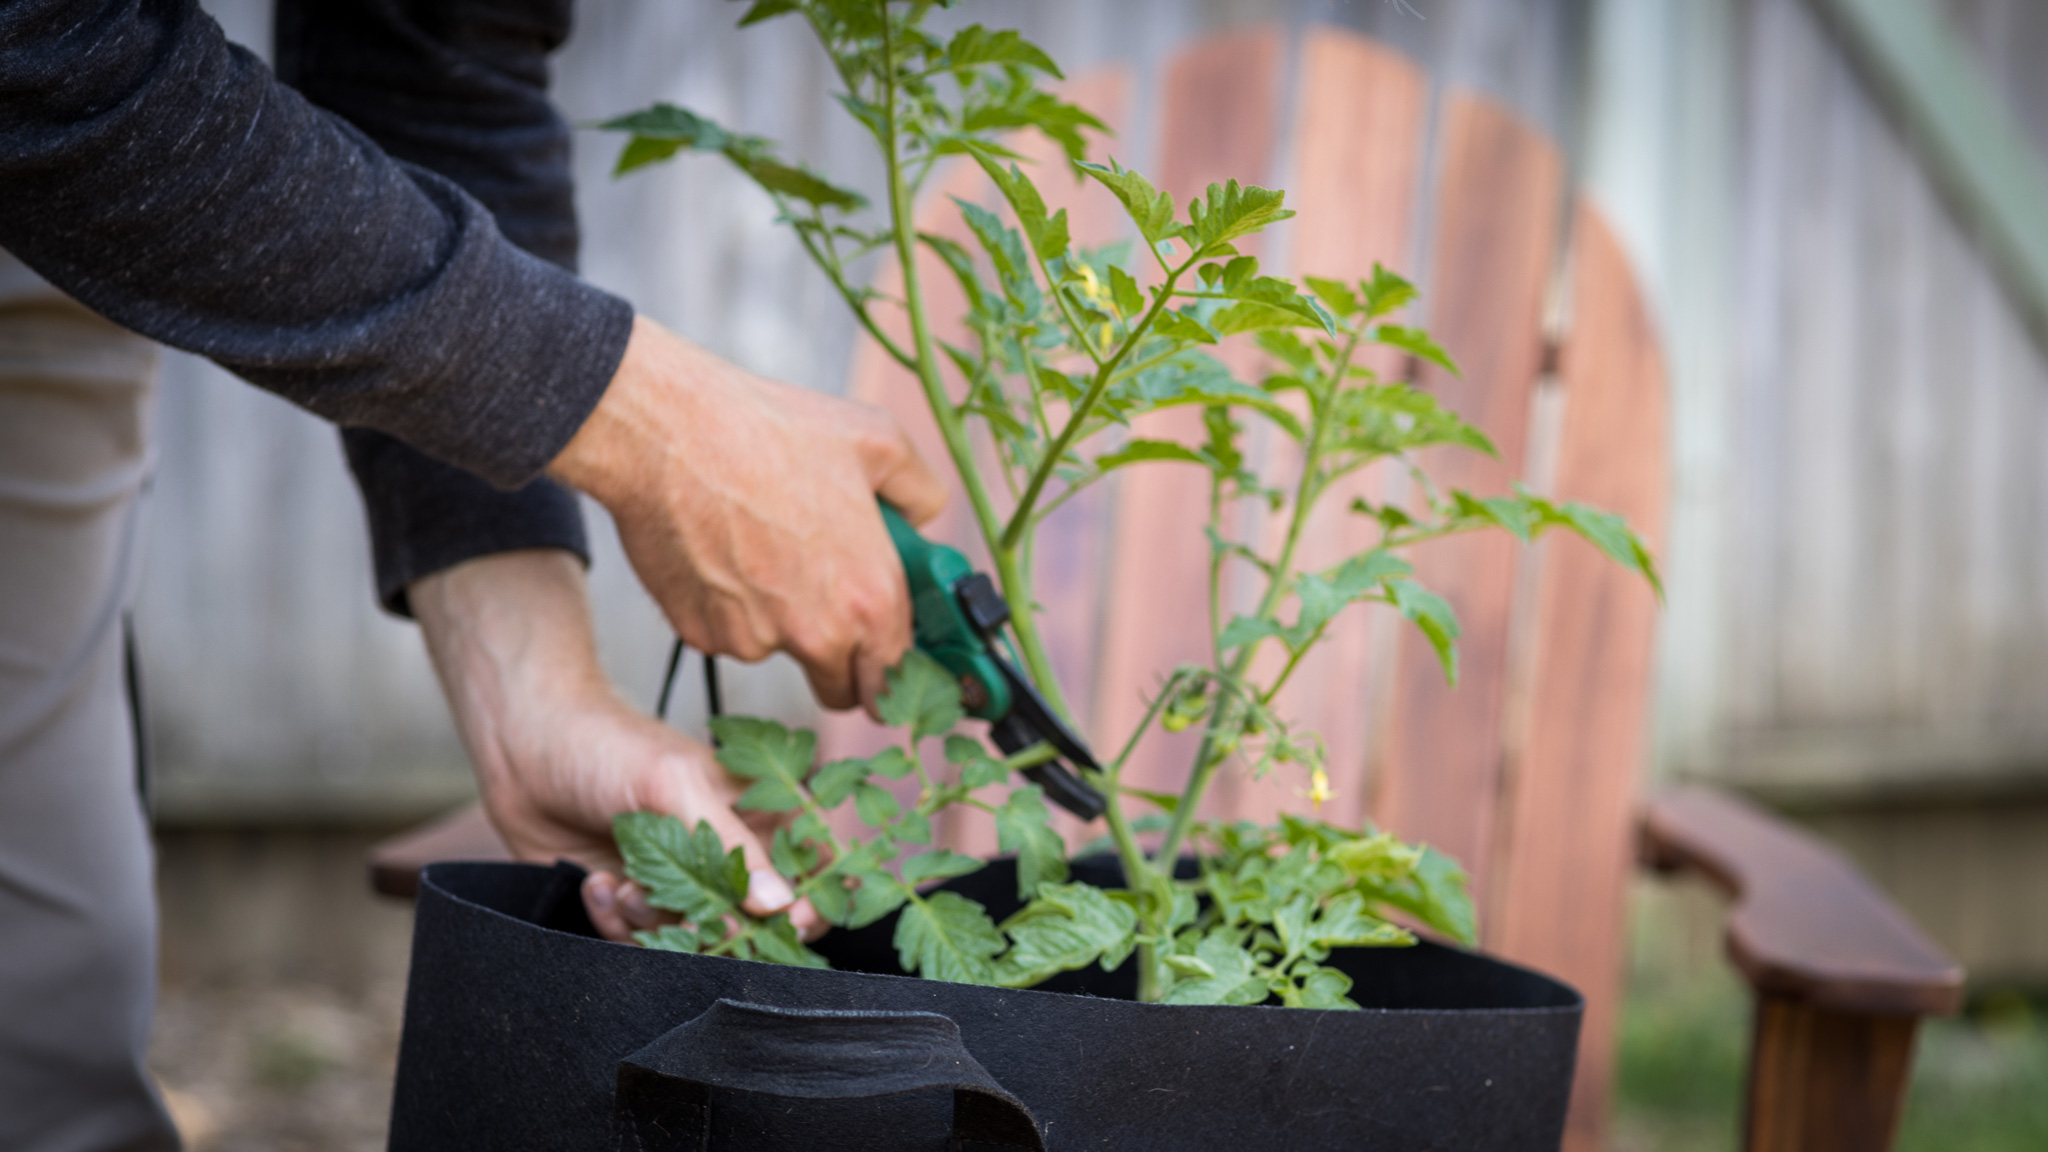
Unfortunately, it’s really easy to leave just a tiny bit of tissue intact when you’re pruning a tomato which often results in a rip or tear on the stem. These tears hurt the plant and can lead to infection too. That’s why I use a sharp knife or a pair of gardening scissors. Even with a good tool though, it’s easy to mess up as I have multiple times. Don’t be like me.
If you have some lower leaves that aren’t touching the ground, you can leave them on for a while longer.
Pruning Task 3: Maintaining a Double Leader System
Here’s where things get interesting. There are dozens of ways to train indeterminate cherry tomatoes for big harvests and easy maintenance. Many of them are very good. But this isn’t about all those other ways.
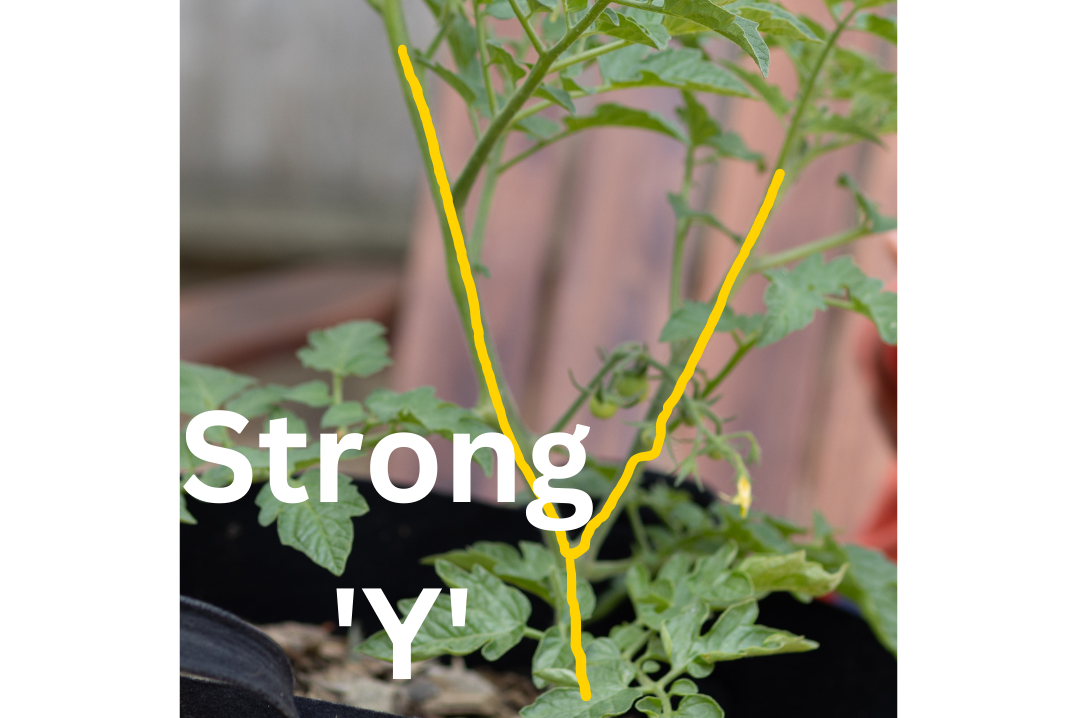
Because I recommend you prune your indeterminate cherry tomatoes to a double leader. A double leader, also called twinning or pruning for a strong ‘Y’ means each cherry tomato plant will have the original primary stem and one sucker which are both allowed to flower and produce fruit. Not just one main leader with no suckers like we often do with indeterminate slicer tomatoes, and not unchecked sucker growth like you might see with a determinate tomato plant.
I recommend the double leader strategy based on research from Cornell University Extension Office and because it strikes just the right balance in my experience. The main takeaway from this paper is that when the researchers evaluated both yield - how much harvest the tomato growers received - in conjunction with how much labor was required to collect that harvest for three different cherry tomato pruning styles, the double leader came out ahead.
The other benefit of a double leader or “twinning" is that it gives you more flexibility to prune for a denser foliage during the height of summer compared to a single leader. Which, for growers with intense summers, can help protect the plant and improve pollination and fruit setting. A very open canopy allows too much sunlight to hit the stem and fruits when days are long and hot. You just need to be mindful that it doesn’t become too tangled and block airflow later in the season.
Let’s talk about how to prune a cherry tomato to a double leader or strong ‘Y’.
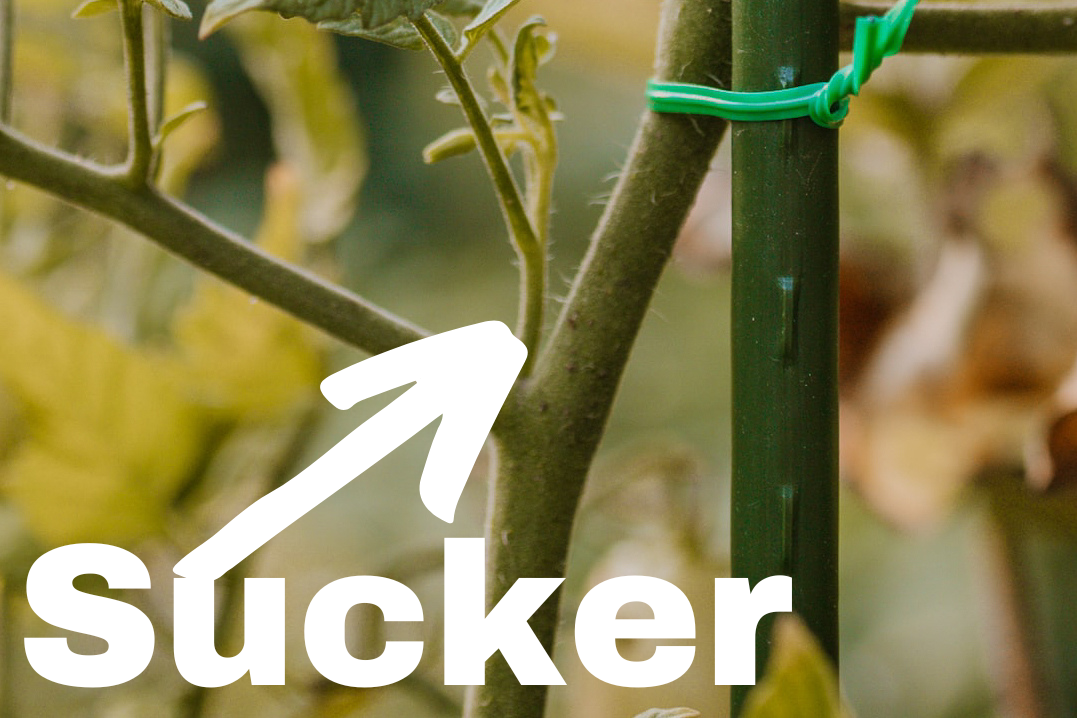
Step one is knowing how to identify the suckers on your plant. Suckers are the lateral shoots produced on tomato plants that, if left unchecked, eventually grow into productive stems with sun leaves and flower clusters of their own. In fact, suckers will even grow more of their own suckers.
They generally are found in the elbows of the plant between the main stem and leaves. When they pop out they have thinner and curlier leaves.
To produce our desired double leader pattern, locate the first or lowest flowering cluster and then the sucker directly beneath it. That’s the one and only sucker we want to keep. It’s going to become the second leader or Y branch.
All other suckers should be pruned off. It’s best to remove them as soon as you’re confident you’ve identified one correctly as they come off nice and easy on your fingers when they’re still small.
Just be sure that you’re actually pruning a sucker and not topping the main stem! It’s an easy mistake to make.
The easiest way to be sure is just to let the sucker grow in a bit and keep an eye on the main stem. When you see that it’s producing a new flower truss above the suspected sucker before the sucker is even close to putting off flowers, you can be sure which is which.
If you’ve let a sucker grow in for too long and become too thick to pinch off easily, use a tool to remove them cleanly and avoid injury to the main stem of the plant. I like a simple sharp knife, mostly because it’s something I always have on me in the garden.
After you remove all the suckers and it’s all cleaned up, you should be able to clearly see the ‘Y’ pattern.
Ongoing Pruning & Maintenance
As your plant matures, continue to remove all new suckers that arise on both of your leaders.
Slowly prune off lower leaves as your tomatoes yield fruit and the older leaves become unproductive.
The main mass of fruit and leaves on each leader should slowly move upwards as they grow taller throughout the season, you prune old leaves, and as you harvest ripe tomatoes.
Finally, remember that both leaders need to be individually supported - not just the original primary stem.
Otherwise, that’s it! I really hope this was helpful and you have large cherry tomato harvests in your future. For ideas on what to do with your large harvest, try some cherry tomato bruschetta, tomato salad, and flatbread caprese. Cheers!
