
A few weeks ago, we looked at how to plant tomatoes from seeds and the time has come to move those young seedlings into new, larger pots. Yes, you read that right: tomato plants need as little as 1-3 weeks following germination to outgrow a small seed starting tray. Let’s take a close look at exactly how, why, and when to pot up (also known as repot) your tomato seedlings to give them a huge leg up in life.
If you prefer to follow along as we go through these motions in our garden, check out the companion video here below:
Why We Pot Up Tomatoes
Why do we bother potting up our tomatoes in the first place? Why not just leave them in their initial container or transplant them directly into the garden? There are a few important reasons.
First off, we don’t want our tomato seedlings to become rootbound and stunt their long term growth. Even in a mild climate, your seedlings will likely become too large for their original container before they’re ready to be planted outside permanently. Remember, tomatoes need much warmer than just “above freezing” to thrive; they do best if nighttime temperatures are consistently above 50 degrees fahrenheit. If you would like to see the impact yourself, check out this video we made on the experiments we ran on our tomato seedlings this year to show how critical potting up and transplant timing is. Spoiler: Timing is huge.
The second reason to pot up is if you find yourself with thin, leggy stems as a result of either too little light or too much heat. Potting up leggy tomatoes is a really effective way to get them back on the right path. Most garden vegetables aren’t so easy to get back on track after a leggy start, so take advantage of this opportunity!
Most importantly, we pot up because we want to take advantage of the tomato plant’s amazing ability to create additional, fully functional roots off of non-root organs, namely the stem. Stick with me for a second - I promise we’ll get back to the practical guide in a minute - but this is really the basis for why so many gardeners recommend potting up tomatoes.
Tomatoes, and many other plants for that matter, produce what are known as adventitious roots when primordial root structures on the stem make contact with soil and moisture. These adventitious roots can significantly strengthen your plant because they are able to uptake water and nutrients just like normal roots. In other words, each time you pot up or transplant your tomato deep enough to cover a portion of the stem in soil, you’re providing it an opportunity to create a larger, more robust root system. Very cool, right?
Until recently I mistakenly believed the fine hairs on a tomato plant’s stem were actually the beginnings of those adventitious roots. That seems to be a pretty common gardening myth!
Those hairs are actually called trichomes and serve a number of important functions including boosting the plants resistance to cold and drought and even providing significant protection from certain pests. They’re actually responsible for that characteristic tomato plant smell too.
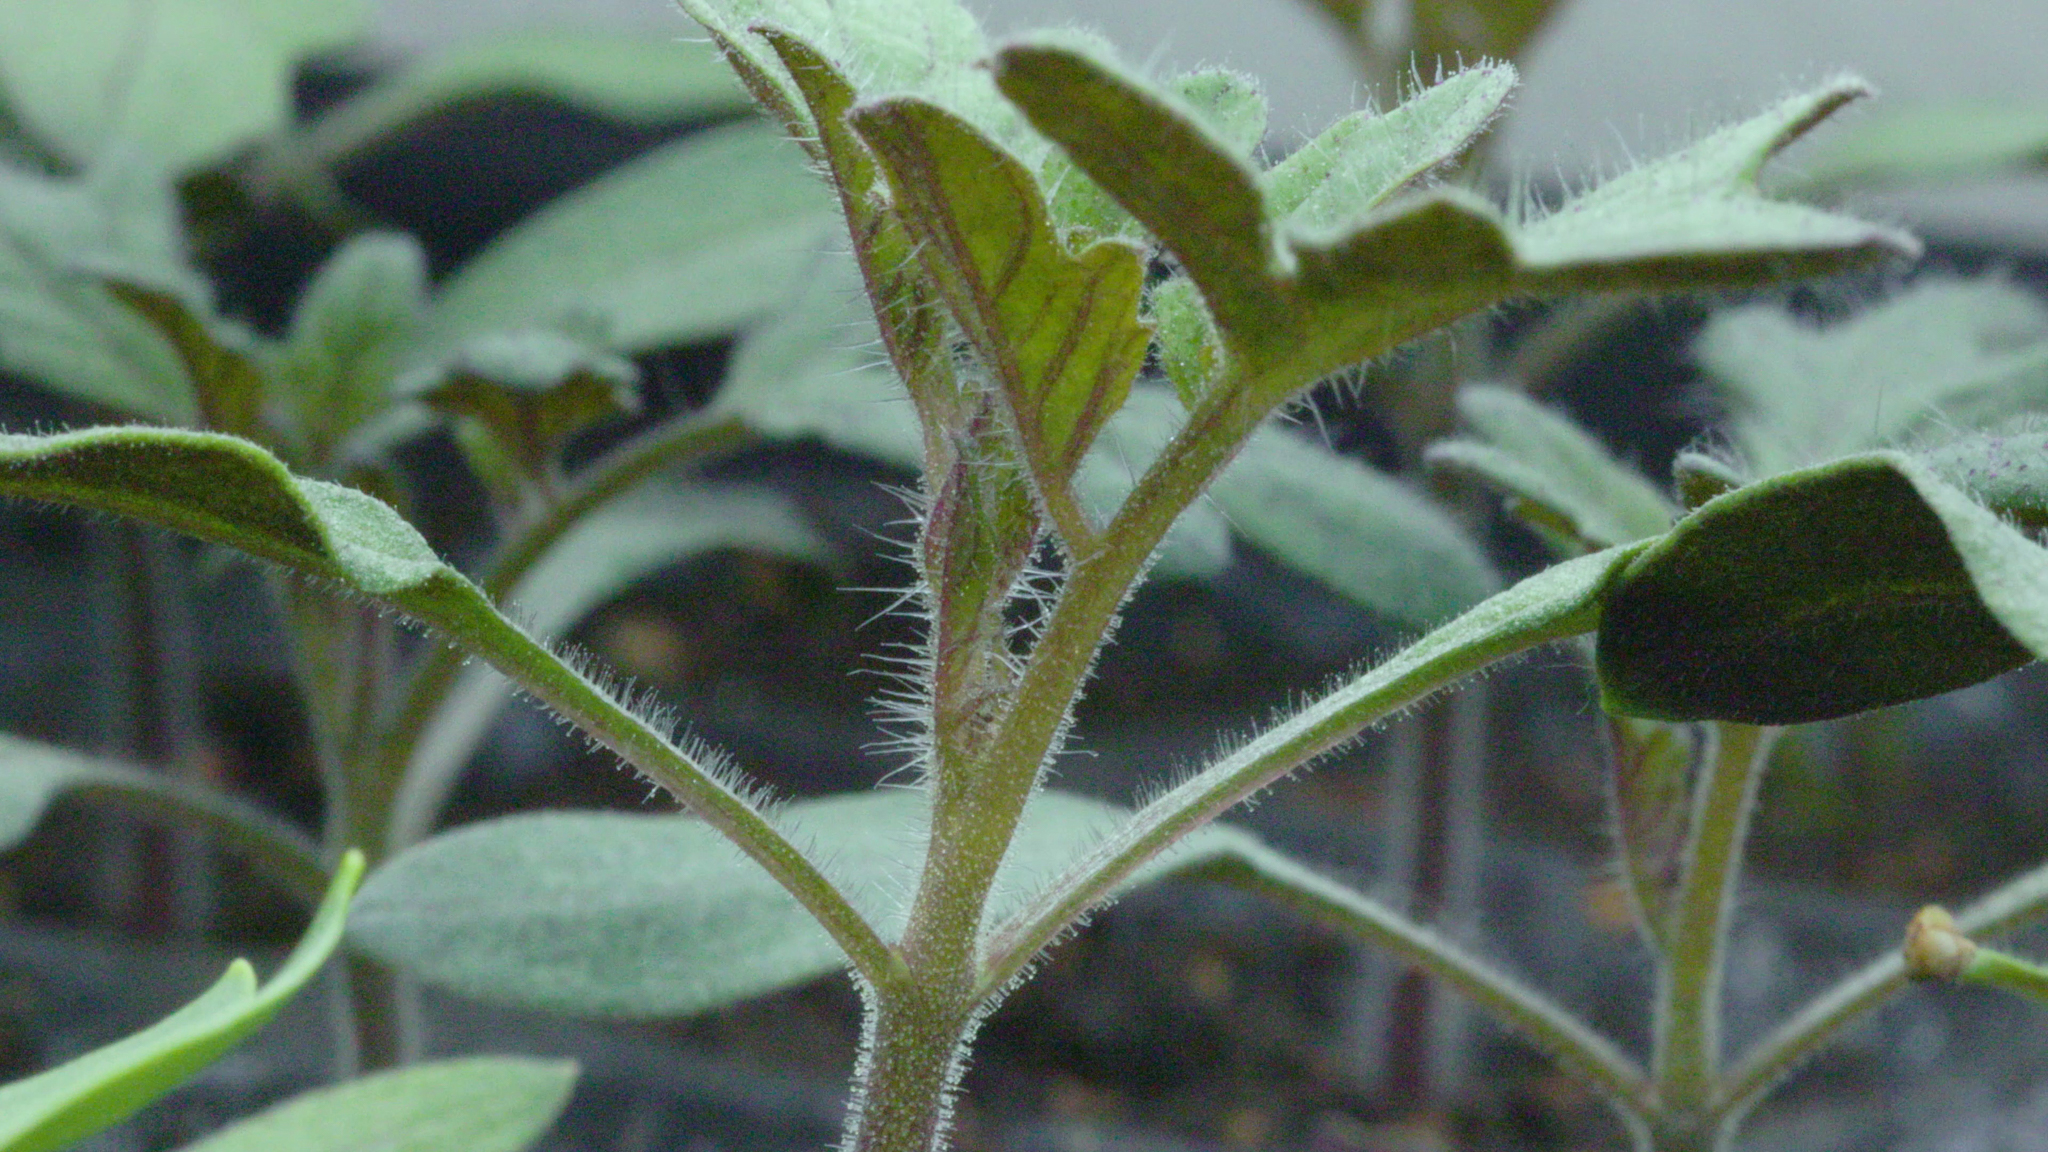
While trichomes are something totally different, you still may be able to spot adventitious roots appearing on portions of the stem that are above the soil line. They’ll look like small bumps on the stem or even little root structures beginning to pop out. While normally harmless, adventitious root growth above ground can be a signal that the plant is under stress from some environmental factor like very high humidity or waterlogged roots. Tomatoes and many nightshades are pretty intolerant of waterlogged roots so keep an eye out for roots above the soil as an early indicator of potential watering issues.
When to Pot Up Tomatoes
With the biology out of the way, let’s talk about tomato potting up timing.
If your tomato seeds were planted into small containers like these 72 cell seedlings trays and you’ve already culled the extras so that each individual cell houses only one seedling, I recommend potting up right as the second set of true leaves start emerging. The initial set of seed leaves don’t count. At that point, they’ll be tall enough to benefit from planting the stem deeply but not yet rootbound.
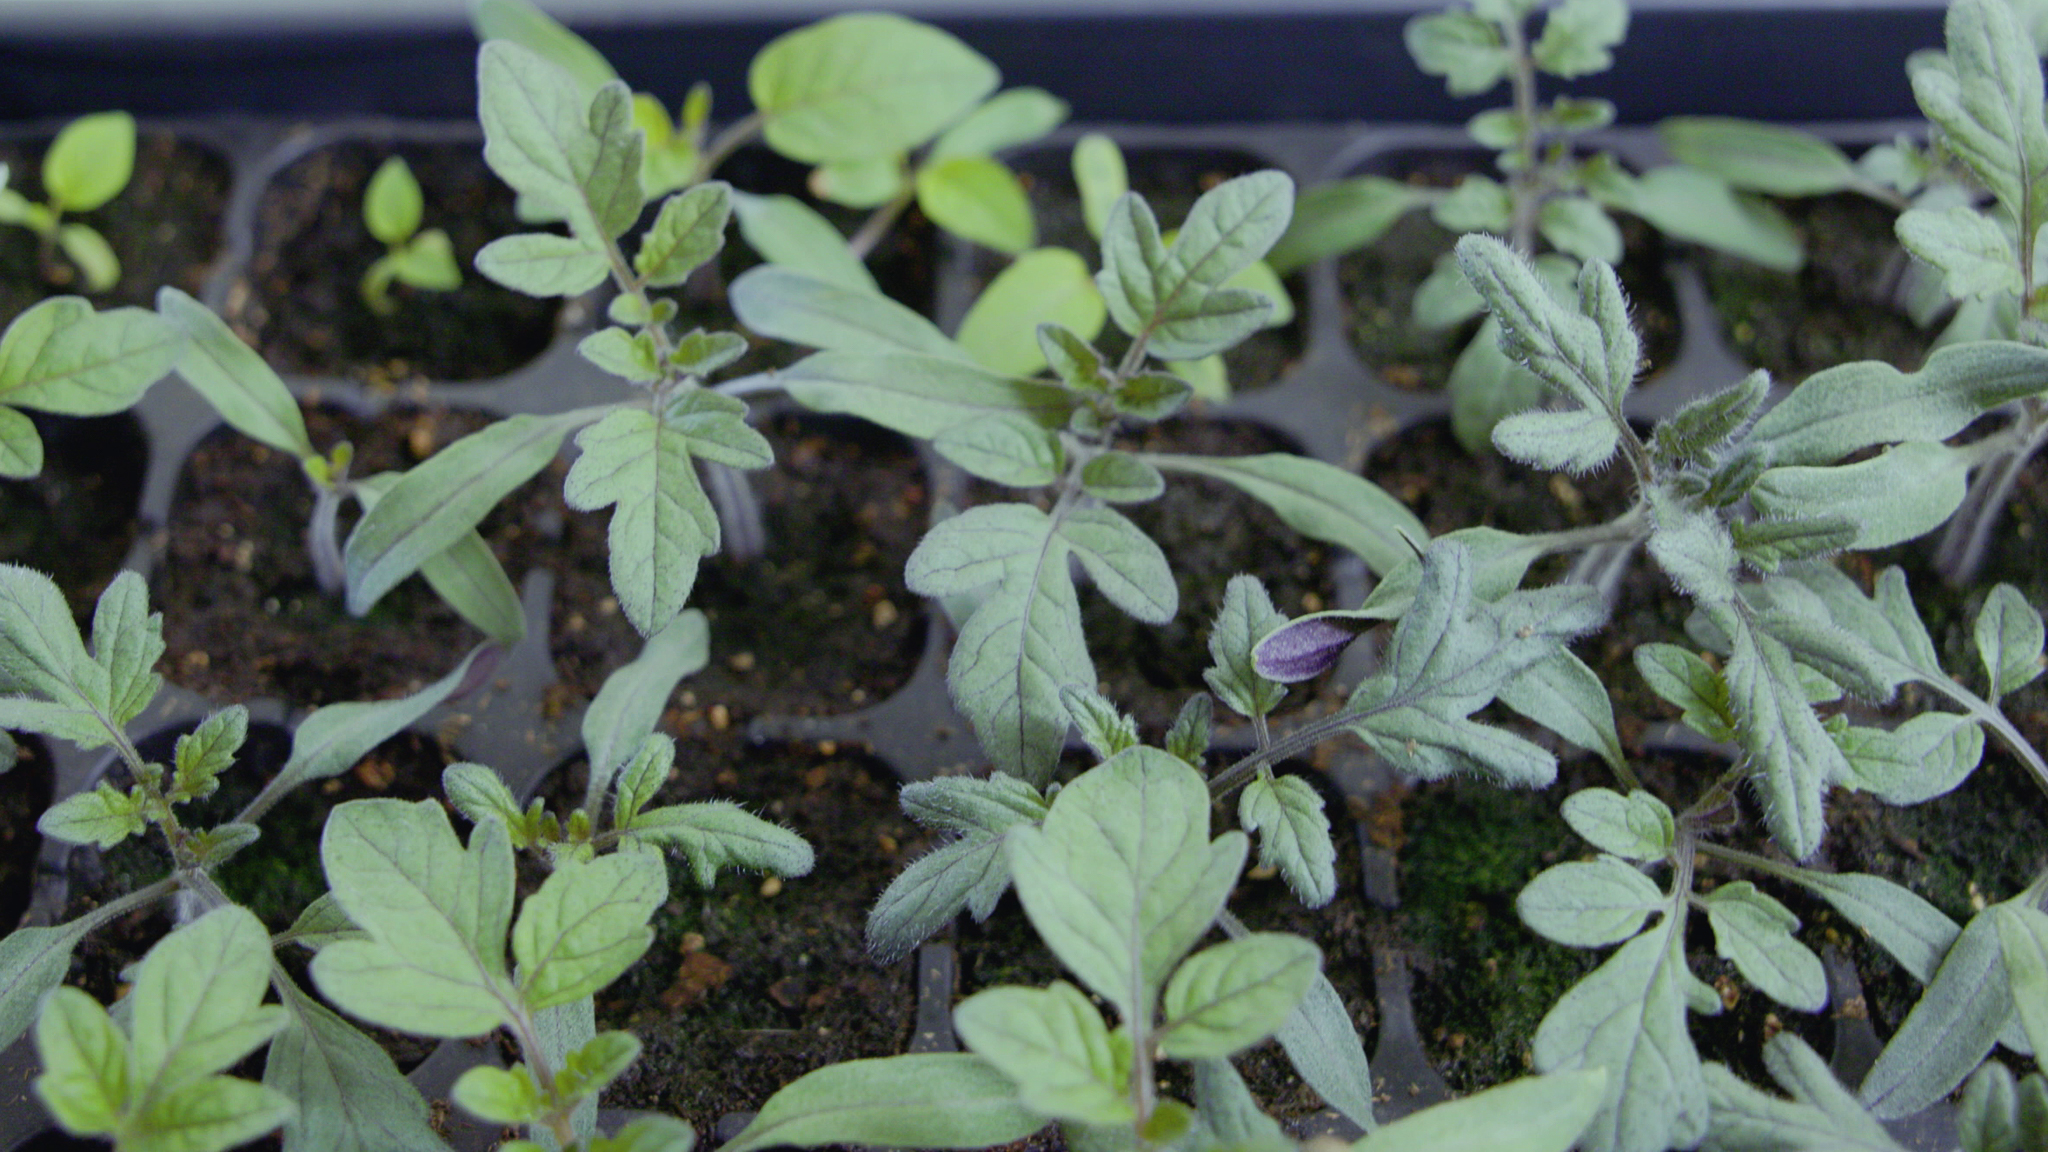
If you planted lots of seeds densely into one larger container, go ahead and repot them a little earlier, say once they have a full set of true leaves. The earlier timing is because you don’t want to wait too long and let their roots become significantly intertwined.
And that potential for tangle roots is one reason I recommend planting in seedling trays; it’s a lot easier to transplant an entire, intact soil plug than it is to tease apart dozens of tiny plants and their fragile roots.
Equipment to Pot Up Tomatoes
In terms of equipment, you don’t need much.
Set aside enough potting mix and wet it down ahead of time. Unlike when we planted the seeds, this soil doesn’t need to be sifted but it’s still not a good idea to use really dense native soil from outside. Our seedlings are still small and vulnerable to both impacted roots and pathogens so play it safe.
For containers, I recommend 3.5” or 4” greenhouse pots, sometimes called nursery pots. They can be a little pricey though, so a 16oz plastic cup with holes punched in the bottom is a good alternative. By volume, 3.5” greenhouse pots are nearly identical in size to a 16oz cup - I just prefer nursery pots because they fit nicely into a seedling propagation tray. If you go with a plastic cup, try to find an opaque version as the semi-transparent ones let too much light through.
Tomato Potting Up Process
- The first step in potting up your tomatoes is to remove the whole soil plug from its current container. I use a standard allen wrench because I find it never punches through the dirt like thinner, pointier tools sometimes do. If you are having trouble popping out the plug from below, gently pull it up by the leaves, not the stem. When transplanting, we always prefer damage to the leaves or roots over damage to the stem.

You can go ahead and repeat this for multiple plants at a time and lay them down on a tray as you go. Completing each step for all plants at once is much more efficient than going through the whole process for each plant one at a time. Think of it like an assembly line. Just make sure you don’t leave those roots sitting exposed for long and keep them out of the sun until they’re repotted.
- Next, go ahead and fill your containers with potting mix. I like to fill the container about three fourths full and dig a hole in the center. The hole should be pretty deep as you want the true leaves to be just barely above the lip of the container. Again, I recommend preparing enough containers for all the plants you want to transplant at this time.
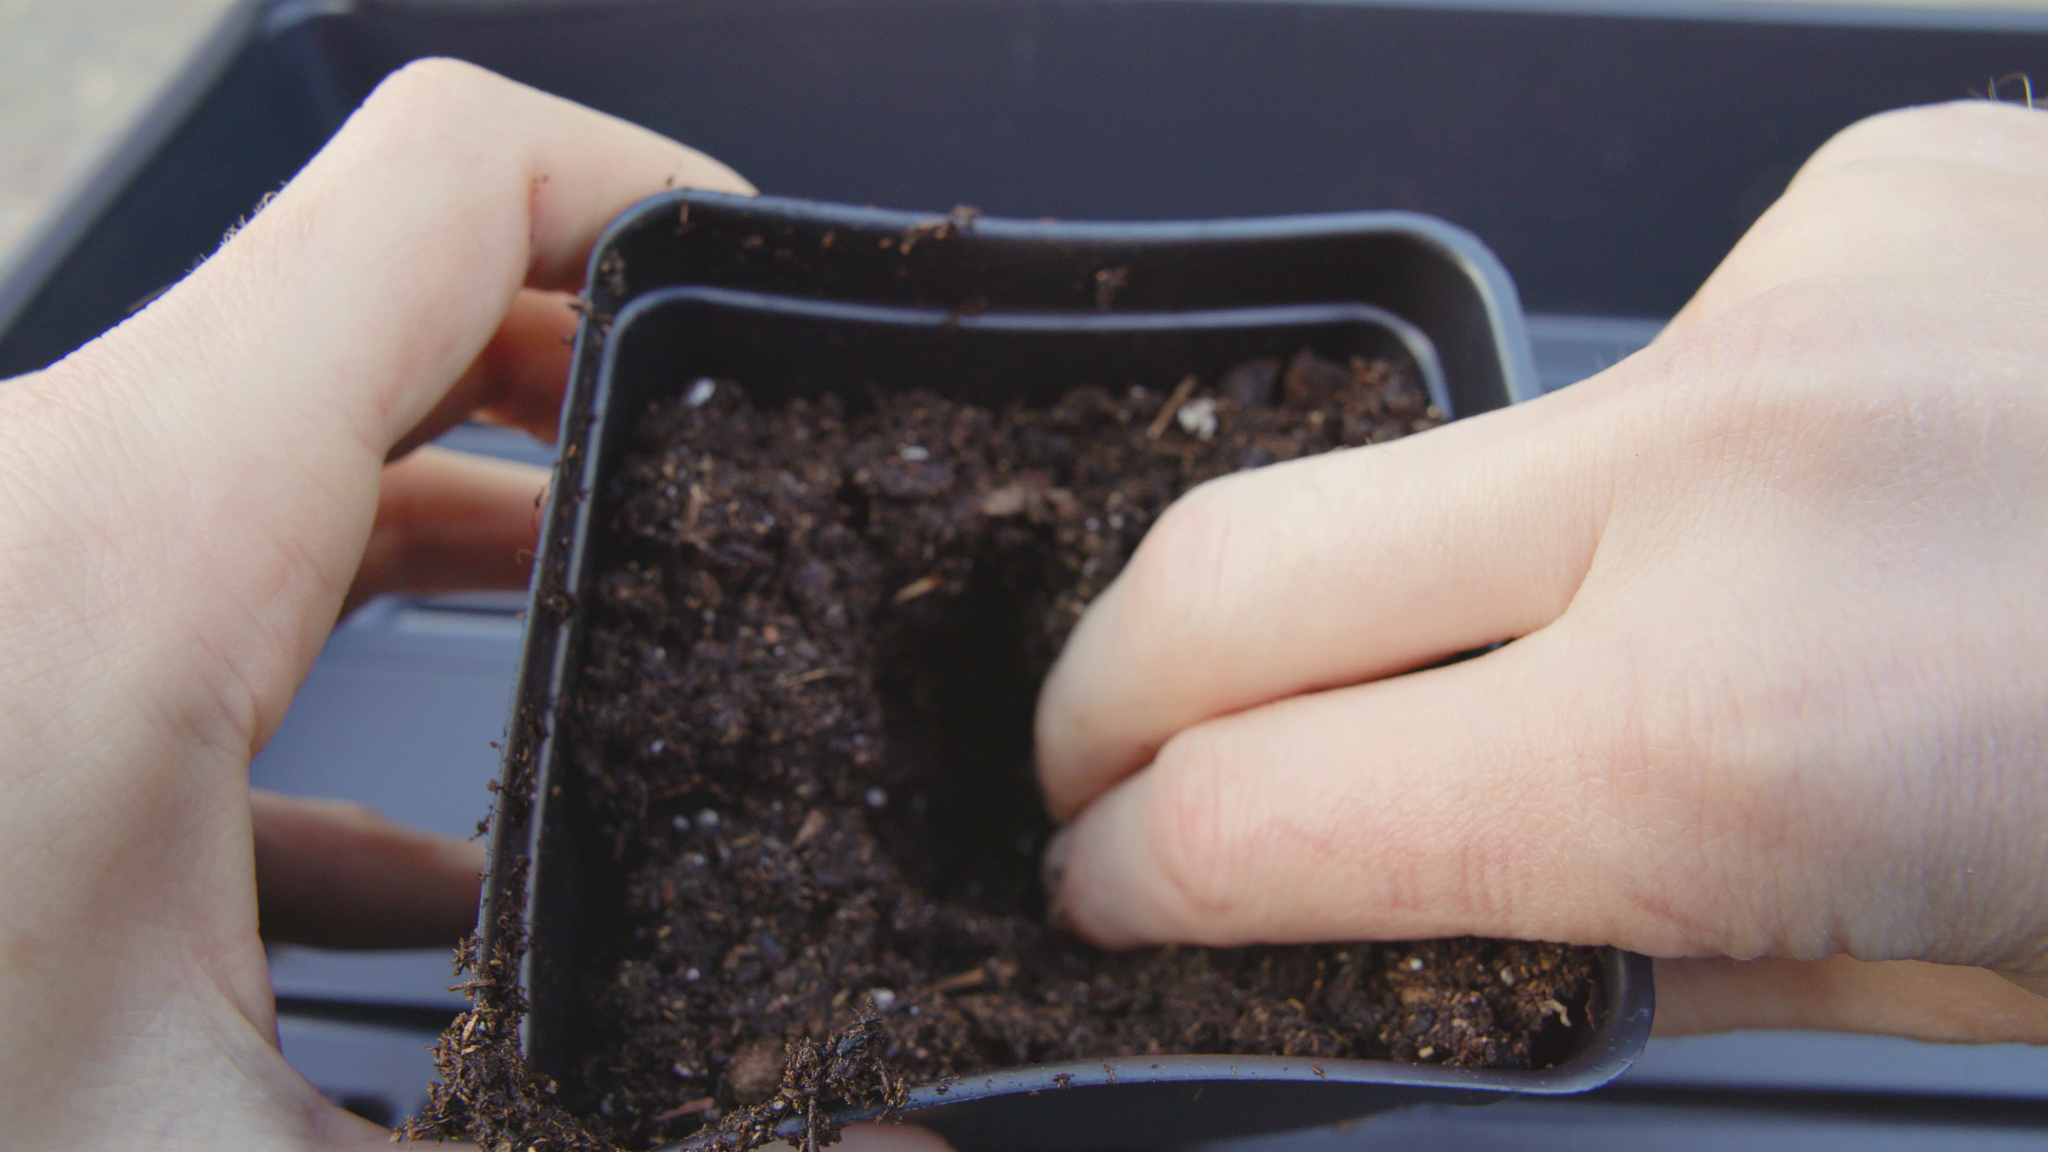
- Place the whole soil plug into the indent in your larger containers and gently adjust the plant as needed to get it to the desired depth. Once you’re satisfied those true leaves are at the right height - just above the container lip - fill up the pot with some of the remaining pre moistened soil and gently pack it in. Rinse and repeat for all of your remaining seedlings.
If you are growing multiple varieties that aren’t immediately distinguishable by eye, this is a good time to label your containers.
Gently water in your seedlings from above to help remove any air pockets but don’t waterlog them. After this first watering, go back to bottom watering your potted up plants
Rehoming Potted Up Tomato Seedlings
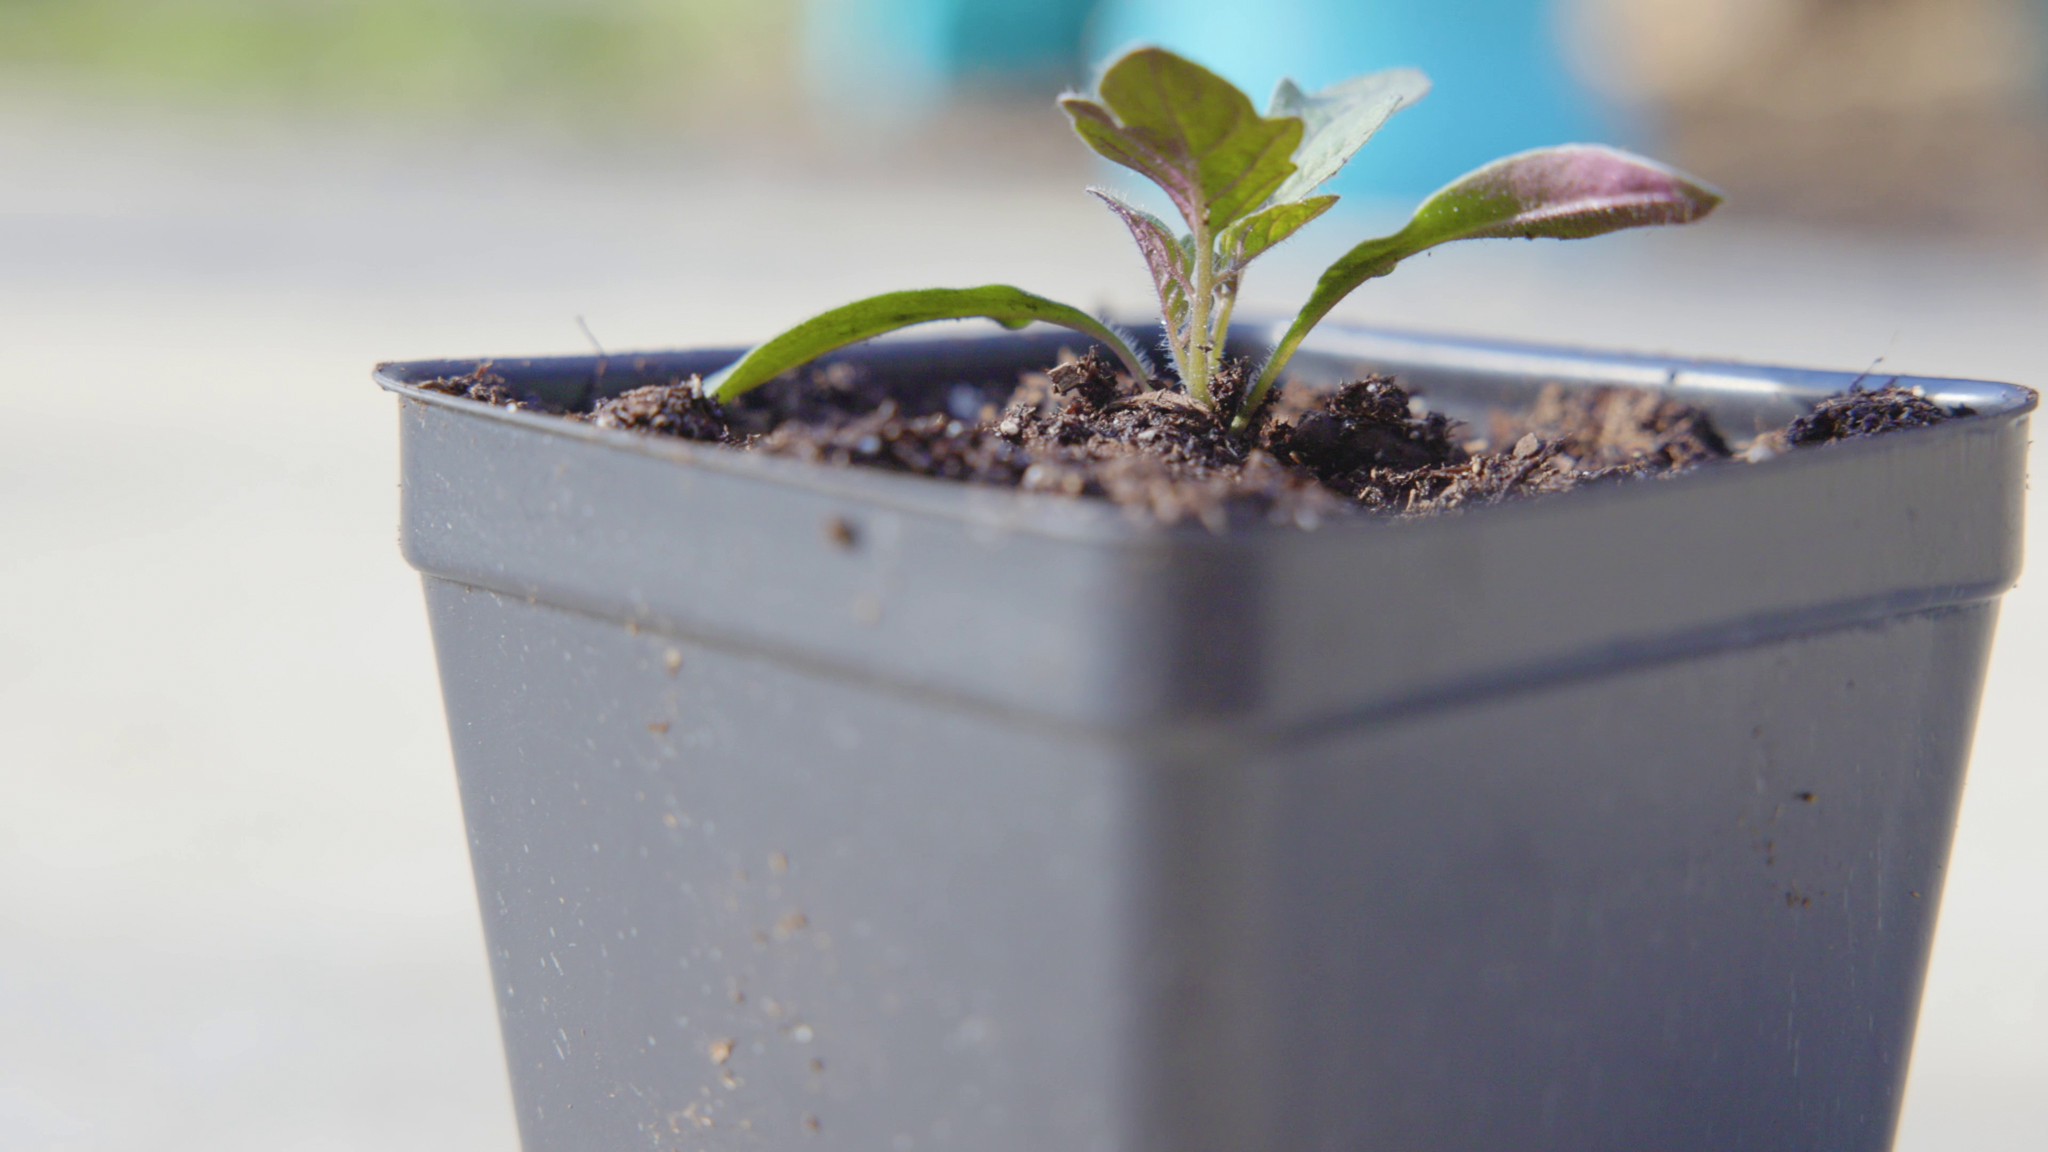
If you’re growing your plants under natural sunlight, try to provide them with gentler light for a day or two to ease into their new homes. An overcast day, a patch of dappled light, or even a bit of greenhouse shade cloth will do the trick.
If you are growing on an indoor seed starting rack, don’t worry too much about shocking them with too much light.
The good news is that tomato plants generally take to transplanting very well so long as you don’t damage the stems. You probably will only observe mild, if any, signs of transplant shock over the next day or two.
Fertilize Repotted Tomato Seedlings
Most potting mixes already contain a mild fertilizer so don’t stress the plant by adding any more the same day you repot them. In a few days, you can add either a couple tablespoons of worm castings directly on top of the soil and water it in a bit or some highly diluted store-bought fertilizer will work great too.
Tomatoes are widely regarded as hungry plants but most of that voracious appetite for nutrients will come later in life. It is important to feed them and prevent stunting, but balance is the name of the game. Fertilize gently and keep an eye out for signs of problems.
And that’s it. Happy gardening y’all!