It’s hard to resist the urge to run outside and plant seeds on a beautiful day. I know that for a fact because I’m looking out my window at gorgeous weather and far too much bare dirt in our garden as I write this.
Alas, it’s mid-January today, and the sad truth is that even in our milder climate, January is far too early to plant warm-weather seeds outdoors with confidence. Today’s warmth will likely be followed by a few more cold snaps before Spring arrives.
No worries. That’s what indoor seed starting is for! With the right materials and a little planning, you can start hundreds of plants at a time for less than $5 in seeds and a few dollars in electricity costs. And you can get started months before Spring is truly here and all danger of frost has passed.
In this article, we’ll cover everything you need to know to successfully start seeds indoors using grow lights. You’ll learn what gear is - and is not - needed, the best order of operations, all about ongoing care, and even how to prep your plants for transplant.
If you need to get your seed starting setup ready first, check out our companion article here for a detailed, easy DIY build guide for less than $200. The same information is also available in video form here if you prefer.
If you’re not ready to invest in a dedicated system with grow lights, that’s just fine because they’re very much not necessary to start seeds indoors. You can gain experience with great results using almost no gear and very little cost. We’ve written a guide on the cheaper, low-tech setup here as well. If you’ve opted to start seeds using sunlight, everything in this guide is still applicable, just swap in sunlight everywhere I mention grow lights below.
Things to Know Before Starting Seeds Indoors
I know you’re eager to get started (me too!) but there are a few things I want you to to know before we get into the step-by-step guide. A little knowledge here will set you up for a lot of success in the future.
How to Time Your Indoor Seed Starting and Transplanting
Starting seeds indoors is a surprisingly straightforward and achievable project. But the easiest way to ensure poor results is to not properly match the time you start a specific plant to your climate.
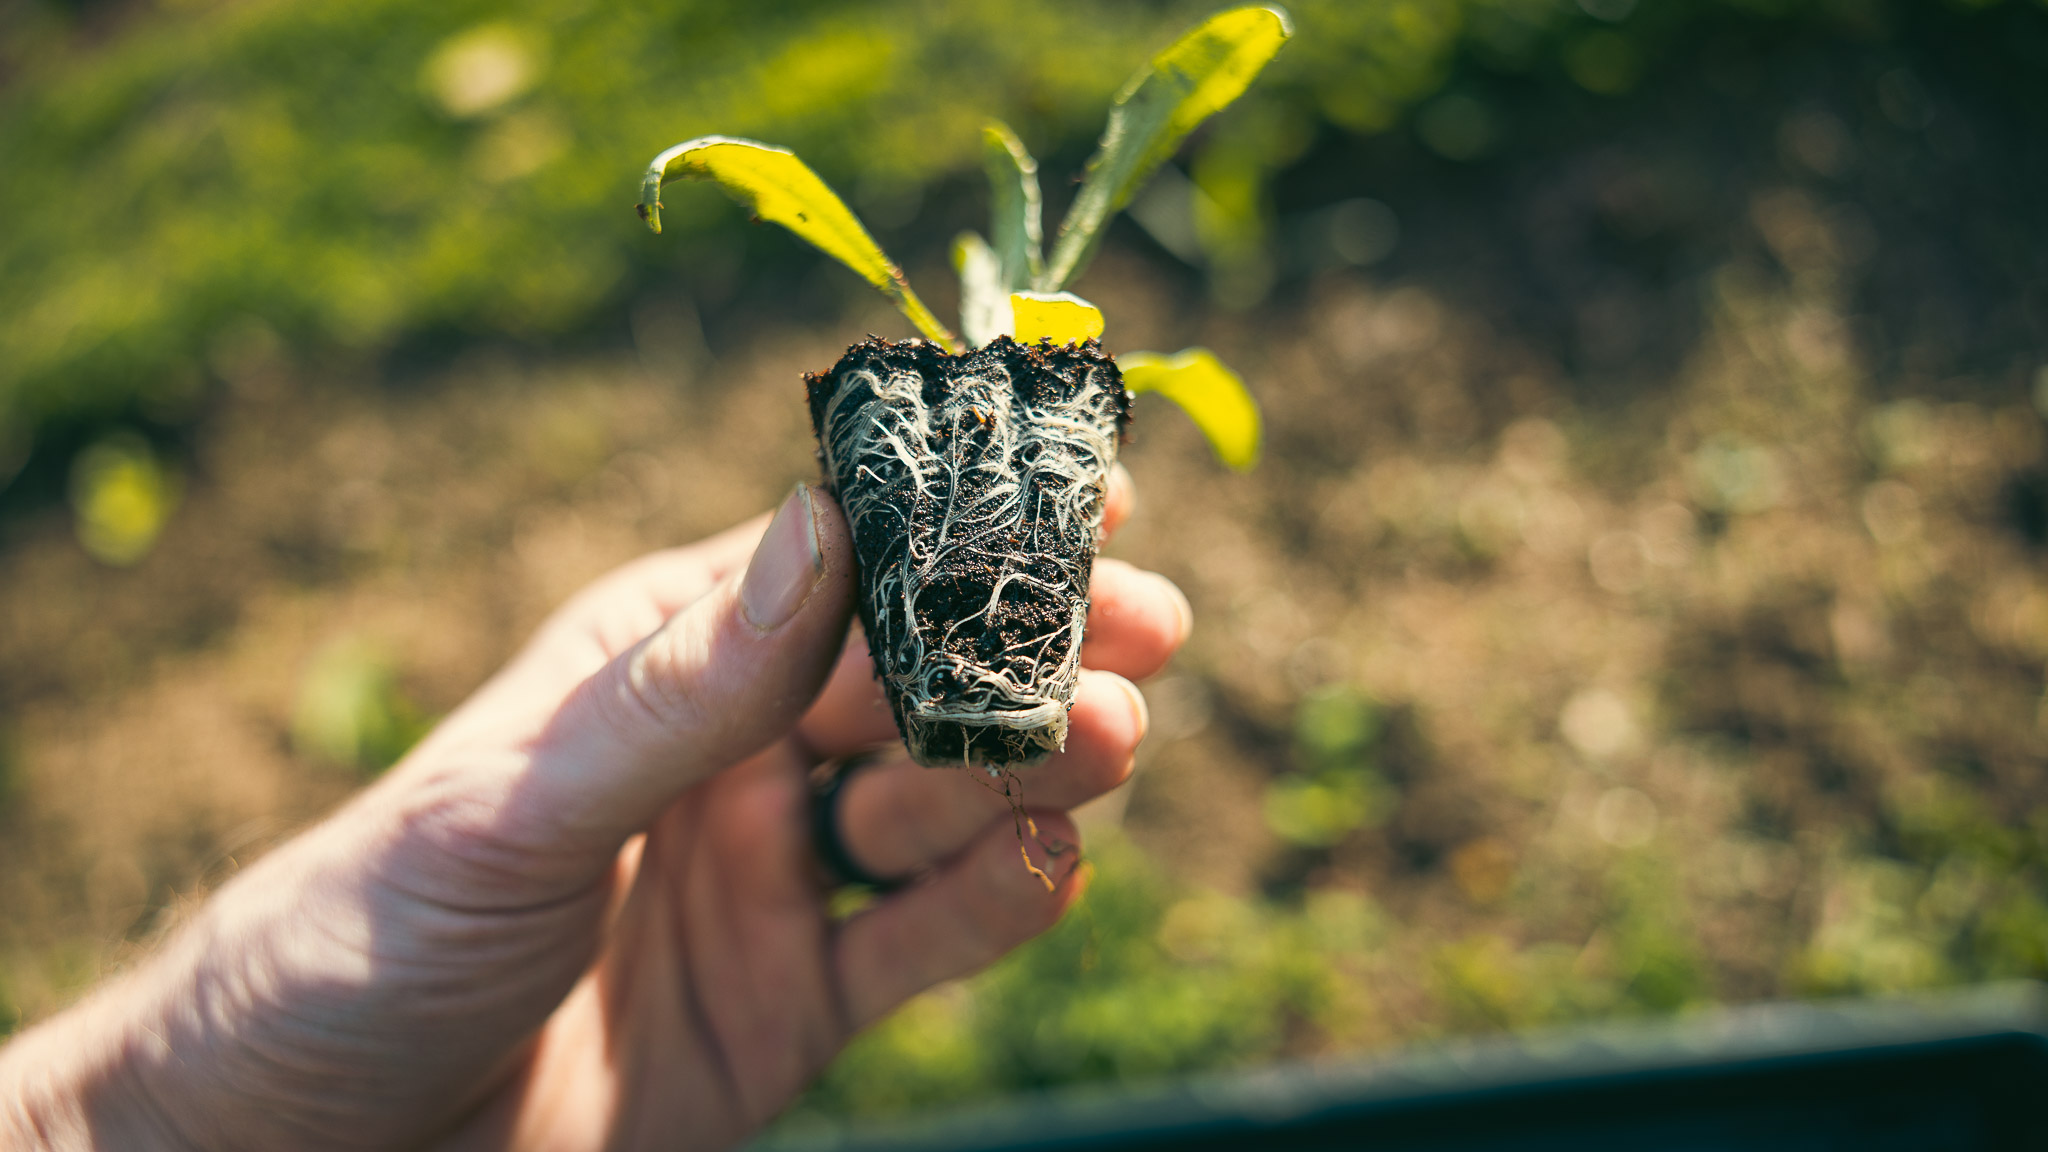
Start a plant too early and you risk it becoming rootbound in its too-small container before your frost date arrives (potting up to a bigger container works though). Even worse, rootbound plants can look great in their indoor container only to fail to thrive in the garden, wasting even more time as you slowly realize they’ll never reach their full potential.
Start a plant too late and you risk wasting prime growing days outside either at the beginning or end of the season.
By far the best and easiest way to time your seed starting right is to follow a planting calendar tailored to your specific planting zone made by a trusted source. For example, see these charts from the Virginia Cooperative Extension for zones 6a - 8a or this one from UC Davis for zone 9b.
I highly recommend finding a planting calendar produced by a local, university-backed office like these because their information is research-backed and often produced to help commercial growers with real money at stake. Meaning, the accuracy of the information is held to a high standard!
If you can’t find one you like made by a local extension office, try entering your zip code on The Old Farmer’s Almanac website here.
P.S. If you completely missed a planting window, but still want to ensure a decent harvest, we’ve written about plants that can tolerate:
… and also those varieties that produce super fast harvests.
Seeds with Special Germination Requirements
Most garden vegetables produce seeds with fairly standard requirements: bury the seed in a loose, moist medium at a depth roughly equal to the height of the seed and keep the soil warm and moist until germination.
However, be aware that there are many seed types with notably different requirements. Make sure to read the back of your seed package to see if it falls under one or more of these categories:
- Seeds that require light to germinate (press them into the top of the soil, don’t bury them) like thyme
- Seeds that benefit from scarification to germinate (manually nick or damage the seed coat) like nasturtiums
- Seeds that benefit from cold stratification to germinate (provide a cold period to mimic winter) like lavender
- Seeds that benefit from a soak in water to germinate like squash
- Seeds that require a temperature differential between day and night to germinate like celery
This list is not comprehensive, but hopefully illustrates why it’s a good idea to skim your seed packet instructions before planting!
Avoid Starting These Plants Indoors
Now that you’re familiar with some atypical germination requirements, you should also be aware that some plants simply do better direct-sowed into the garden outside. Unless you have a good reason to start them indoors and a plan to keep them healthy, these plants prefer to live their whole life in the great outdoors:
- Root vegetables like carrots, turnips, and beets. The roots are the harvest with this category, so it’s easy to see why it might be a bad idea to disturb those roots during transplant
- Plants with fragile roots that don’t tolerate transplant shock like cilantro
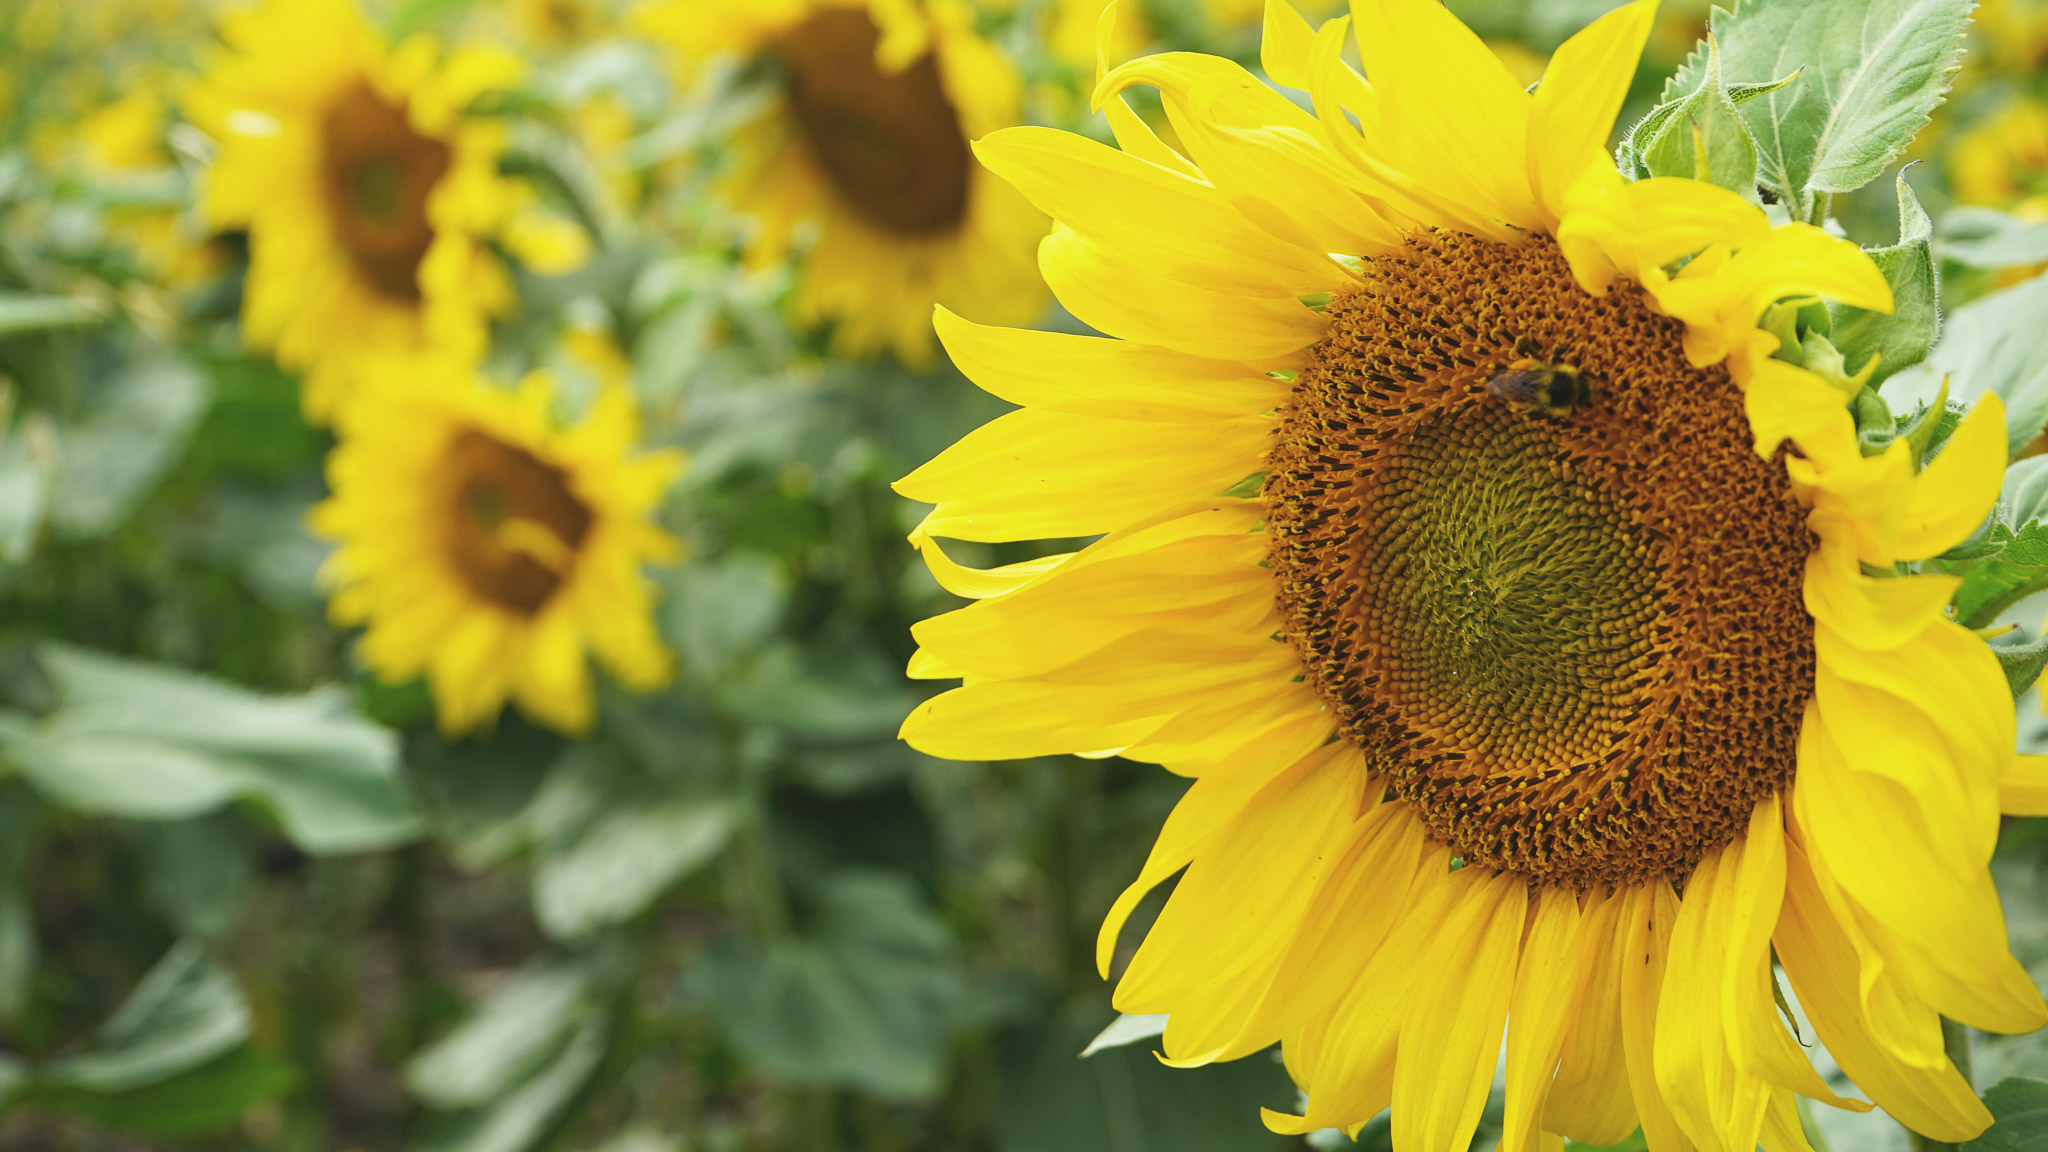
- Ultra-fast growing (and rooting) plants like corn and sunflowers. These just aren’t worth the effort of starting indoors in our experience
There is also an “in-between” category of large plants that can go either way depending on your environment and timing. This group includes squash, melons, and cucumbers.
Full disclosure: we’ve tried both direct sowing and transplanting these “in-between” crops in our current suburban homestead and the transplants were far, far healthier with a wildly higher germination rate. Our theory is that the challenging clay soil in our suburban homestead is just too dense for baby seedling roots to ever establish themselves, providing an advantage to the larger transplants.
Ultimately, experimentation is the name of the game. Seeds are cheap, so feel free to try starting any of these indoors if you’re curious.
Prepare Your Seed Starting Equipment
The time has come to gather your materials. I personally love this part; there’s very little in life that screams potential like a packet of seeds next to a bunch of dirt.
This guide is minimalistic when it comes to gear and on the cheaper side to implement because we grow plants primary to eat and lower our grocery bills. That’s just our bias, and it’s totally OK if you want to add in more gadgets and premium materials.
Finally, one more quick reminder that this guide only covers the actual seed starting gear. Check out our companion article for info on setting up the shelves, heat mats, lights, etc..
Equipment You Need to Start Seeds
- Plant containers like seed trays or individual pots to hold your soil and seeds. If you want to start a smaller number of plants, you can even reuse plastic food containers from the kitchen. We use a combination of standard 72 cell seed trays and 3.5” in. pots made from food-grade plastic. The upfront costs are higher but these containers are designed to be space efficient and allow us to start a lot of seeds at once. Which in turn increases the ROI from running lights and heat mats (electricity isn’t free after all!).
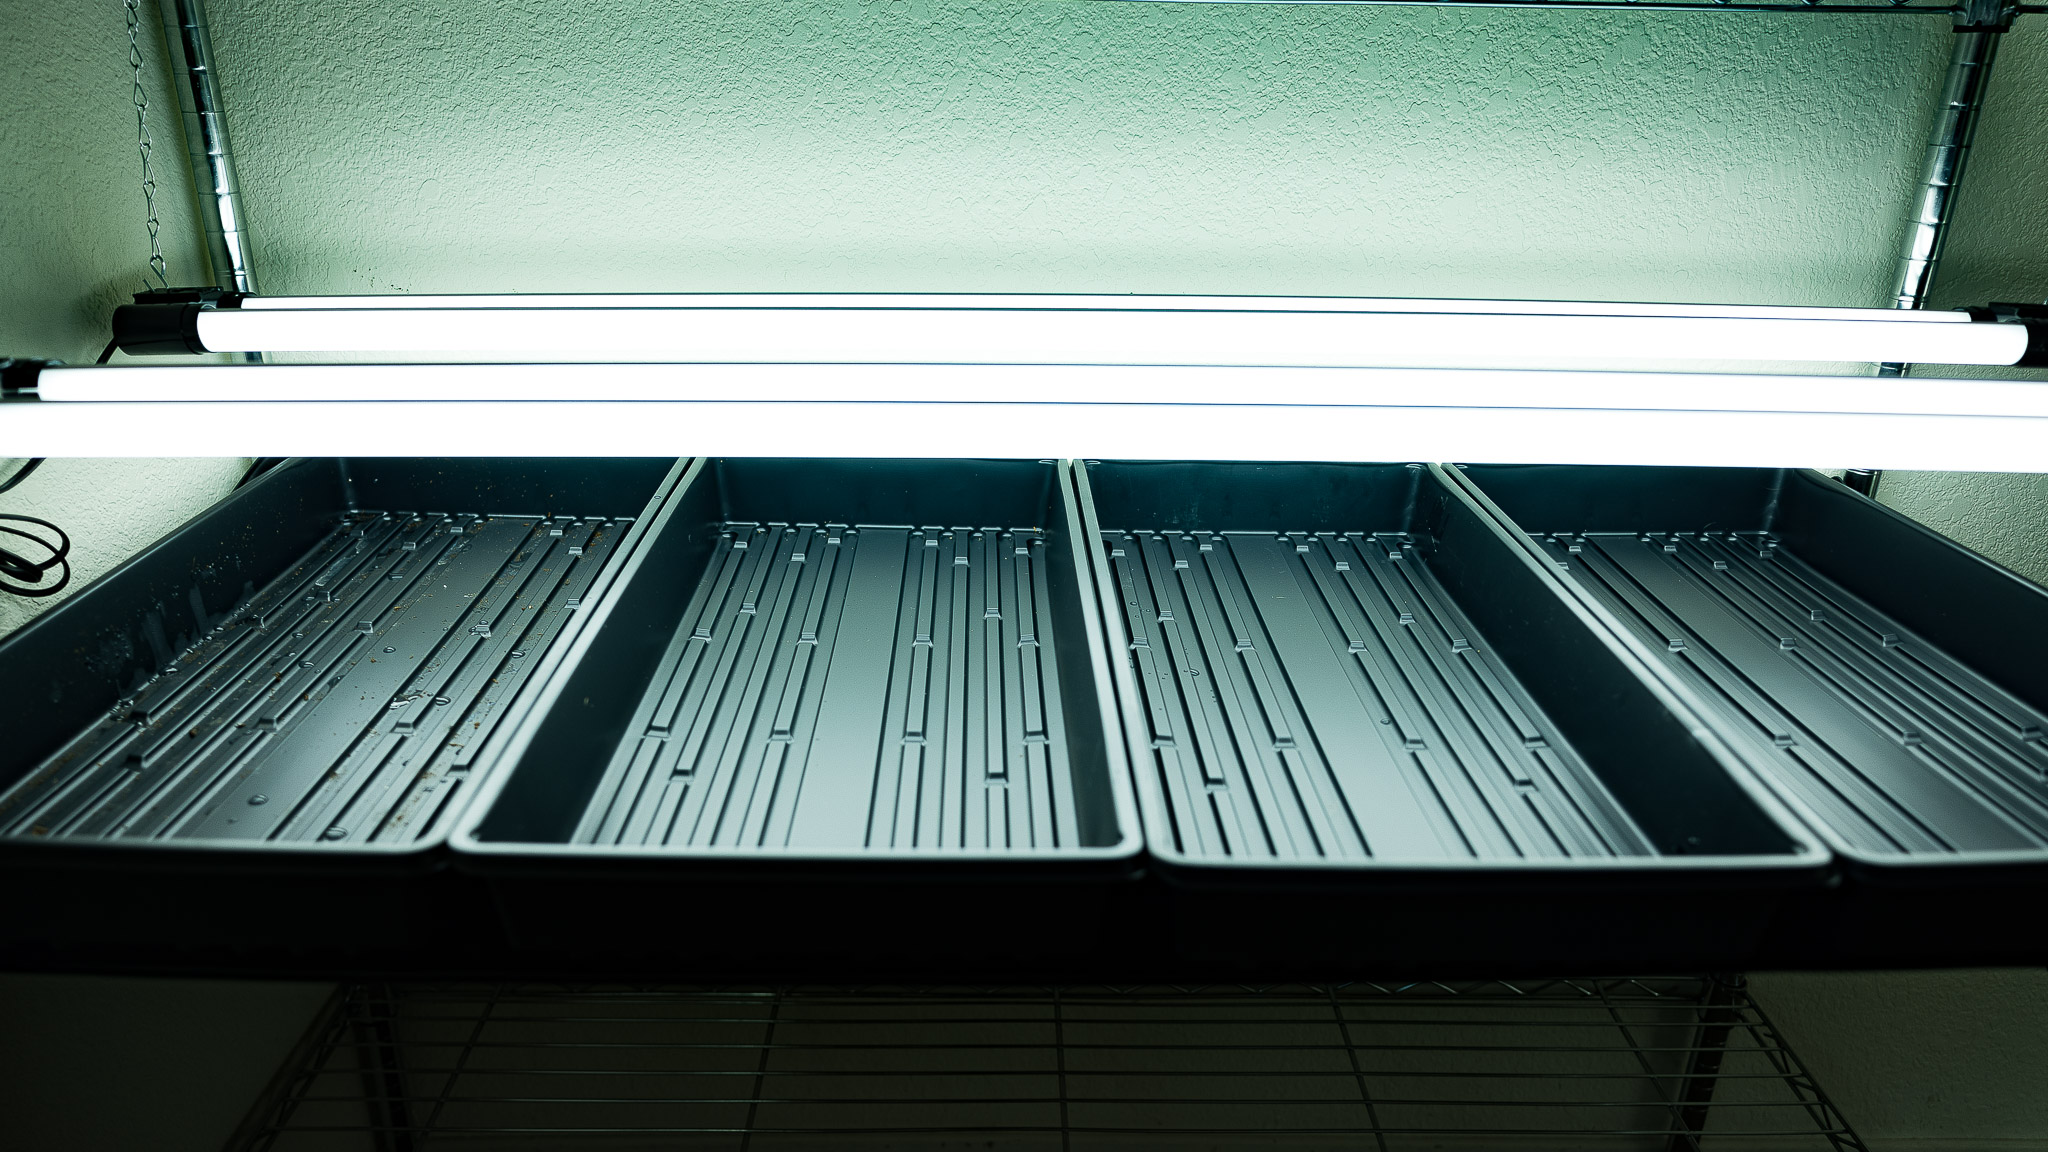
- Drainless propagation trays to hold your containers and water. Again, you can either buy purpose-made versions or use something lying around the house. We used old baking trays (the kinda with raised sides) and plastic bucket lids for a full season with no issues whatsoever.
- Growing medium like high-quality sifted potting soil or seed starting mix. Under no circumstances should you use garden soil from outside to start seeds indoors. Store-bought soil has been sanitized and is much less likely to contain pests and pathogens that will kill your fragile seedlings. Remember that your containers indoors do not mimic the functioning ecosystem outdoors to keep risks in check. Garden soil is also often too dense and will negatively impact germination. I similarly recommend staying away from the cheapest bags of low-quality potting soil as they can contain too much uncomposted forest products.
- Seeds. Our seed shopping process goes like this: purchase any common and easy to find plant seeds from dollarseed.com as the price is terrific and we’ve had great success with their products. We then head over to migardener.com which also offers great prices - albeit higher than dollarseed.com - for less common varieties. Finally, we peruse rareseeds.com for anything spectacularly interesting or new that we’re willing to pay extra for.
- Spreadsheet to track seed locations. I recommend creating a digital spreadsheet to keep track of which seeds go into each container. Compared to traditional labeling methods like writing on a stick, a spreadsheet is vastly faster to produce, can contain more information, produces no trash, is always available on your phone, and is free! I honestly can’t imagine going back to using physical seed labels.
- Your beverage of choice! We’re partial to hot tea or a glass of wine on planting evenings.
Equipment You Don’t Need to Start Seeds
To reiterate: we only use and recommend gear that has proven to make a substantial, positive difference to our results. Here are a handful of common items we forego.
- Humidity Domes. Not because they don’t work (they do!) but because we can’t justify buying them based on historical results and therefore can’t really recommend you do either.
- Seed starting mix. One more item to put into the “beneficial, but not strictly necessary” category if you’re on a budget. We wrote a short article about why we tend to just use sifted potting soil.
- Peat pellets instead of soil. While these are incredibly convenient, they’re also relatively expensive. There’s also concern over the ecological impact of peat products. As non-experts, we’ve chosen to not use peat until we see data indicating it’s sustainable.
- Soil thermostat. The exception here would be if your seed starting station is in an area prone to massive temperature changes throughout the day.
- Seed labels. We really can’t stand them (see above re: using a spreadsheet instead).
- Specialized watering equipment like wicking mats.You’ll learn how to bottom water your plants using the drainless trays below, which is effective without any additional equipment.
Step-by-Step Guide to Starting Seeds Indoors
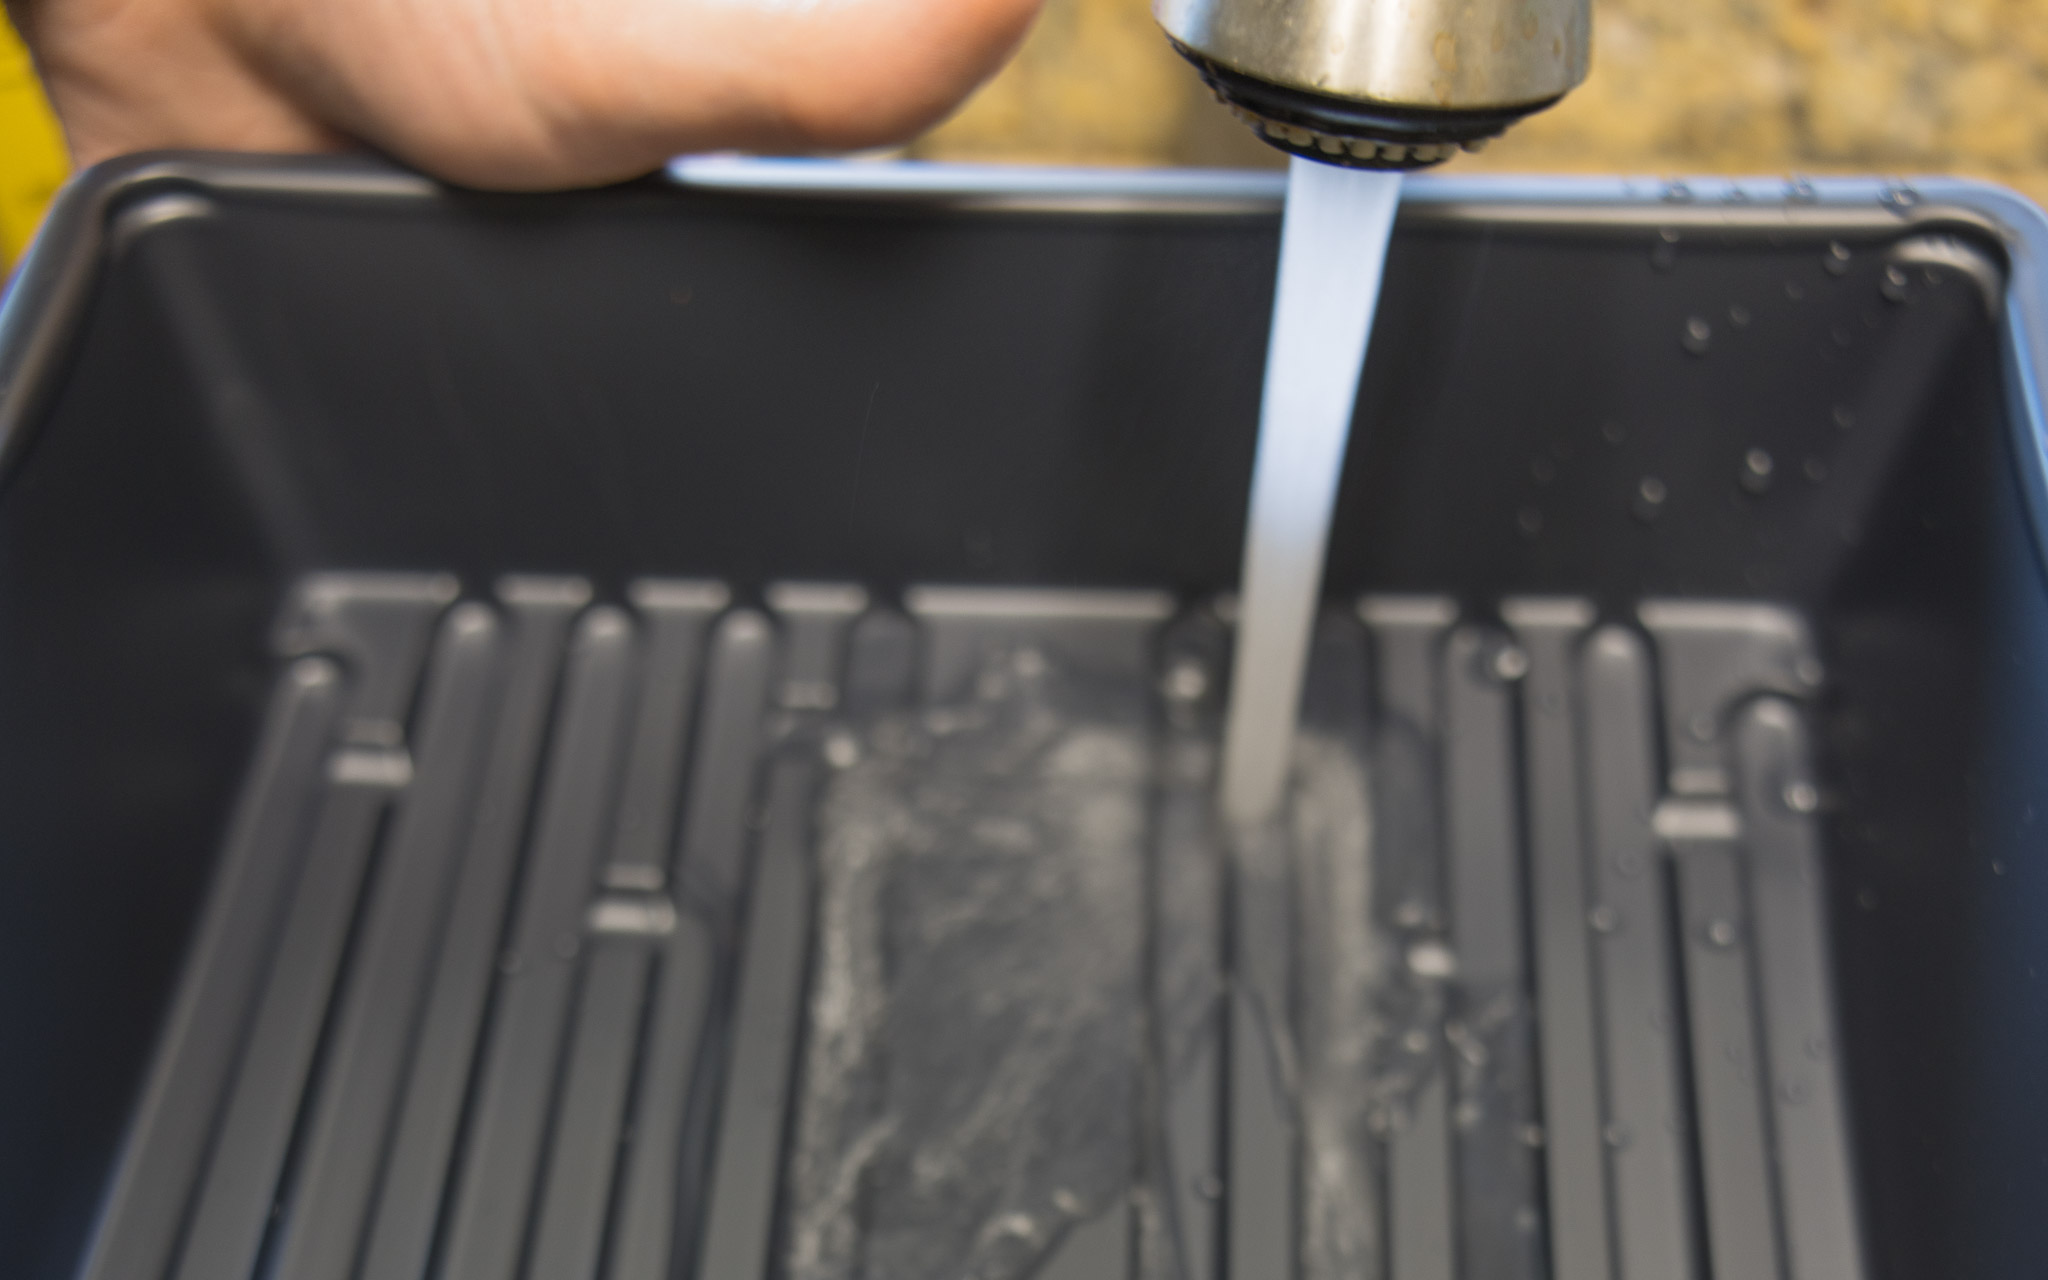
1. Sterilize or Disinfect Seed Starting Equipment
It is possible to introduce deadly (to your plants) pathogens by reusing containers from a prior round of seed starting. The most common being damping off, a fungal infection that will kill your seedlings by causing them to fall over at the soil line.
Of course, we’d never recommend buying new containers every year, so what’s the solution? Well, we like to thoroughly wash our equipment with water, let them sit in the sun for a few days and then wash them with white vinegar and soapy water. To date, that has proven effective and we haven’t faced significant issues (or we’ve just been lucky).
If you have a higher bar for avoiding any plant death, check out this video on how to use a diluted bleach solution to sanitize your containers. While we are willing to risk losing plants in order to not deal with bleach, it’s up to your personal risk tolerance.
2. Prepare Growing Medium (Soil) & Fill Containers
If you purchased a purpose-made seed starting mix, very little preparation is needed! Seed starting mixes are ready to use as-is with only water added.
In our experience, a quality potting soil that has been sifted to remove large particles and mixed with some coco coir is also a very effective seed starting medium. Sometimes we even use good potting soil straight out of the bag (gardening blasphemy!) with no alterations and have seen great results. The one exception was the ultra-budget potting soil from our local hardware which was an utter disaster filled with ungerminated seeds and unhealthy plants.
Ultimately, if you’re starting a small number of plants for the first time, we might recommend using a seed starting mix to reduce the number of variables that can go wrong. If you need to fill many containers, or have more experience starting plants from seeds indoors, we recommend (and do ourselves) prepping some good quality potting mix to use for seed starting.
Moisten Growing Medium
It’s helpful to moisten your soil before planting seeds into it. The goal is to achieve a damp, but not wet or dripping consistency. Many gardeners pre-moisten their soil in a bucket before adding it to the plant containers, but we find that wastes soil so we just gently water the soil after it is added to the seedling cell trays.
Fill Seedling Containers
Fill your containers with the soil or seed starting mix and give it a few gentle taps on the table to help settle everything into place. You don’t want a lot of air pockets.
Some gardeners leave a little room above the soil line at this point so they can gently sprinkle soil on top of the seeds. Others like to fill the containers to the brim, press in a hole for the seed, and “pinch” over the seed to cover it with soil already in the container. Both work! Just find what works best for you.
3. Track Your Seed Locations
We strongly recommend pre-populating your seed tracking spreadsheet before planting anything. That way, all you have to do is place your seeds in the right location according to your plan.
Another nice thing about the spreadsheet tracker is it’s easy to update, so feel free to make last minute tweaks. Just don’t forget to immediately update that spreadsheet!
It can also be helpful to place a sticker (take one off an apple or banana) on the propagation tray or one of the seedling containers so you know where the “bottom left” is. That way you will always be able to quickly match your spreadsheet to your containers, even if they get flipped around at some point.
For example, I know that the cell on our seedling tray with the sticker matches cell A12 on our spreadsheet below.
![]()
4. Plant Seeds
It’s planting time! Make sure your hands are clean and dry.
Use your finger or an eraser on the back of a pencil to create indents in each container. As a basic rule of thumb, seed depth should be approximately equal to the height of the seed. The exceptions are seeds that need light to germinate, in which case simply press the seeds into the top layer of soil.
Your seed packet will have more exact guidance on planting depth.
Best practice is to plant two or three seeds per container to account for those seeds that never germinate. Try to slightly separate the seeds in the container so that later on you can move seedlings from containers with multiple successful germinations to containers without any. It’s a little easier if their tiny roots aren’t intertwined.
Large seeds in small containers - like pumpkins in a 72 cell tray - should be planted one seed per container.
Once the seeds are down, either cover them by sprinkling on a layer of the remaining soil or pinch some from the container over top of the seeds.
After we’re done planting seeds, we like to record a short video describing which seeds went where and any thoughts on the planting process. This step may be overkill for you but we actually refer back to these little clips often!
5. Wet Down Seeds
Gently water from above at this point to ensure all seeds adhere to the growing medium and are well-moistened.
Try not to hit the soil with the water hard enough to move the seeds around. We use the kitchen sink for this step to have finer control over water pressure.
This is the first and last time you should water your seeds or seedlings from above (more on that in a bit).
6. Place Containers On or Near a Heat Source
If you followed our DIY Seed Starting Build Guide, go ahead and place the seedling containers into a drainless propagation tray and place it on top of a seedling heat mat.
If you don’t want to purchase a heat mat (totally understandable), try to find a warm location in your home to place your containers. Avoid anywhere with low night time temperatures.
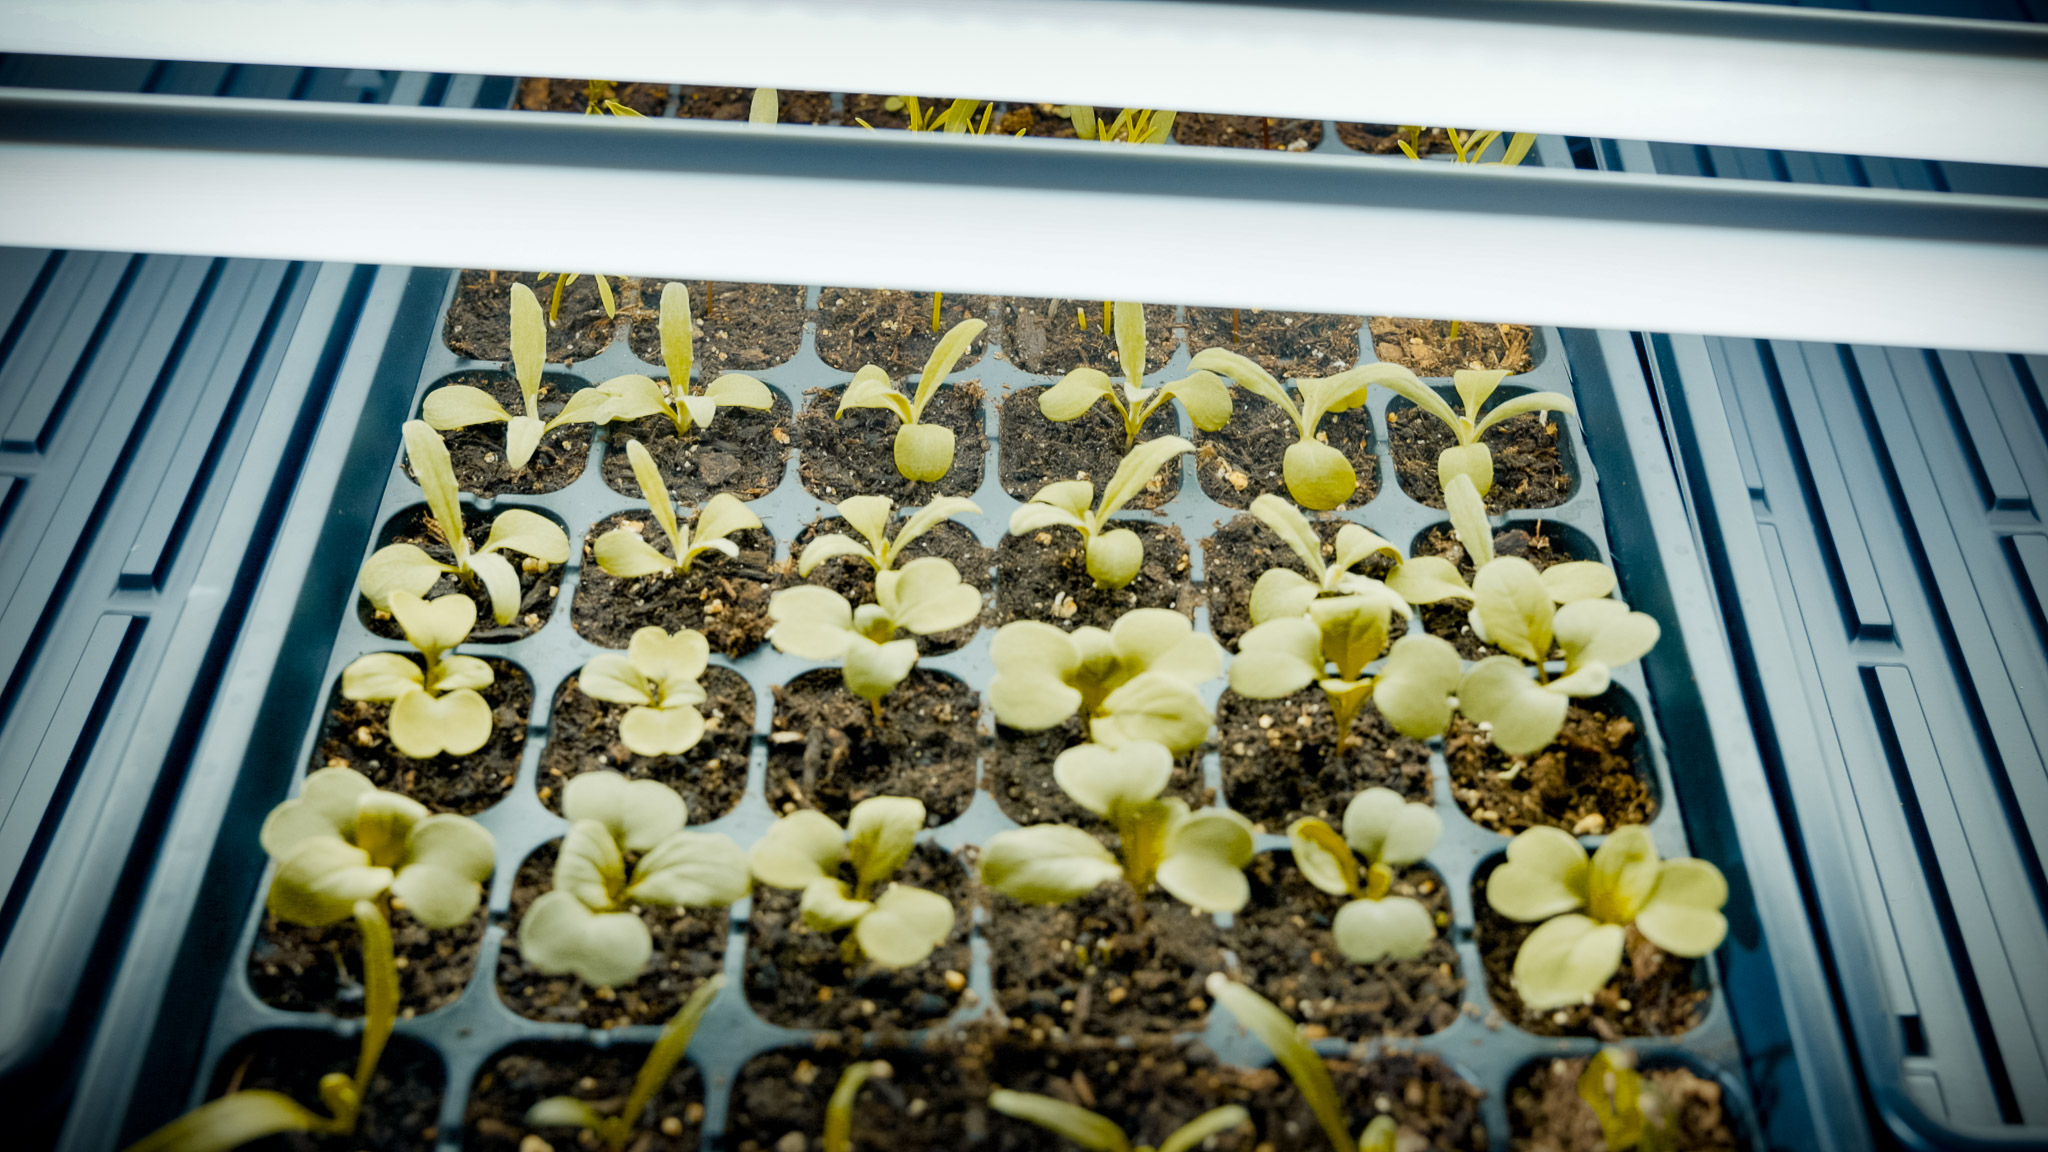
7. Place Containers Under Grow Lights and Check Light Output
Your grow lights must be ready to turn on as soon as the first seedling pokes through the soil. I’ve had lettuce germinate in less than two days so don’t get caught by surprise! Leaving the germinated plants in the dark for longer than a night is asking for legginess - a condition where seedlings grow tall, thin, and frail as they search for the sun.
We use and recommend the Photone mobile app to get an approximate idea of how much usable light is hitting the top of our containers. Turn on your lights and verify that every container is hitting a DLI value of at least 10 for cool weather plants and nearer to 15 for warm weather plants.
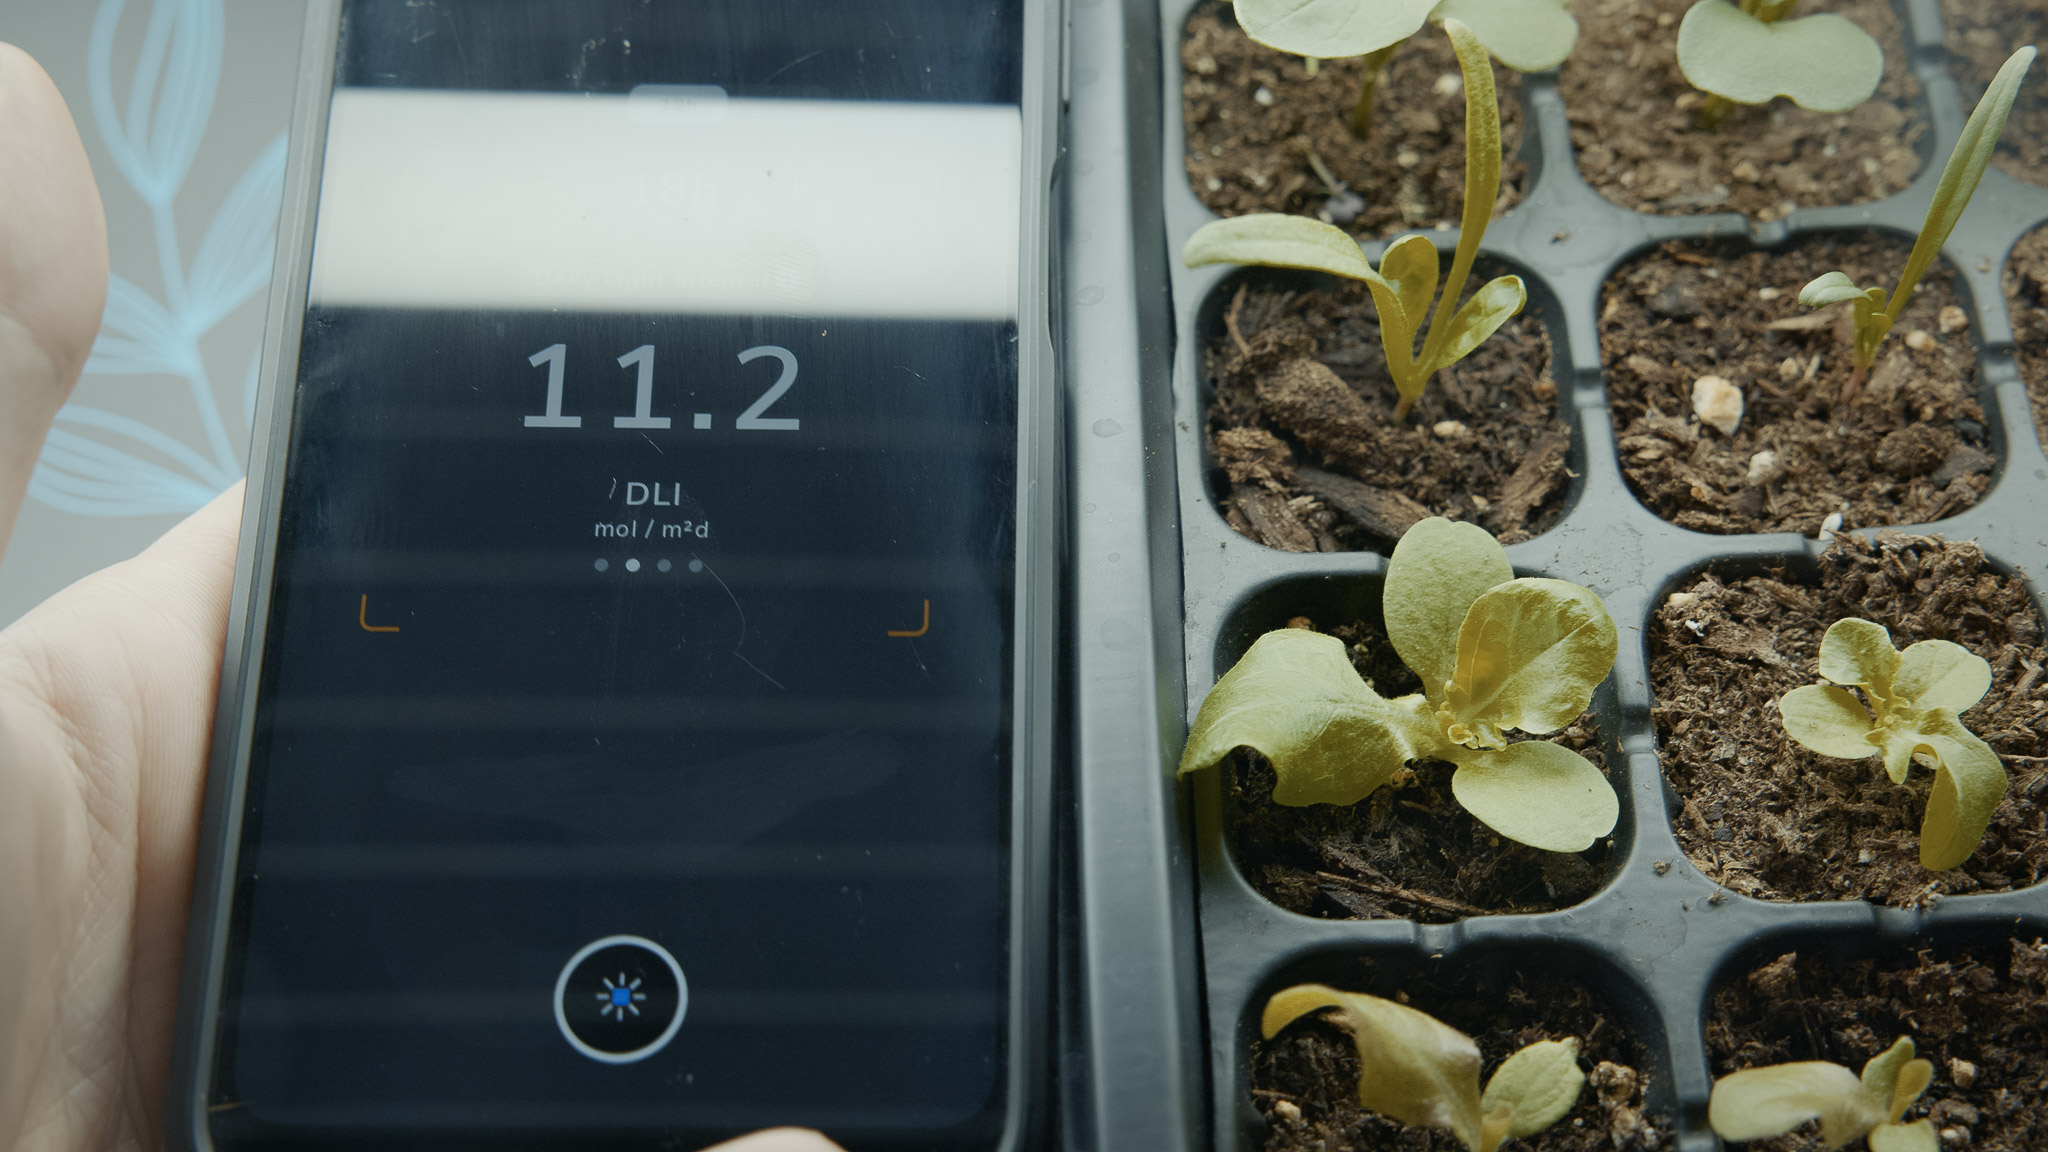
At this point, you can turn off your lights unless your seeds require light to germinate.
As you finalize the positioning of your lights, try to remember the inverse square law of light: light intensity decreases proportional to the distance squared from the light source. Meaning, if you double the distance from your lights to your plants, they receive only ¼ of the light *not ½!
We’ve found that the plants in the bottom row of each 72 cell seedling tray tend to be leggier as they receive less light. Because our growing setup has plenty of space, we either leave that row empty or make sure it’s filled with “extras” that we don’t mind losing.
8. Wait Patiently for the Magic of Germination
Or, if you’re like every gardener ever, go ahead and neurotically check for sprouts every few hours.
Seeds can take anywhere from days to months to germinate, so refer to page two of this document to get an idea of when to expect plants to appear.
How to Care For Your Seedlings
Your work on day one is complete! Now it’s time to monitor and care for your vulnerable seedlings.
Watering Part Two
It’s time to water again once the top line of soil in your containers has significantly lightened in color from moisture loss. From this point on, it’s best to “bottom water” only. To bottom water, simply add .5” in. of water to the drainless propagation tray and then place the seedling containers back in to absorb the moisture via wicking (capillary) action.
After bottom watering, check if there’s still sitting water in the drainless tray after about 30 min. If there is, pour the remainder out and add less next time. Letting the seedling containers sit in water after the soil is saturated is just asking for disease.
I totally get it’s tempting to just pour in water from the top, but your seeds (and germinated seedlings) are too fragile and susceptible to disease. Bottom water only!
Run Lights on an Automated Schedule
As noted above, exposing your seedlings to light early is critical for strong long term development. Once the first seedling pops up, it’s time to make sure your lights are configured to turn on at predetermined times by using an automated timer plug.
We generally start with 17 hours on / 7 hours off and adjust based on the DLI values we see in the Photone app and whether the plant has relatively high (fruiting nightshades) or low (leafy greens) light requirements.
Cull or Move Extra Seedlings
Seedlings can grow leggy and weak if they’re too crowded. Once the majority of your containers have germinated seedlings present, gently repot (move) the extras into any containers that remain empty.
Try to pull them up slowly and carefully by their initial set of false leaves instead of the stem and immediately place them into a hole deep enough for their young root system. A seedling can thrive with a bit of leaf missing, but not with a snapped stem.
Water the repotted seedlings immediately and try not to worry too much about their condition. We’re often surprised at how quickly even damaged seedlings recover after repotting.
If there are no free containers, celebrate your terrific germination rate and remove the weakest extras and throw them in the compost.
Turn Off Heat Mats
Once germination has occurred in the majority of your containers, it’s generally better to remove or turn off the heat mat. Heat speeds up plant growth which can be problematic under LED shop lights that lack the necessary intensity to support that rapid growth.
You need to exercise some discretion on this step if your seedlings are in a very cool room with low night time temperatures.
Adjust Grow Light Distance from Plants
As your seedlings mature and grow in height, periodically adjust up the grow lights. Make sure that all plants continue receiving strong light and that the heat put off by the lights does not begin to burn or scald them.
Light burns typically present as a white or silver discoloration on the plant’s leaves. Keep an eye out for it and make sure any plants showing signs of light burn get some more distance from the lights.
We unfortunately can’t give an exact “safe” distance as it depends on the intensity of your grow lights and their heat output. We can however say that the LED shop lights we use and link to in our build guide haven’t caused problems at ~4 inches above our plants (or even less at times).
Fertilize Seedlings
Your plants will require supplemental nutrition around the time the first “true” leaves (not the leaves that appear at germination - those are “false” leaves”) appear. We like to use worm castings and compost for this and wrote a short article on the topic to elaborate.
This is one of those steps where skipping it won’t be immediately obvious so try not to forget!
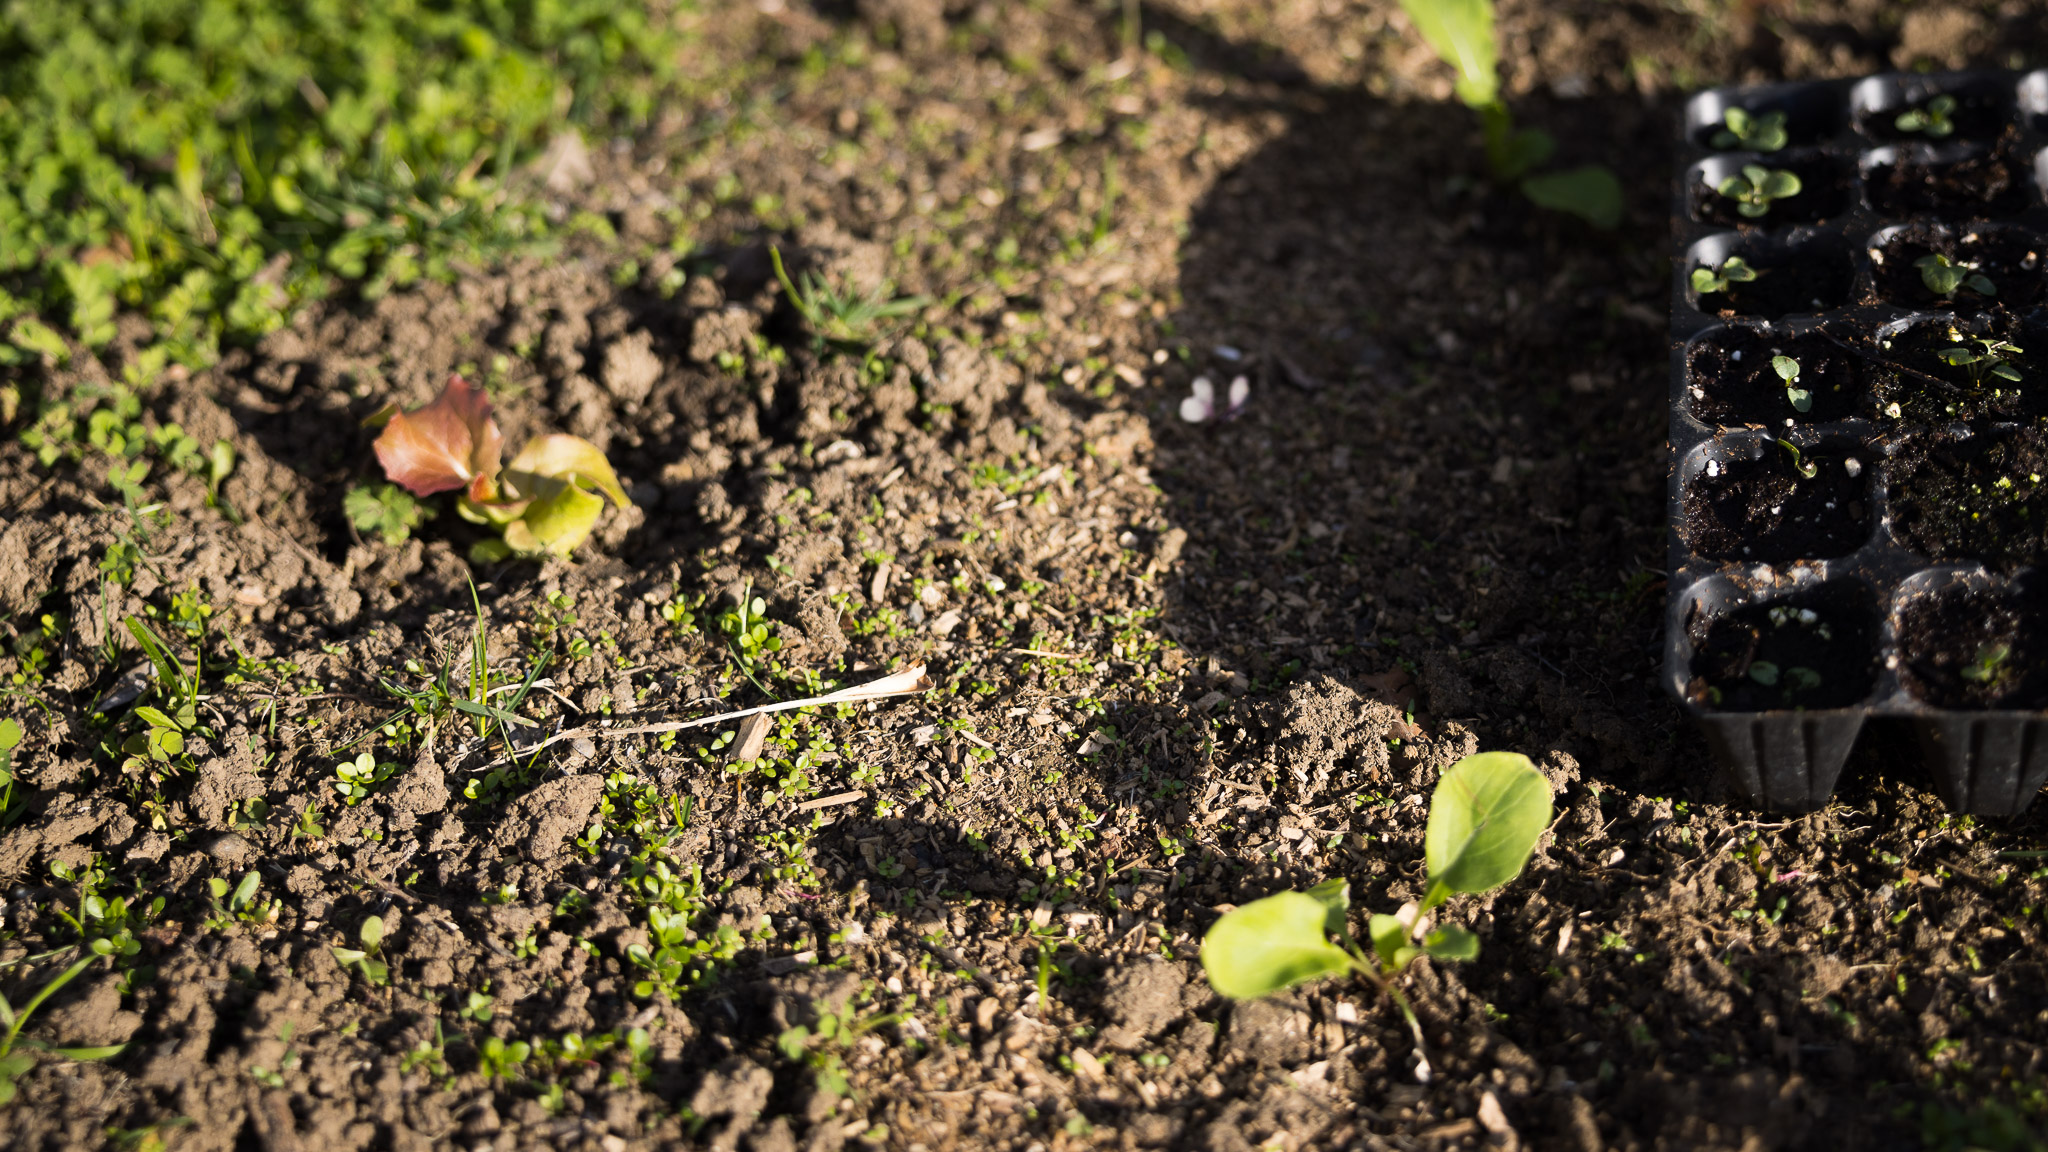
Harden Off and Transplant Seedlings Grown Indoors
Hooray! Your plants are finally approaching the transplant window you identified earlier with your local planting calendar.
Before you get ahead of yourself and start digging holes in the garden, be absolutely sure to follow a hardening off protocol like the ones we’ve outlined here. Your plants have been coddled with an indoor lifestyle until now and must be provided a gradual transition to life outdoors before they can be transplanted. We’ve tried to outline a number of ways to make this step shorter and less burdensome.
Please don’t waste all your hard work up to this point by skipping the hardening off step before transplant!
And that’s it! Congratulations. You’ve learned everything that goes into selecting the right materials, how to plant seeds, and how to care for seedlings indoors under grow lights to produce the beginnings of a super abundant garden. We hope you feel ready and excited to start some seeds this year.
If you found this article useful, you might like these other gardening and homesteading how-to guides we’ve written:
- Easy and Cheap Methods to Fix Bad Soil
- Common Reasons Seeds Fail to Germinate in Trays
- Start Worm Composting Cheaply and Quickly
- Step-by-Step Guide to Starting a Food Garden for Under $100
Happy Planting!